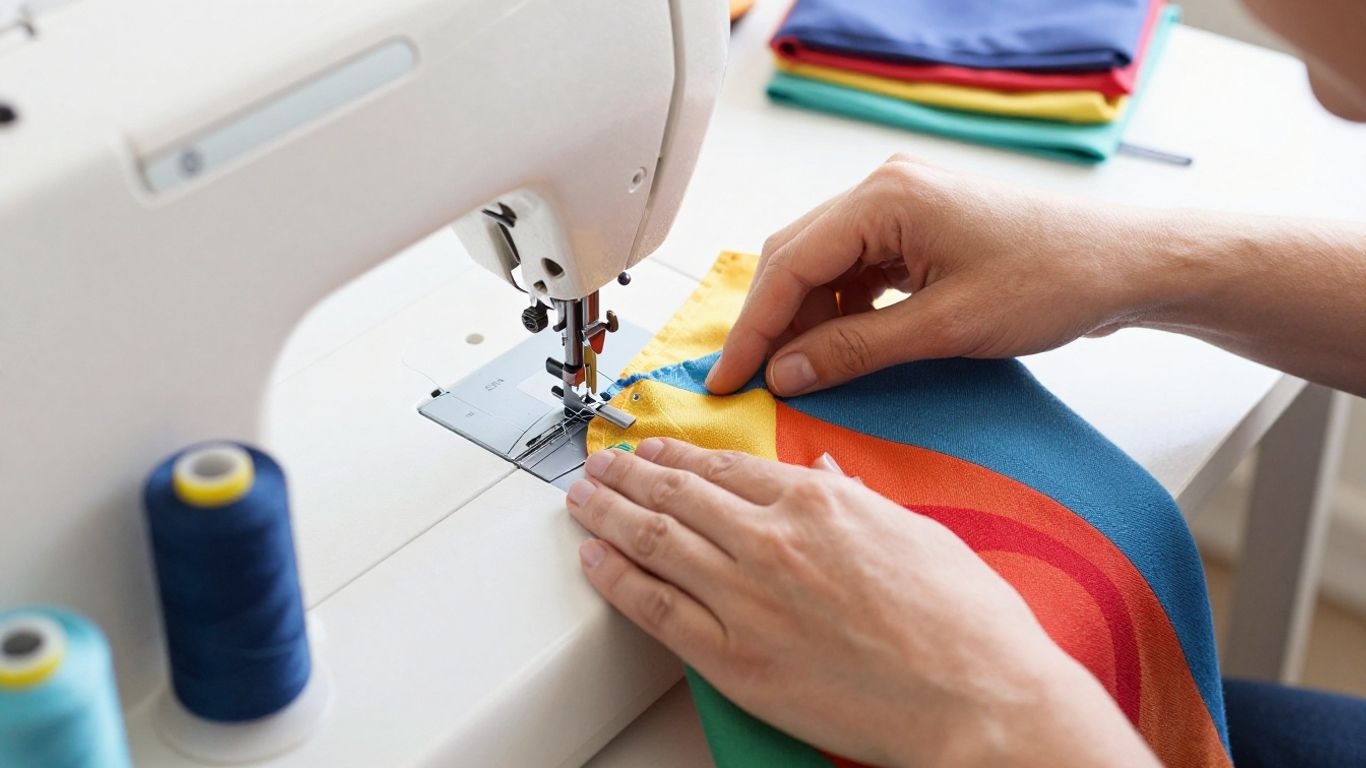
How to Sew a Fabric Bag for Beginners: Easy DIY Tote Bag Tutorial
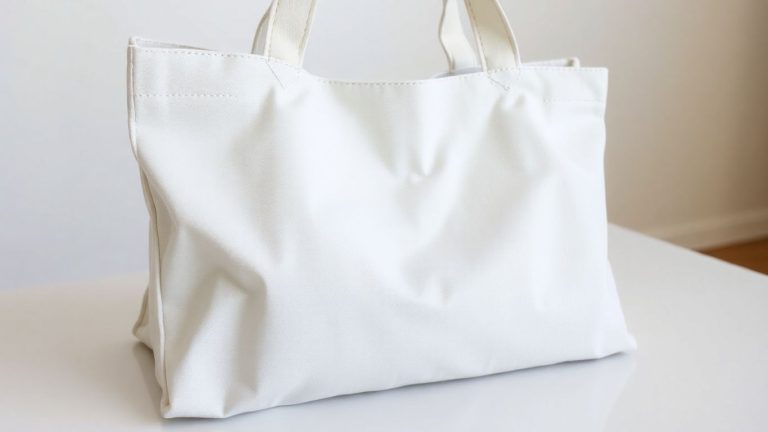
A simple fabric tote bag is one of my favorite beginner sewing projects because it teaches the skills you will reuse in dozens of future makes: accurate cutting, straight seams, seam allowances, pressing, turning, topstitching, and reinforcing stress points. For the easiest first version, I use a stable woven fabric such as quilting cotton or medium-weight cotton canvas, two rectangular body pieces, and two fabric handles with no zipper or special hardware.
The basic bag can stay completely flat, or you can box the bottom corners for more depth once you are comfortable with the straight-seam construction. This tutorial gives you a clear sample size to follow, but the same method can be resized for a small book bag, grocery tote, craft bag, or everyday carryall.
Quick Answer: How to Sew a Fabric Bag for Beginners?
To sew an easy beginner fabric bag, cut two matching body rectangles and two handle strips from a stable woven fabric. Sew and press the handles, place the body pieces right sides together, stitch the side and bottom seams, finish or line the raw edges, fold the top hem, position the handles evenly, and topstitch them securely. For the sample tote in this guide, I use two 16 x 18-inch body pieces, two 4 x 24-inch handle strips, and a 1/2-inch side and bottom seam allowance.
Key Takeaways
The easiest tote is intentionally simple. A clean first result comes from stable fabric, consistent measuring, pressing at each stage, and letting the feed dogs move the fabric instead of pulling it.
- Use quilting cotton for easier sewing or cotton canvas for a sturdier tote.
- Cut two identical body rectangles to simplify alignment and seam allowances.
- Press handles, hems, and seams at each stage for a neat, accurate finish.
- Maintain a consistent 1/2-inch seam allowance on the side and bottom seams.
- Reinforce handle attachments with topstitching and box or X stitching for durability.
- Start with a flat tote and add boxed corners later for a wider base.
- Add a lining or pocket once you are comfortable with the basic bag construction.
If this is your first machine project, practice one straight seam on scrap fabric before cutting the bag. That five-minute test can reveal threading, tension, needle, or speed-control problems before they reach the real project.
How I Test Sewing Machines and Beginner Sewing Projects at MariaSew
I personally test the sewing machines and beginner techniques I recommend on MariaSew before I publish them. I have more than 12 years of hands-on sewing experience, and I do not judge a beginner project only by how simple it looks on paper. I sew the steps myself, check where fabric layers shift, test the seam sequence, and make sure the instructions still work when someone is learning speed control and seam allowance at the same time.
For a tote-bag project like this, I test the straight seams on stable cotton first, then repeat the stress points on a thicker woven fabric such as canvas. I check handle alignment, boxed corners, top hems, turning, topstitching, and the point where multiple layers stack under the presser foot. If a step becomes awkward, I simplify the order rather than telling a beginner to force the fabric through the machine.
- Straight-stitch control. I check whether the seam stays even at slow and moderate speeds without pulling the fabric.
- Needle and thread match. I test the same fabric layers with an appropriate needle before blaming tension for skipped or weak stitches.
- Layer feeding. I watch the handle, hem, and side-seam intersections where bulk can make the presser foot tilt.
- Pressing and turning. I check whether folds stay consistent and whether corners can be turned cleanly without excessive trimming.
- Finished strength. I tug the handles and top edge after reinforcement to make sure the construction method is appropriate for an everyday tote.
If you are still learning the machine itself, start with my Sewing Machine Basics for Beginners and then use this tote as one of your first complete projects.
Beginner Tote Bag Project Features
This project is designed around skills that are easy to see and repeat. Each feature adds a useful sewing technique without requiring a zipper, magnetic snap, piping, or other hardware.
Straight-Seam Construction
The bag body is built from rectangles, so most sewing is straight. That lets you focus on guiding the fabric against a seam guide and keeping a consistent seam allowance instead of managing curves.
Stable Woven Fabric
Quilting cotton, cotton poplin, or medium-weight cotton canvas stays more predictable under the presser foot than slippery or stretchy fabric. A stable weave helps the cut pieces keep their shape while you sew.
Fabric Handles
The handles are made from folded fabric strips, so you practice pressing, edge stitching, and keeping two pieces the same width. They can be shortened for a hand-carry bag or lengthened for shoulder use.
Optional Boxed Corners
Boxed corners turn a flat bag into a tote with depth. I keep them optional because the plain version is easier for a true first project, while the boxed version adds useful three-dimensional construction practice.
Optional Lining
A lining hides raw seam allowances and gives the interior a cleaner finish. It is a good second-step upgrade once you understand the outer bag construction.
Optional Interior Pocket
A simple patch pocket can be added before the body is assembled. It teaches hemming, measuring placement, and pivoting at corners without complicating the main bag.
Reinforced Handle Attachments
The handle area is the main stress point. I stitch the top hem securely and add a small rectangle or box-X at each handle end so the load is spread across more stitching.
Easy Resizing
Because the project is based on rectangles, you can resize it without redrafting a complex pattern. Add seam allowance and top-hem allowance to your desired finished dimensions, then adjust handle length to match the intended use.
Beginner Tote Bag Specifications
You can make this tote in almost any size, but a fixed sample removes guesswork for a first attempt. The measurements below create a useful medium tote while keeping the pieces small enough to handle comfortably at a home sewing machine.
The finished size is approximate because pressing, fabric thickness, and optional boxed corners can change the final dimensions slightly. If you want to design a different size, use the MariaSew fabric and seam-allowance calculator instead of guessing at extra fabric.
Open the MariaSew Fabric Calculator
| Feature / Specification | Sample Setup | Beginner Note |
|---|---|---|
| Project level | Beginner | Straight seams, hems, handles, optional boxed corners |
| Sample body pieces | 2 pieces, 16 x 18 in | Cut both pieces exactly the same size |
| Sample handle strips | 2 pieces, 4 x 24 in | Folds to straps about 1 in wide |
| Side/bottom seam allowance | 1/2 in | Keep the same allowance on all three sewn edges |
| Top hem | Double fold, 1 in + 1 in | Hides the raw top edge and strengthens handle area |
| Approx. finished flat size | About 15 x 15.5 in | Before optional boxed corners |
| Suggested fabric | Quilting cotton or medium cotton canvas | Stable woven fabrics are easiest to control |
| Suggested machine stitch | Straight stitch, about 2.5-3.0 mm | Test on a scrap first |
| Suggested needle | Universal needle for cotton; jeans/denim needle for heavier canvas as appropriate | Match needle to actual fabric weight |
| Suggested thread | Quality all-purpose polyester thread | Strong, versatile choice for everyday tote construction |
This sample is intentionally forgiving. If your first bag finishes a little narrower or taller, that is not a construction failure as long as the seams are secure, the handles are even, and the opening lies flat.
Materials and Tools You’ll Need
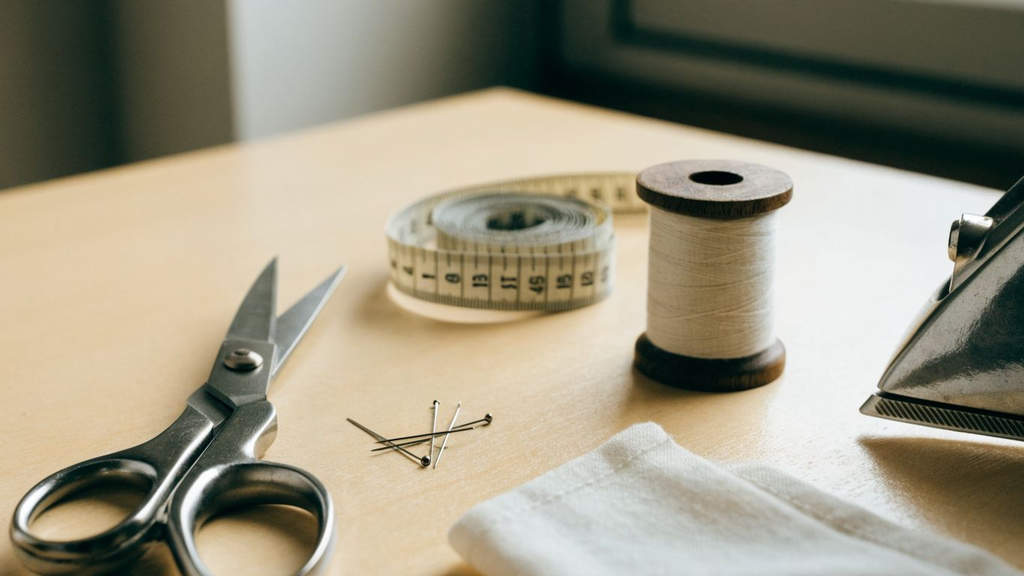
You do not need a large sewing kit for this project. I use the tools below because each one solves a specific task, and most of them are useful for almost every beginner sewing project.
- Fabric. About 1 yard of 44-45 inch wide fabric is more than enough for the sample outer bag and handles in most non-directional layouts; exact use depends on fabric width, print direction, and whether you add a lining.
- Matching all-purpose thread. Polyester thread is a practical everyday choice for a tote because it is strong and works well with common woven fabrics.
- Sewing machine or hand-sewing needle. A machine is faster, but the bag can be hand sewn with a strong backstitch if needed.
- Fresh machine needle. Use a universal needle for ordinary cotton and an appropriate heavier needle for dense canvas if required by the fabric.
- Fabric scissors or rotary cutter and mat. Clean, accurate rectangles make the sewing stage much easier.
- Ruler or tape measure. Use it for body pieces, handle strips, seam allowance, and handle placement.
- Pins or sewing clips. Hold layers in alignment before they reach the needle.
- Iron and ironing surface. Pressing is part of construction, not just the final finishing step.
- Fabric marker or chalk. Mark handle placement, boxed-corner lines, and cutting dimensions.
If your machine is new to you, thread it and sew on scrap fabric before starting the tote. My How to Thread a Sewing Machine guide walks through the upper thread, bobbin, and first test seam.
Best Fabric for a Beginner Tote Bag
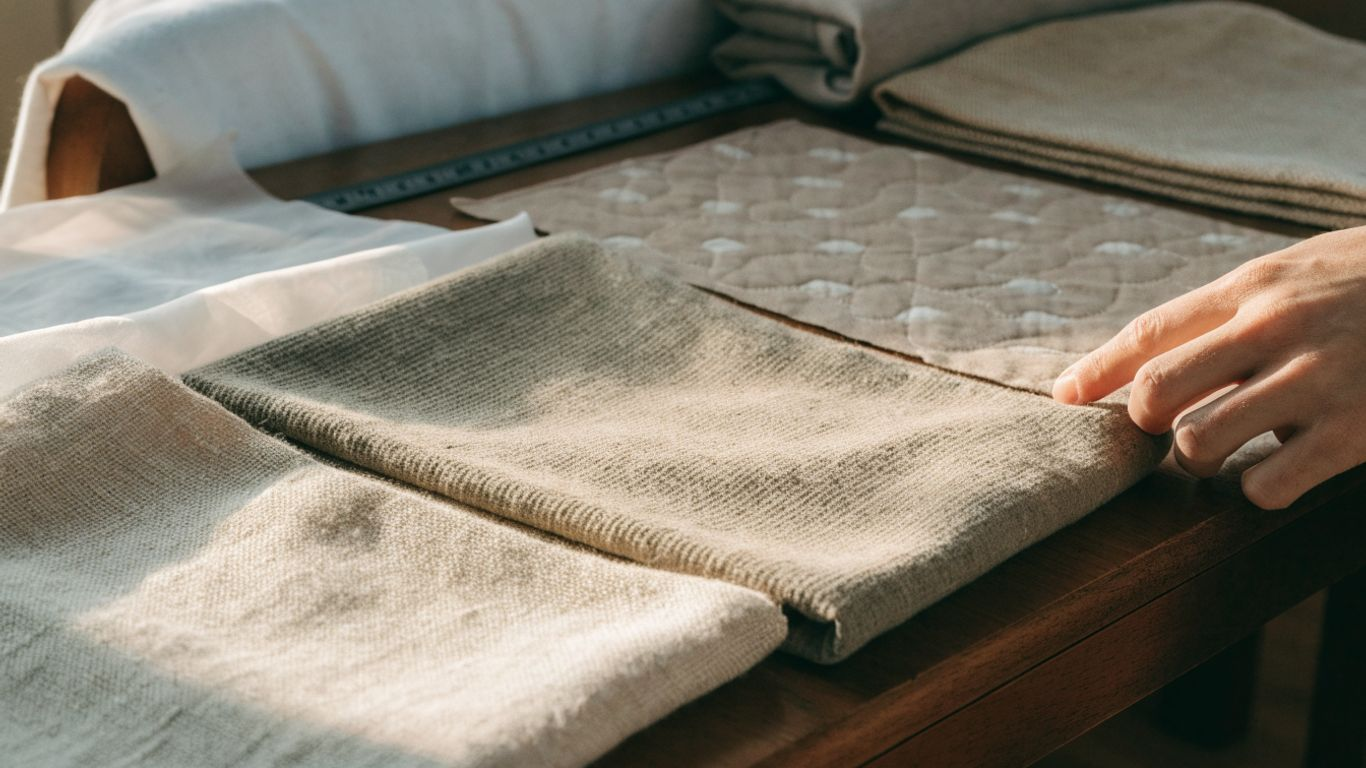
For a first bag, I prefer medium-weight woven fabric that stays flat while I cut, pin, and sew. Quilting cotton is the easiest choice for learning because it presses cleanly and is not bulky at the top hem. Cotton canvas or duck creates a sturdier tote but can become thick where the side seam, hem, and handles overlap.
I would avoid slippery satin, stretch jersey, very loose weaves, coated fabric, and extremely heavy upholstery fabric on the first attempt. Those materials can require different needles, feed techniques, stabilizers, or seam finishes.
- Quilting cotton. Best for the easiest first tote and clean pressing.
- Cotton poplin. Light, stable, and easy to sew, but the finished bag will be softer.
- Cotton canvas or duck. Better structure and durability, but use the right needle and slow down at bulky intersections.
- Linen or cotton-linen blend. Beautiful natural texture, but some versions fray more and may need better seam finishing.
Prewash fabric if it may shrink and you expect to wash the finished bag later. Dry and press it the way you plan to care for the finished tote, then square the fabric before cutting.
Needle, Thread, Stitch Length, and Machine Setup
The bag only needs a basic straight stitch, but a correct needle and thread combination matters more as the layers get thicker. I test on a scrap made from the same number of layers as the real handle or hem before sewing the final seam.
- Needle. Start with a fresh universal needle for ordinary quilting cotton. For heavier canvas, use a needle suited to dense woven or denim-type fabric according to the needle and machine manufacturer guidance.
- Thread. Quality all-purpose polyester thread is a reliable starting point for everyday cotton and canvas tote construction.
- Stitch length. A straight stitch around 2.5 to 3.0 mm is a practical starting range for common woven cotton; thicker canvas may look cleaner with a slightly longer stitch after testing.
- Upper tension. Start at the machine normal/default setting. Rethread and check the needle and bobbin before making multiple tension changes.
- Speed. Use a moderate speed on long seams and slow down at handle attachments, hems, and side-seam intersections.
- Presser foot. A standard all-purpose foot is enough for most of the project. If thick layers feed unevenly, a compatible walking foot can help.
If your seam loops, puckers, or pulls to one side, use my sewing machine tension guide before changing several settings at once. For bulky canvas layers, my walking foot guide explains when extra top feeding can help.
Before You Cut: Plan the Bag and Seam Allowance
Decide whether you are making the exact sample tote or resizing it. For the sample, cut two 16 x 18-inch body rectangles and two 4 x 24-inch handle strips. Keep the fabric grain and any directional print in mind so the bag does not finish with one panel upside down.
I use a 1/2-inch side and bottom seam allowance in this tutorial and a double 1-inch top hem. Marking the measurement before cutting is easier than trying to correct mismatched pieces while sewing.
If you want more practice before the tote, my 15 Sewing Techniques for Beginners covers straight seams, backstitching, seam allowances, hems, basting, zippers, and pressing in a logical learning order.
How to Sew a Fabric Bag: Step-by-Step Tutorial
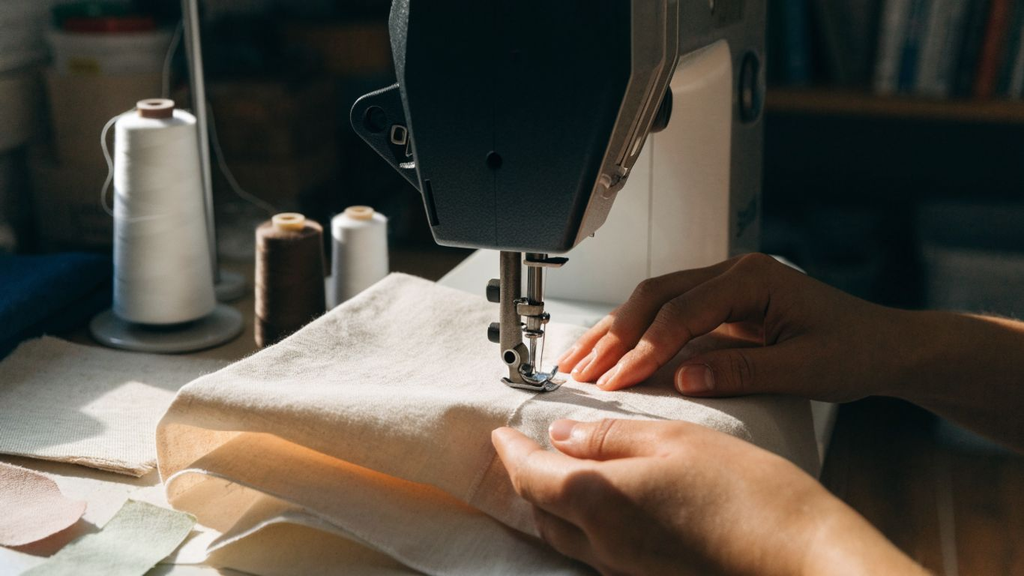
This construction order keeps the difficult parts out of the way and avoids attaching a handle or pocket after the bag has become awkward to lay flat. Read through all the steps once before sewing so you know which details are optional.
Step 1: Cut Two Body Pieces and Two Handle Strips
For the sample tote, cut two body rectangles measuring 16 x 18 inches and two handle strips measuring 4 x 24 inches. Check that the two body pieces match before you move on.
Step 2: Make the Fabric Handles
Press each 4 x 24-inch strip in half lengthwise to create a center crease. Open it, fold both long raw edges inward to the center crease, press again, then fold the strip in half so the raw edges are enclosed. Topstitch close to both long edges. This creates a strong strap about 1 inch wide without needing to turn a narrow tube right side out.
Step 3: Add an Optional Pocket Before Assembling the Bag
A patch pocket is easiest to sew while the body panel is still flat. Cut a rectangle, finish the top edge with a double-fold hem, press the other three edges to the wrong side, and pin the pocket to the right side of one body piece. Topstitch the sides and bottom, leaving the top open.
Step 4: Sew the Side and Bottom Seams
Place the two body pieces right sides together. Pin or clip both side edges and the bottom edge, leaving the top completely open. Sew the three edges with a 1/2-inch seam allowance and backstitch at the beginning and end. Keep your eyes on the seam guide rather than the needle, and let the feed dogs pull the fabric through.
Step 5: Finish the Raw Seams
For an unlined tote, finish the side and bottom raw edges so the fabric is less likely to fray. A zigzag stitch close to the edge is enough for a beginner version on many woven fabrics. If you plan to add a full lining, the raw seams will be enclosed and you can keep the finish simpler.
Step 6: Box the Bottom Corners for a Flat Base (Optional)
To add depth, keep the bag wrong side out. Pull one bottom corner open and flatten it so the side seam sits directly over the bottom seam, creating a triangle. Measure the same distance from the corner point on both sides, draw a line perpendicular to the seam, and stitch across it. Repeat on the second corner with the exact same measurement.
Step 7: Press the Top Hem and Position the Handles
Turn the bag right side out and press it. At the top edge, press 1 inch to the wrong side, then press another 1 inch so the raw edge is fully enclosed. On each side of the bag, position the two ends of one handle evenly and make sure the handle is not twisted. For the sample tote, placing each handle end about 4 inches from the nearest side seam creates a comfortable, balanced opening.
Step 8: Sew the Top Hem and Reinforce the Handles
Tuck the handle ends under the folded hem and pin or clip everything securely. Topstitch around the lower edge of the hem, sewing through the handle ends as you go. Fold each handle upward into its finished position, then topstitch around the upper edge of the bag. Add a small rectangle, square, or X-shaped reinforcement at every handle end.
Step 9: Final Press and Strength Check
Trim loose threads and press the entire bag. Check that the handles are level, the top edge lies flat, the side seams are secure, and both boxed corners match if you added them. Before carrying anything heavy, pull each handle firmly by hand and inspect the reinforcement.
If you are still practicing straight seams, revisit Sewing Machine Basics for Beginners for a slower seam-control walkthrough.
How to Add a Lining to the Fabric Bag
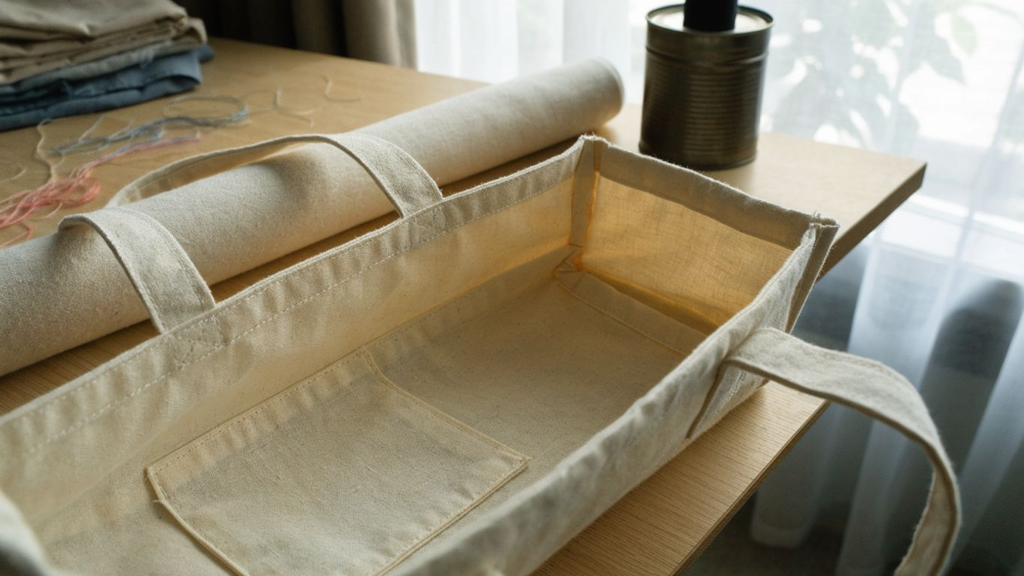
A lining gives the tote a cleaner interior and hides the side and bottom seam allowances. For a beginner, I would make the plain unlined version first, then repeat the bag with lining once the main construction order feels familiar.
Cut two lining pieces the same basic size as the outer body, adjusting if your outer bag has boxed corners. Sew the lining side and bottom seams. For the simplest beginner method, place the finished lining inside the outer bag with wrong sides together, align the top edges, hide the raw edges inside the folded top hem, and topstitch the layers together. Keep the lining smooth so it does not bunch below the top edge.
Can You Sew This Fabric Bag by Hand?
Yes. The same bag can be sewn without a sewing machine, although it takes longer. Use a strong hand-sewing thread or suitable general-purpose thread and small, consistent stitches.
A backstitch is a practical choice for the side and bottom seams because it creates a stronger continuous seam than a basic running stitch. Reinforce the handles carefully and keep stitch length consistent at stress points. Pin or clip the layers, work on a flat surface, and press the folds before stitching.
Beginner Tips for a Neater Fabric Bag
A tote is forgiving, but a few habits make the result look much more polished. These are the small checks I make before and during every beginner bag project.
- Test on scrap fabric first. Use the same fabric, thread, needle, and number of layers as the real seam.
- Press every fold before stitching. Pressed handles and hems are much easier to topstitch evenly.
- Watch the seam guide, not the needle. Keeping the raw edge aligned with a guide usually produces a straighter seam.
- Slow down before thick intersections. Do not push or pull the fabric when the foot climbs over a bulky seam.
- Keep handles symmetrical. Measure placement from the side seams instead of judging by eye.
- Finish raw edges if the bag is unlined. A zigzag or other appropriate edge finish reduces fraying.
- Change a dull or bent needle. A fresh needle can solve skipped or uneven stitching before you start adjusting tension.
If the machine starts jamming, nesting thread, or breaking needles, stop and diagnose the setup instead of continuing through the project. MariaSew’s sewing machine troubleshooting guide covers the most common beginner problems.
Common Mistakes to Avoid When Sewing a Fabric Bag
Most beginner tote problems are easy to prevent because they happen before the final seam: uneven cutting, twisted handles, inconsistent seam allowances, skipped pressing, or forcing thick layers through the machine.
- Cutting the two body pieces separately without comparing them. Stack or compare the rectangles before sewing so the sides and bottom can align cleanly.
- Using stretchy or slippery fabric for the first tote. Stable woven fabric removes unnecessary feeding and distortion problems.
- Skipping the press. Unpressed folds move while sewing and make handles or hems look uneven.
- Pulling the fabric behind the presser foot. Let the feed dogs move the fabric; pulling can bend the needle and distort stitch length.
- Placing the handles by eye. Measure from each side seam so the straps sit at equal distances.
- Forgetting to check handle twists. Lay the handle flat from one attachment point to the other before sewing.
- Sewing too fast over bulky layers. Slow down where the handle, hem, or side seam creates extra thickness.
- Attaching a pocket after the bag is assembled. Sew it to a flat body panel before the side seams whenever possible.
- Trimming boxed corners before checking both sides. Sew both corners, turn the bag temporarily, compare the depth, then trim if desired.
- Assuming tension is the first thing to change. Rethread, check the needle, confirm the bobbin, and test before making major tension adjustments.
If something looks wrong, stop at the earliest reversible step. It is much easier to move a handle before topstitching or correct a cutting edge before the body seams are finished.
How to Resize the Tote Bag
The easiest way to resize this project is to decide the finished flat width and height first, then add seam and hem allowances. With a 1/2-inch seam on each side, add 1 inch to the desired finished width. For height, add the bottom seam allowance plus the fabric needed for your top hem.
Handle size is more personal. Shorter straps work for hand carrying, while longer straps fit over the shoulder. Make a paper or scrap-fabric loop first if you are unsure, then cut both handle strips to the same length.
For custom dimensions, yardage, seam allowance, and measurement conversions, use the MariaSew Fabric Calculator rather than estimating in your head.
What Should You Sew After This Tote Bag?
Once the basic tote feels comfortable, the next project should add only one or two new skills. A drawstring bag adds a casing, a lined pouch adds interior finishing, and a pillow cover gives you more practice with straight seams and hems.
For a structured progression, see my 25 Easy Sewing Projects for Beginners and How to Learn Sewing for Beginners. If you still need your first machine, compare my best sewing machines for beginners or read the mechanical vs. computerized sewing machine guide before buying.
Final Verdict: Is a Fabric Tote Bag a Good Beginner Sewing Project?
Yes. A simple fabric tote is one of the best first complete sewing projects because the construction is easy to understand and every step teaches a reusable skill. You practice measuring, straight stitching, seam allowances, pressing, turning, topstitching, handle placement, and reinforcement without needing a zipper or complicated pattern.
For the first version, keep the fabric stable and the design unlined. Once that bag feels easy, repeat the same method with boxed corners, a pocket, lining, interfacing, longer handles, or a different size. The goal is not a perfect first tote; it is a finished project that teaches you enough to make the second one cleaner and faster.
Frequently Asked Questions
What fabric is best for a beginner tote bag?
Quilting cotton is the easiest starting point because it is stable, easy to press, and not overly bulky. Medium-weight cotton canvas is a good choice when you want a more structured tote and your machine handles the extra thickness comfortably.
How much fabric do I need for a simple tote bag?
For the sample tote in this tutorial, about 1 yard of standard-width fabric is comfortably sufficient for the outer body and handles in many layouts. Exact yardage depends on fabric width, directional prints, lining, pockets, and the size you choose.
What seam allowance should I use for a fabric bag?
This tutorial uses a 1/2-inch seam allowance on the side and bottom seams. Other patterns may use different allowances, so follow the chosen plan consistently from cutting through assembly.
What stitch length should I use for a tote bag?
A straight stitch around 2.5 to 3.0 mm is a useful starting point for ordinary woven cotton. Test on matching scraps and adjust for very light or heavy fabric.
Do I need to prewash fabric before sewing a tote?
Prewashing is sensible when the fabric may shrink and you expect to wash the finished bag. Follow the fabric care instructions, dry it as intended, and press it before cutting.
How do I make a tote bag have a flat bottom?
Box the two bottom corners by flattening each corner so the side seam aligns with the bottom seam. Mark and sew matching lines across both corners at the same distance from the point.
Can I add a pocket to the tote bag?
Yes. A patch pocket is easiest to add to one flat body panel before the side and bottom seams are sewn.
How can I make the handles stronger?
Enclose the raw edges, topstitch the straps, place them evenly, sew them into the top hem, and reinforce each attachment with a stitched rectangle, square, or X.
Can I make this bag without a sewing machine?
Yes. Use small, consistent hand stitches and a strong backstitch for the main seams. Reinforce the handles carefully because they carry the load.
What needle should I use for canvas?
Use a needle designed for the actual fabric weight and your machine, often a jeans/denim-style needle for dense canvas. Test on the same number of layers before sewing the final handle or hem area.
Why are my tote seams wavy or puckered?
Common causes include incorrect threading, unsuitable needle or thread, excessive tension, pulling the fabric, or using an unstable fabric. Rethread, test on scrap, and change one variable at a time.
Is a tote bag a good first sewing project?
Yes. A simple unlined tote uses rectangles, straight seams, pressing, hems, handles, and basic reinforcement, so it teaches several useful sewing skills without requiring fitting or complex curves.

One Comment