Sewing Machine Basics for Beginners: How to Use a Sewing Machine Step by Step
Learning how to use a sewing machine becomes much easier when you stop trying to learn every stitch at once and focus on the small actions that make a basic seam work. Start by identifying the needle, presser foot, feed dogs, bobbin, handwheel, thread path, and speed controls, then practice threading and sewing on scrap fabric before touching a real project.
The exact threading path, bobbin direction, tension system, and maintenance steps vary by model, so your machine’s manual should always be the final authority. This beginner guide walks through the process in a safe sequence, explains what each main part does, and shows how to troubleshoot the most common problems without changing several settings at once.
Key Takeaways
A few habits make the difference between a calm first sewing session and a frustrating one. Learn the setup in the same order every time, then change only one variable when something looks wrong.
- Learn the main sewing machine parts and their functions before sewing.
- Follow the manual for correct threading and bobbin placement.
- Match the needle, thread, and stitch settings to your fabric.
- Test your settings on scrap fabric before starting your project.
- Guide the fabric gently without pulling it.
- Troubleshoot by rethreading, checking the bobbin, and inspecting the needle first.
- Stop sewing if you notice unusual noise, repeated jams, broken needles, or electrical issues.
The goal of your first sessions is not speed. It is building a repeatable setup routine that lets you recognize what normal stitching looks and sounds like.
What You Need to Know Before Using a Sewing Machine
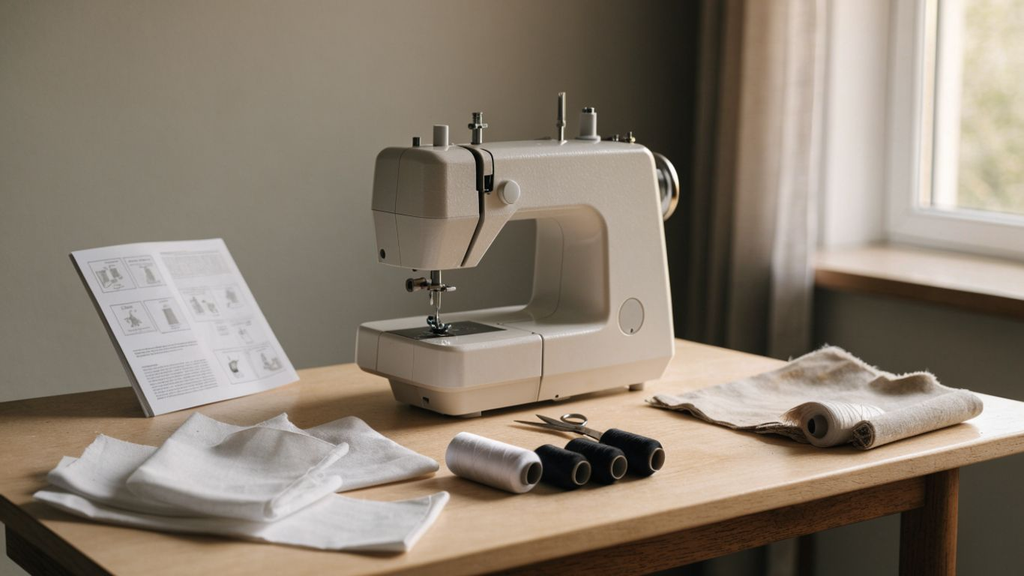
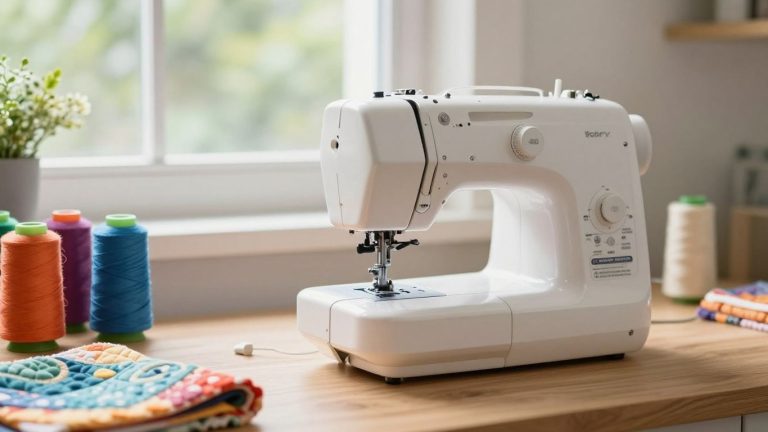
Sewing machine basics are easier when the work area is simple. I begin with a stable table, good lighting, a comfortable chair, the machine manual, thread, compatible bobbins, fabric scraps, fabric scissors, and a suitable needle.
You do not need a large sewing kit before you start. A few correctly chosen supplies are more useful than buying accessories before you know which projects you enjoy.
If you are completely new to sewing, my step-by-step guide to learning how to sew gives you a broader skill path beyond the machine itself.
Types of Sewing Machines for Beginners
A mechanical sewing machine uses physical dials and levers for many settings, while a computerized model uses buttons, electronic controls, or a screen. Both types can be beginner-friendly, and neither category automatically determines stitch quality.
Choose by control style, project type, fabric range, included feet, speed control, workspace, and service support. If you are deciding between the two systems, my mechanical vs. computerized sewing machine guide explains the differences in more detail.
If you are still shopping, compare the current best sewing machines for beginners before choosing a model.
How a Sewing Machine Makes a Stitch
Most domestic sewing machines form a lockstitch by carrying the upper thread through the fabric while the hook catches a loop of that thread around the bobbin thread underneath. The two threads lock inside or near the fabric layers when the machine is threaded and tensioned correctly.
At the same time, the presser foot holds the fabric against the feed dogs, which move it under the needle in controlled steps. The motor and foot controller or start/stop system provide movement and speed, while the selected stitch determines how the needle and feed mechanism behave.
Understanding this basic sequence makes troubleshooting easier because a bad seam usually points to one of a few areas: upper threading, bobbin setup, needle condition, fabric feeding, or a setting that does not match the fabric.
Common Sewing Machine Parts and Features
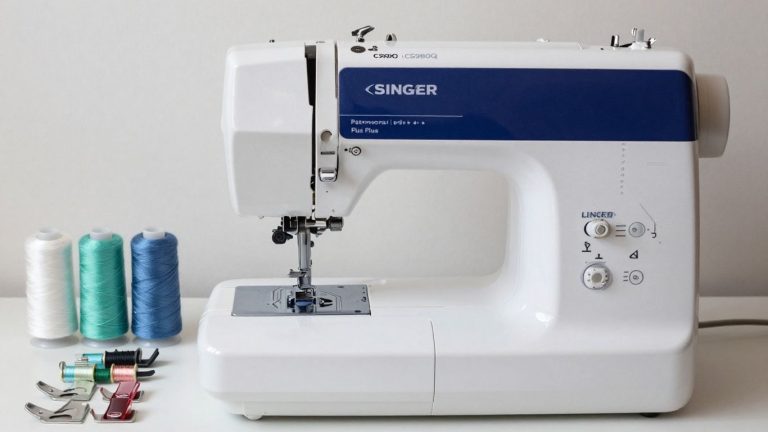
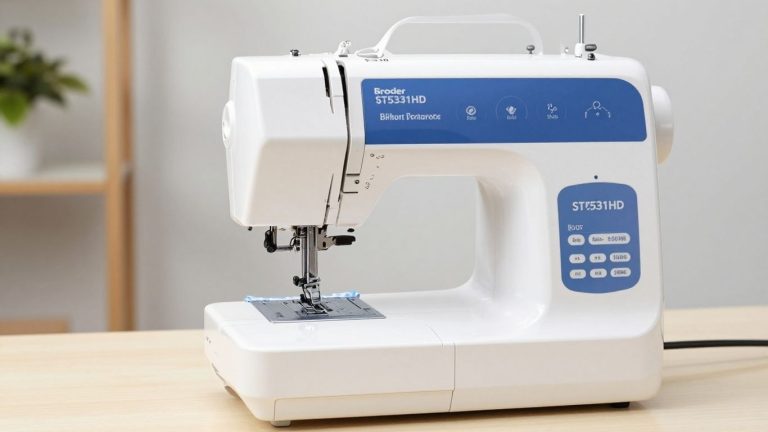
Most home sewing machines share the same core parts even when the layout looks different. Learning what each part does helps you use the machine correctly and gives you a logical place to start when a seam goes wrong.
For diagrams and a more detailed parts reference, see my Sewing Machine Parts Explained guide.
Needle
The needle carries the upper thread through the fabric so the hook can form a stitch with the bobbin thread. Use the needle system recommended for your machine and replace a bent, blunt, or damaged needle rather than trying to sew through a problem.
Presser Foot
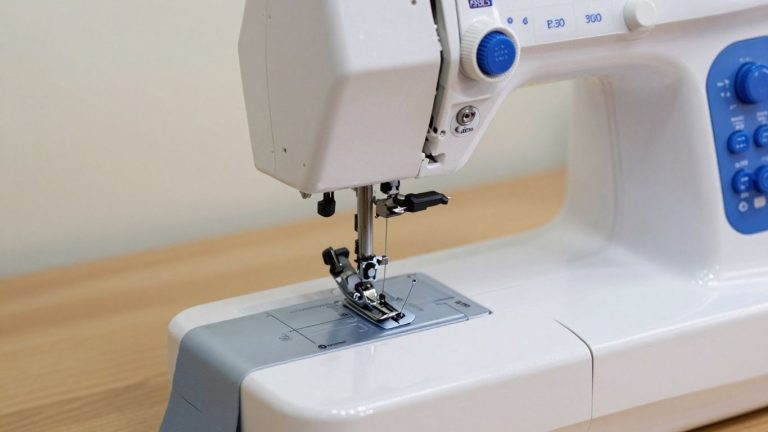
The presser foot holds the fabric against the feed dogs so it can move in a controlled path. Different feet support tasks such as zippers, buttonholes, blind hems, quilting, edge stitching, and gathering.
Feed Dogs
Feed dogs are the toothed metal bars beneath the presser foot that move fabric through the machine. Let them feed the fabric while your hands guide direction; pulling from behind can stretch the seam or deflect the needle.
Bobbin and Bobbin Case
The bobbin supplies the lower thread for the stitch. Some machines use a top-loading drop-in bobbin while others use a front-loading removable case, so the insertion direction and tension path must follow the exact manual.
Spool Pin and Thread Guides
The spool pin holds the upper thread, and the thread guides keep it following the intended path. Skipping a guide can change how the thread feeds and can cause looping, breakage, or inconsistent tension.
Take-Up Lever
The take-up lever controls the upper thread as each stitch forms. Missing it during threading is a common reason the upper thread behaves badly, so make sure the thread passes through it exactly as the manual shows.
Tension System
The tension system controls how firmly the upper thread is held as the stitch forms. On many machines, raising the presser foot during threading opens the tension discs so the thread can seat correctly.
Handwheel
The handwheel moves the needle manually for precise positioning and for bringing the needle to the correct threading or bobbin position. Turn it only in the direction specified by the machine manual, commonly toward you on domestic machines.
Foot Controller or Start/Stop Control
The foot controller regulates sewing speed on many machines, while some computerized models also provide a start/stop button and speed slider. Beginners should start slowly enough to guide the seam accurately.
Reverse or Lock-Stitch Control
Reverse sewing or an electronic locking function can secure many seam ends. It is not required for every technique, so follow the project instructions when basting, gathering, or using specialty seams.
Stitch Selection Controls
Mechanical machines may use dials, while computerized machines may use buttons or a screen. Begin with the machine’s recommended straight stitch and change one setting at a time while practicing.
Stitch Length and Width Controls
Stitch length changes how far apart stitches are. Stitch width controls side-to-side movement on stitches such as zigzag; it usually does not affect a centered straight stitch.
Needle Plate and Seam Guides
The needle plate supports the fabric around the needle opening, and many plates include seam-guide markings. These guides help beginners keep a consistent seam allowance without watching the needle itself.
Bobbin Winder
The bobbin-winding system winds thread evenly onto the bobbin before sewing. Follow the machine’s winding path and use the correct bobbin type because a poor or incompatible bobbin can create feeding and tension problems.
Built-In Needle Threader, If Equipped
A built-in threader can help pull the upper thread through the needle eye. It is a convenience feature, not a universal requirement, and it should be used only with needle sizes and positions supported by the machine.
Sewing Machine Parts & Controls Reference Table
The descriptions above explain each part in context. The table below is a quick reference for the parts and controls a beginner will use most often.
Exact names and locations vary between brands and models, so use this as an orientation guide rather than a replacement for the owner’s manual. Before your first session, physically point to each part on your own machine.
- Find the threading path. Trace every upper-thread guide from the spool to the needle.
- Locate the bobbin system. Confirm whether your machine uses a top-loading or front-loading bobbin and which direction the thread feeds.
- Find the safety-critical controls. Know how to raise the presser foot, stop the machine, move the needle manually, and switch power off before close-up adjustments.
| Part / Feature | What It Does | Beginner Check |
|---|---|---|
| Needle | Carries upper thread through fabric | Correct type, size, direction, and condition |
| Presser foot | Holds fabric against feed dogs | Lower it before sewing |
| Feed dogs | Move fabric under the needle | Guide fabric; do not pull |
| Bobbin | Supplies lower thread | Correct bobbin type and insertion direction |
| Thread guides | Control upper-thread path | Do not skip guides |
| Take-up lever | Manages upper thread during stitch cycle | Thread it fully |
| Tension control | Balances upper thread | Rethread before making large adjustments |
| Handwheel | Positions needle manually | Turn in manual-specified direction |
| Foot controller / speed control | Controls sewing speed | Practice at a slow, steady pace |
| Reverse / lock stitch | Secures many seam ends | Use when the project calls for it |
| Stitch controls | Select stitch and dimensions | Start with recommended basic settings |
| Needle plate guides | Help maintain seam allowance | Guide fabric edge along a consistent mark |
Once these parts feel familiar, the machine becomes much less intimidating because most setup and troubleshooting questions can be traced back to one of them.
How I Test Sewing Machines at MariaSew
I personally use the sewing machines and beginner techniques I recommend before I publish a verdict. I do not judge a machine from its stitch count alone. I thread it, wind bobbins, change needles and feet, sew real fabrics, repeat the same seam at different speeds, and pay attention to the small setup problems that a new sewist is likely to notice first.
For beginner-friendly machines, I test straight stitches, zigzag, reverse or lock stitches, buttonholes, free-arm sewing, lightweight woven fabric, quilting cotton, stretch fabric, and thicker seam crossings. I also compare how easy the manual is to follow, how clearly the bobbin loads, how predictable the pedal or speed control feels, and how quickly I can recover from a threading mistake or jam.
- Ease of setup. I check threading, bobbin winding, bobbin insertion, needle changes, presser-foot changes, and whether the machine’s markings are easy to follow.
- Stitch quality. I inspect both sides of the fabric for balanced thread, skipped stitches, puckering, loose loops, and inconsistent stitch length.
- Beginner control. I test low-speed sewing, stopping accurately, seam guides, reverse or lock functions, and how easy it is to keep the fabric straight.
- Fabric range. I move from stable cotton to lightweight fabric, knits, and thicker seams so I can see whether the machine stays predictable.
- Troubleshooting experience. I deliberately rethread and reset the machine to see whether common mistakes are easy to diagnose without unnecessary tension changes.
You can read more about my hands-on review approach on the MariaSew About page.
How to Set Up Your Sewing Machine
Set up the machine before switching it on. Place it on a stable surface with enough space for the fabric to move freely, then gather the manual, thread, correct bobbin, suitable needle, scissors, and a scrap of the fabric you plan to sew.
A few minutes of preparation prevents many beginner problems. I would rather recheck the setup now than discover halfway through a seam that the bobbin is backwards, the presser foot is still raised, or the needle is wrong for the fabric.
- Check the needle. Make sure it is fully inserted, secure, undamaged, and appropriate for the fabric.
- Install or check the bobbin. Use the bobbin type specified by the manufacturer and follow the loading direction shown in the manual.
- Thread with the machine in the correct position. On many domestic machines, raise the presser foot and bring the needle or take-up lever to the threading position before following the path.
- Select a basic stitch. Begin with the machine’s recommended straight stitch and default settings.
- Test on scrap fabric. Use the same fabric and similar number of layers as the real project whenever possible.
When the test stitch looks balanced and the fabric feeds normally, you are ready to move from setup to actual sewing.
How to Change a Sewing Machine Needle
- Switch the machine off and unplug it.
- Raise the needle to its highest position and set the presser foot as your manual directs.
- Lay a folded cloth over the needle plate opening so a dropped needle can’t fall into the bobbin area.
- Hold the old needle, loosen the clamp screw, and remove it.
- Insert the new needle fully, in the orientation your manual shows (the flat-side direction varies by machine), and tighten the screw.
- Turn the handwheel by hand through one full stitch to check clearance before switching on.
How to Thread a Sewing Machine
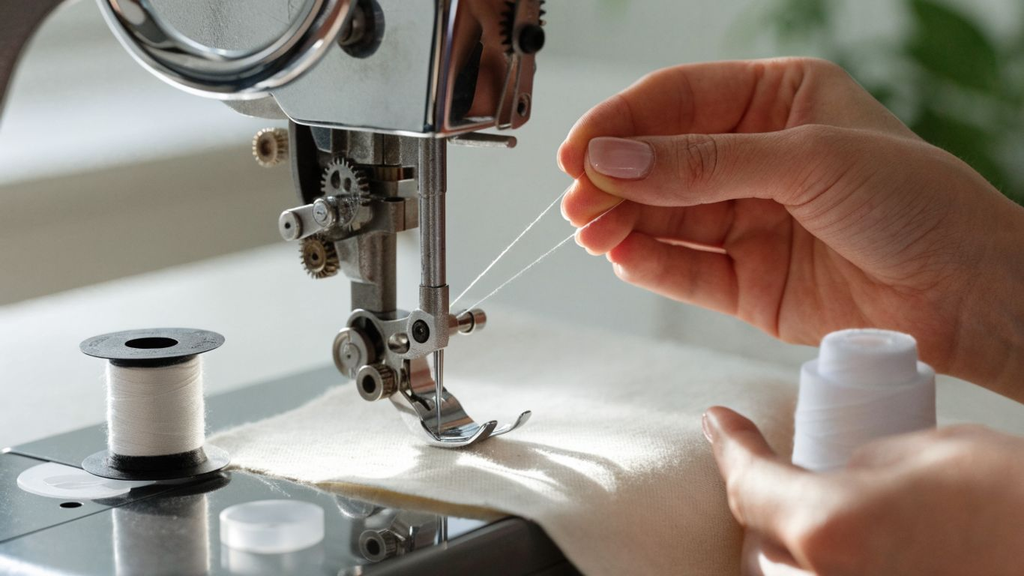
Threading is one of the most important beginner skills because a machine can appear to be threaded correctly while missing the take-up lever or failing to seat the thread in the tension path.
For most domestic machines, I raise the presser foot before threading so the upper thread can enter the tension system correctly, then bring the needle or take-up lever to the position specified by the manual. I follow every numbered guide from the spool to the needle without skipping ahead.
1. Place the spool correctly.
Use the spool pin and any cap or felt specified by the machine.
2. Follow the upper thread guides.
Route the thread exactly through the marked path.
3. Pass through the take-up lever.
Missing this point commonly causes loose or tangled upper thread.
4. Follow the final needle-bar guide.
Make sure the thread reaches the needle without twisting around the bar or foot.
5. Thread the needle in the correct direction.
Needle-threading direction varies by machine, so follow the manual.
6. Leave the thread tail as instructed.
Place it under the presser foot or follow your model’s automatic-threading procedure.
If threading still feels confusing, use my complete beginner guide to threading a sewing machine.
How to Wind and Insert a Bobbin
A bobbin should be wound evenly and loaded in the direction specified for the machine. Overfilled, poorly wound, damaged, or incompatible bobbins can affect feeding and stitch formation.
Route the thread through the bobbin-winding guide, secure it to the bobbin as instructed, engage the bobbin winder, and stop when the machine’s mechanism indicates that the bobbin is full. When inserting it, follow the arrows or diagram for the bobbin case or drop-in system.
- Use the correct bobbin. Bobbins that look similar can differ in height, curvature, or material.
- Check winding quality. The thread should fill the bobbin evenly rather than forming a loose cone or bunching on one side.
- Follow the bobbin tension path. Make sure the thread passes through the intended slot or guide.
- Bring up the bobbin thread only if your model requires it. Some modern drop-in systems do not require the same manual pull-up step as older machines.
After the bobbin is installed, turn the handwheel or use the machine’s setup procedure only as the manual directs, then test the stitch before sewing the project.
How to Use a Sewing Machine Step by Step
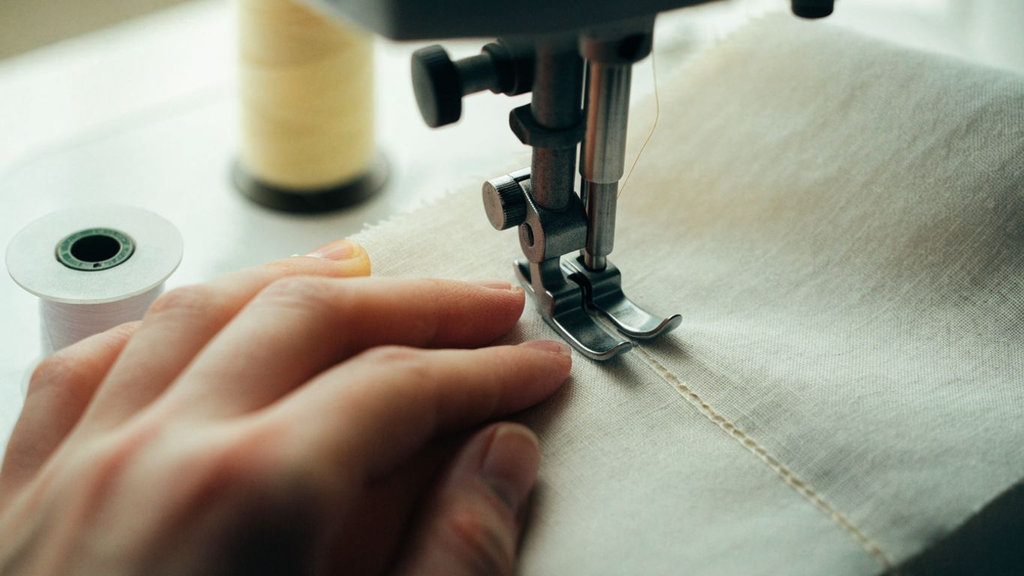
Once the machine is threaded and the bobbin is installed, use a matching fabric scrap for the first practice. This is where you learn the pedal, feeding, seam guide, stopping position, and stitch quality without risking a project piece.
I recommend repeating the same short straight seam several times before changing stitches. Consistency is easier to build when the machine setup stays the same.
Step 1: Place the fabric under the presser foot
Align the fabric edge with a seam guide rather than trying to steer by watching the moving needle.
Step 2: Lower the presser foot
The feed system cannot control the fabric correctly if the presser foot is not engaged.
Step 3: Position the needle
Use the handwheel or needle-position control as the manual instructs when precise starting placement matters.
Step 4: Begin slowly
Apply gentle pedal pressure or use a low speed setting so you can learn how quickly the machine responds.
Step 5: Guide, do not pull
Keep your hands flat and relaxed while the feed dogs move the fabric.
Step 6: Keep the seam allowance consistent
Watch the fabric edge and seam guide, not the needle bouncing up and down.
Step 7: Secure the seam if appropriate
Use reverse or a lock stitch when the project instructions call for a secured seam end.
Step 8: Stop safely
Raise the needle and presser foot as required by the machine, remove the fabric, and trim the threads.
Choosing the Right Needle, Thread, and Stitch
Needle, thread, fabric, and stitch choice work as a system. A problem that looks like tension can actually come from a damaged needle, a needle that does not suit the fabric, or thread that is too heavy for the needle eye.
For stable woven cotton, a universal needle and good-quality all-purpose thread are common starting choices. Stretch fabrics often need a stretch or ballpoint-style needle, while denim usually needs a jeans or denim needle. Always confirm compatibility with the needle and machine manufacturers.
- Match the needle to the fabric structure. Stable woven, stretch knit, denim, and delicate fabric each place different demands on the needle.
- Match thread to the needle and project. Thread that is too thick for the needle can shred or create poor stitch formation.
- Start with a suitable construction stitch. Straight stitch works for many woven seams, while stretch fabrics may require a stretch-capable stitch or narrow zigzag depending on the project.
- Test before changing tension. If the seam is poor, verify threading, bobbin, needle, and stitch choice before making several tension changes.
The table below is a beginner starting point. Test on scrap fabric because different fabric weights, seam layers, needles, and machine designs can change the best setup.
| Fabric / Task | Needle Starting Point | Thread Starting Point | What to Check |
|---|---|---|---|
| Lightweight woven fabric | Fine universal or sharp-style machine needle suited to fabric | Quality all-purpose or fine thread | Check for puckering and fabric damage |
| Everyday woven cotton | Universal needle | All-purpose polyester thread | Straight stitch forms evenly on both sides |
| Stretch knit | Stretch or ballpoint-style needle as appropriate | Quality polyester thread | No skipped stitches; seam retains stretch |
| Denim / jeans | Jeans or denim needle | All-purpose or appropriate topstitch thread | Needle penetrates cleanly; slow at bulky crossings |
| Basic woven joining seam | Needle matched to fabric | Thread matched to fabric/needle | Straight stitch and seam allowance remain consistent |
If stitches still skip after a fresh correct needle and complete rethread, use my skipped-stitches troubleshooting guide before changing multiple settings.
How to Sew a Straight Seam
A straight seam is the best first skill because it teaches speed control, seam allowance, fabric guidance, stopping, and stitch consistency at the same time.
Place the fabric under the presser foot, align the edge with a guide on the needle plate, lower the foot, and begin with slow, steady pressure. Keep your eyes on the seam guide and allow the feed dogs to move the fabric.
- Start on scrap fabric. Practice a few straight lines before sewing the real piece.
- Keep your hands relaxed. Use them to steer the fabric edge without stretching or forcing it.
- Stop with control. If your machine has needle down, it can help keep the fabric anchored when pivoting.
- Inspect both sides. Loose loops, skipped stitches, or puckering are clues that the setup needs attention.
- Repeat before speeding up. Accuracy at a slow pace is more useful than a fast wobbly seam.
A slightly uneven first practice line is normal. Repeat the seam while changing only one thing, such as your hand position or speed, so you can feel which adjustment improves control.
Basic Sewing Machine Settings and Controls
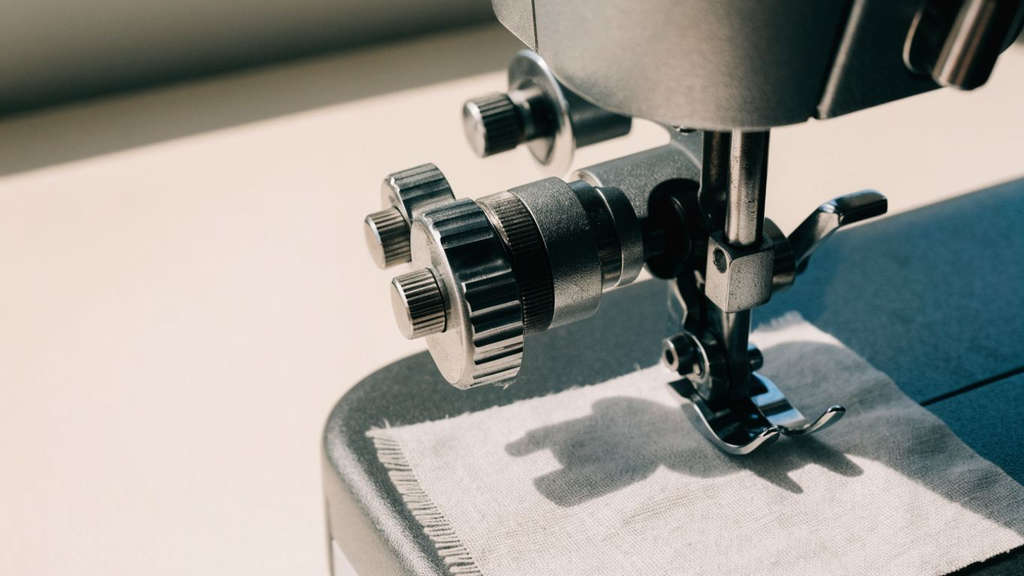
The basic controls you will use most often are stitch selection, stitch length, stitch width when applicable, needle position on some models, reverse or locking, and speed control. The exact adjustment range varies by machine.
Begin with the manufacturer’s recommended settings for a basic straight seam. When you want to experiment, change one control at a time and sew a new sample so you can see exactly what the change did.
Stitch Selection
Choose the stitch based on the project and fabric. For basic woven seams, straight stitch is the usual starting point; zigzag and stretch stitches are used for different finishing or stretch needs.
Stitch Length
Stitch length controls the distance between stitches. Shorter settings place stitches closer together, while longer settings create fewer stitches over the same distance.
Stitch Width
Width controls side-to-side needle movement on stitches such as zigzag and many decorative patterns. A centered straight stitch normally does not use width in the same way.
Needle Position
Some machines let you move the needle left or right for topstitching, zipper work, edge stitching, and accurate seam placement. Always verify that the selected presser foot and needle plate have enough clearance.
Reverse or Lock Stitch
Reverse or a programmed lock can secure many seam ends. Avoid automatically backstitching every technique because basting, gathering, and specialty seams may use a different finish.
Foot Pedal and Speed Slider
Use the pedal gradually and, if your machine has a speed slider, cap the maximum speed while learning. Smooth control matters more than reaching the machine’s top speed.
Upper Thread Tension
If a normal seam shows loops or imbalance, rethread the upper path and check the bobbin and needle before changing tension. Correct tension should let the thread lock form neatly in the fabric layers.
If tension is the real issue, use my beginner sewing machine tension guide and make small, testable adjustments rather than turning several dials at once.
Beginner Sewing Machine Tips and Safety
Good sewing habits are also safety habits. Slow down before reaching near the needle, keep the work area clear, and stop immediately when the machine sounds or feels different from normal.
I switch the machine off before changing a needle or making close-up adjustments near the needle area, and I unplug it for maintenance when the manual instructs me to. I also remove pins before they reach the presser foot rather than intentionally sewing over them.
- Keep fingers clear of the needle path. Use the fabric edges and seam guides for steering rather than placing fingers directly in front of the foot.
- Secure loose hair and sleeves. Anything hanging near moving parts should be moved away before sewing.
- Do not force the handwheel. If the machine jams or feels locked, switch it off and follow the manual’s jam-removal procedure.
- Use good lighting. A clear view of the seam guide reduces the temptation to lean close to the needle.
- Take breaks. Tense shoulders and hands make fabric control less consistent.
- Stop for unfamiliar sounds. Repeated knocking, grinding, electrical smell, or abnormal resistance should be investigated before continuing.
The safest beginner habit is simple: if you are unsure, stop the machine first. There is no sewing step that needs to be fixed while the needle is still moving.
Common Beginner Sewing Mistakes to Avoid
Most beginner mistakes happen before the seam is finished, and many start during setup. I try to catch the first sign of a problem instead of sewing several more inches and hoping it disappears.
- Skipping the scrap test. A scrap is where you verify threading, needle choice, tension, stitch length, and feeding without damaging the project.
- Pulling or pushing the fabric. Guide the fabric and let the feed dogs do the moving.
- Using a damaged or wrong needle. A bent, dull, too-small, or unsuitable needle can cause skipped stitches, thread damage, puckering, or breakage.
- Changing tension too early. Loops underneath often come from upper-thread setup, so rethread before assuming the tension dial is wrong.
- Ignoring the manual. Threading direction, bobbin type, oiling, feed controls, and serviceable parts vary by machine.
- Sewing too fast. Speed hides steering mistakes and makes it harder to stop accurately.
- Sewing over pins. Pins can deflect or break the needle and can damage the machine.
- Starting with difficult fabric. Slippery satin, chiffon, minky, or stretchy knits add handling problems before basic control is automatic.
- Buying too many tools before sewing. A small kit and one beginner project teach you what you actually need.
If your first few sessions are mostly threading, rethreading, and scrap seams, that is still useful progress. These repetitions are how the machine starts to feel predictable.
When you are ready for a small project, choose from my easy sewing projects for beginners rather than jumping immediately into difficult fabric or complex fitting.
Troubleshooting Common Sewing Machine Problems
When a seam goes wrong, stop before pulling hard on the fabric or turning several settings. Raise the needle and presser foot as appropriate, switch the machine off if you need to work near the needle or bobbin area, and troubleshoot in a consistent order.
Many beginner problems are setup problems rather than major mechanical failures. Threading, bobbin placement, needle condition, lint, and an unsuitable needle-thread-fabric combination should be checked before deeper adjustments.
Thread Nests or Loops Under the Fabric
Rethread the upper thread from the beginning, usually with the presser foot raised, and make sure the take-up lever is threaded. Then confirm the bobbin is installed correctly before touching the tension dial.
Skipped Stitches
Install a fresh needle that suits the fabric, confirm it is inserted fully and in the correct direction, rethread the machine, and test again on the same fabric.
Upper Thread Keeps Breaking
Check for incorrect threading, a damaged or incorrectly installed needle, thread caught around the spool, burrs, or thread that does not suit the needle.
Fabric Will Not Feed
Confirm the presser foot is lowered, the feed dogs are in the normal sewing position, the stitch length is not effectively zero, and no jam is blocking the feed area.
Machine Jams
Stop, switch the machine off, and remove the fabric or thread only according to the manual. Do not force the handwheel through a jam.
Seam Puckers
Check the needle, thread, stitch length, fabric support, and tension. Lightweight fabrics may need a finer needle and more careful stabilization or handling.
For a full diagnostic order, use my 15-problem sewing machine troubleshooting guide. If the machine repeatedly locks up, see why a sewing machine keeps jamming for the safest first checks.
If repeated rethreading, a fresh correct needle, correct bobbin setup, and accessible cleaning do not resolve the problem, stop home troubleshooting and arrange qualified service.
What Should a Beginner Sew First?
Your first project should reinforce the skills you just practiced rather than introduce five new techniques at once. Stable woven cotton is usually easier to control than very slippery or highly stretchy fabric.
- Pillowcase or cushion cover. Long straight seams help you practice seam allowance and fabric guidance.
- Simple tote bag. Builds straight-seam control and introduces basic construction order.
- Drawstring bag. Adds casings while keeping the shapes simple.
- Tea towel or napkin hems. Good for learning pressing, turning, and consistent edge stitching.
- Simple apron. Adds longer seams and ties without demanding complex fitting.
Finish one small project before buying more accessories. The first project will tell you whether you need a different presser foot, needle type, cutting tool, or machine feature much more clearly than a shopping list will.
Final Verdict: The Best Way to Learn Sewing Machine Basics
The fastest way to feel comfortable with a sewing machine is to repeat the same setup sequence until it becomes familiar: identify the parts, install the needle and bobbin correctly, thread the upper path carefully, choose a basic stitch, and test on scrap fabric.
Do not rush into tension adjustments or difficult projects. Learn what a normal stitch looks and sounds like, guide the fabric without pulling it, and stop early when something changes. Once you can thread the machine, sew a controlled straight seam, and troubleshoot a simple tangle, you have the foundation for almost every beginner project that follows.
Frequently Asked Questions
What do I need to start using a sewing machine?
Start with the machine and manual, good-quality thread, compatible bobbins, a suitable needle, fabric scraps, fabric scissors, and a stable well-lit work surface.
Should I practice before sewing a real project?
Yes. Practice seams help you learn pedal pressure, threading, fabric feeding, seam allowance, and stitch quality before you risk project fabric.
What stitch should a beginner use first?
For stable woven fabric, a basic straight stitch is the usual starting point. Use the machine’s recommended default settings and test on scrap fabric.
Why does thread loop underneath the fabric?
Loose loops underneath often point to an upper-threading problem. Rethread from the beginning, make sure the thread enters the tension system and take-up lever, then check the bobbin and needle.
Why is my sewing machine skipping stitches?
A damaged, incorrectly installed, or unsuitable needle is a common cause. Install a fresh correct needle, rethread the machine, check the bobbin, and test again on the same fabric.
How do I keep a seam straight?
Watch the fabric edge against a seam guide on the needle plate and let the feed dogs move the fabric. Practice at a slow speed without pulling from behind.
How often should I change a sewing machine needle?
Change it whenever it is bent, damaged, blunt, or no longer forming reliable stitches, and consider starting an important project with a fresh needle. Follow the needle and machine manufacturers’ guidance.
Should I adjust tension when stitches look wrong?
Not first. Rethread the upper thread, check the bobbin, install a suitable needle, and test on scrap fabric before making tension changes.
Can I sew over pins?
I recommend removing pins before they reach the presser foot. A pin can deflect or break the needle and can damage the machine.
What should I do if the sewing machine jams?
Stop sewing, switch the machine off, and follow the manual for removing trapped thread or fabric. Do not force the handwheel.
Is a mechanical or computerized machine easier for a beginner?
Either can be easy. Mechanical machines offer direct dials and tactile controls, while beginner computerized machines may add speed control, clear stitch selection, and automatic buttonholes.
What is the best first sewing project?
Choose something with mostly straight seams and stable woven fabric, such as a pillowcase, tote bag, drawstring bag, simple napkins, or an apron.