How to Sew a Fabric Bag? (Step-by-Step Beginner Guide)
I’ve always loved making things with fabric, and one of my favorite projects is sewing a simple bag. It’s surprisingly easy, even if you’re just starting with a sewing machine. You can whip one up in an afternoon, and they’re so handy for everything from carrying groceries to storing little bits and bobs.
Today, I’m going to walk you through how to sew a fabric bag, step-by-step, so you can make your own too.
Key Takeaways
- Sewing your own fabric bag is a great beginner project that’s quick and versatile.
- Choosing the right fabric, like cotton, canvas, linen, or denim, impacts the bag’s durability and look.
- Gathering your supplies, including fabric, scissors, pins, a sewing machine, and measuring tape, is the first step.
- Understanding basic sewing terms and techniques will make the process smoother.
- Follow the step-by-step guide for cutting fabric, preparing straps, sewing the body, and finishing the bag.
Why Sew Your Own Fabric Bag?
To be fair, the fact that I began sewing my own bags is because I was fed up with buying the flimsy ones. They would fall apart after a few uses, and I thought about how hard it could be to make my own. Well, it turns out that’s actually not that hard of a task at all, especially with this simple of a project.
Making your own fabric handbags can be really satisfying. You choose the fabric you want, the appropriate size for your skin, and all additional details you prefer to be present. Also, it is an excellent working technique to help reduce waste, use fabric leftovers, or convert used clothes into new creations. Fabric pouches are an easy thing to make for gifts and always receive a positive reaction. You feel good gifting something you made
Just think, a perfect fabric bag to match an outfit or pockets that can withstand several trips to the grocery store. And you can also go ahead and feel the sewing without too much investment. You can even use a simple machine to begin! And if you’re looking for a way to protect your sewing machine when you’re not using it, a custom-made cover is a great project too. Sewing machine cases can be pricey, but making your own is a rewarding alternative.
Making your own bags isn’t just about saving money or having something unique. It’s about the process, the creativity, and the pride in creating something useful with your own two hands.
So, why sew your own fabric bag? For me, it’s about control, creativity, and a little bit of self-sufficiency. It’s a simple skill that opens up a world of possibilities for practical and beautiful handmade items. And if you’re planning to explore more beginner kits, this guide on sewing kits for beginners can really help you get started faster.
Choosing the Right Fabric for Your Bag
Cotton and Canvas
When I was first beginning to sew bags, it was a cotton and canvas game. They’re pretty forgiving for beginners. Quilting cotton is a great option, as it is readily available in all sorts of fun prints. Perfect to wear slightly n-a-r-row-er bags, perhaps carrying your groceries, or as a small, lovely tote for One Day Out. Canvas is a bit more durable and can support some heavier items under the right conditions.
Use Consider: If you have a bag that may include books or more gentle items, before cutting into your cotton fabric, it’s best to pre-wash it since it can shrink a bit in the wash. In this manner, your completed bag won’t be abruptly smaller after its previously mentioned laundry.
Linen and Denim
The linen has such great drape, and deep down feels so good. It can be a little more fragile than canvas. I tend to use it for bags to give the bags a more relaxed feel. Prepare to iron as it creases easily. Denim is also a great choice. Talk about durable! It is sturdy and resilient and makes a perfect material for a bag that will see its share of usage. I have actually made several denim bags, and they last really well.
If you’re working with heavier fabrics like denim, you might need a stronger needle for your sewing machine. It’s also worth looking into a sewing machine carrying case if you plan on transporting your machine to a sewing class or a friend’s house, as heavier fabrics can be a bit more challenging to work with.
When selecting fabric, consider what you’ll be using the bag for. A bag meant to carry heavy items needs a more robust material than one intended for light, everyday use. Think about the fabric’s weight, durability, and how it will drape.
If you plan to work with thicker fabrics like denim, using a heavy-duty machine like the Singer 4452 Heavy Duty Sewing Machine can make your work much easier.
Essential Sewing Supplies You’ll Need
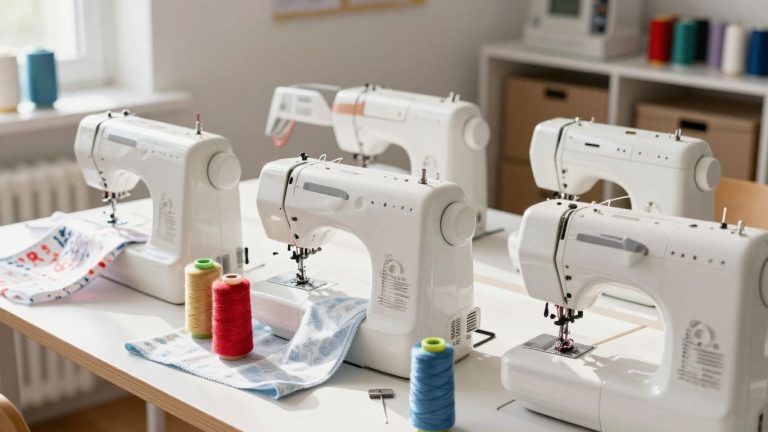
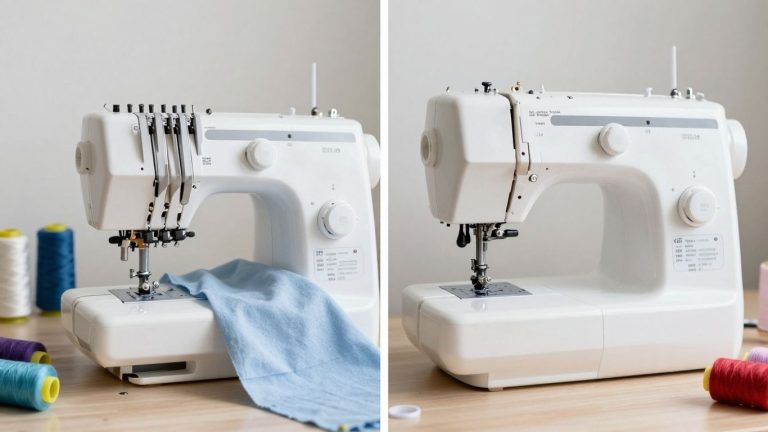
Ok, so let’s get onto what you will literally need to make THIS bag. Part of why I love sewing bags is that it’s not a ton of stuff. A sewing machine is a must-have item that you need first. Beginners should not buy the most elaborate model out there. Anything very basic that can do simple stitches is just ideal. I came across a really simple one that I could learn the language in, and it is still very much relevant.
And, of course, to the world outside of the machine, you need fabric. We already spoke about picking it, but leave enough for your bag, as well as any straps.
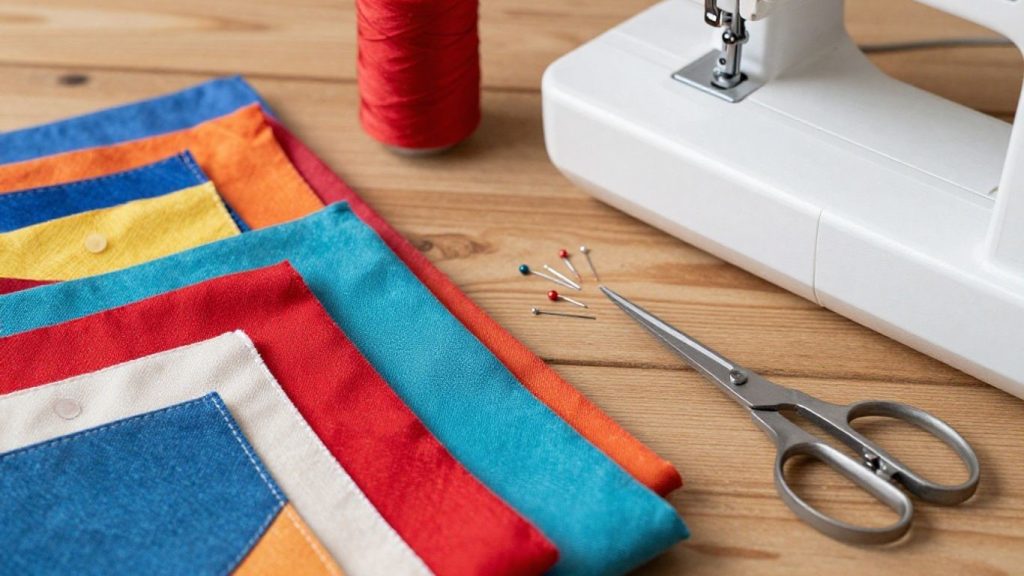
Here’s a quick rundown of the other bits and pieces:
- Sharp Utility Knife or Rotary Cutter: To make clean cuts in fabric, you need something sharp. A rotary cutter, along with a mat & ruler, is great for straight lines, but plain ol’ scissors work as well.
- Pins or Wonder Clips: These will hold your fabric pieces in place as you sew them. The nice thing about clips is the fact that they leave no holes in thicker styles of fabric.
- If your project involves lines, circles, or squares, it is always better to have the most precise measuring tool you can find on hand; a measuring tape or ruler will do.
- Iron and Ironing Board: This does NOT mean you need to get a big, expensive ironing board. But pressing seams as you go is an amazing way to have your finished bag look professional.
- Thread: Remember to match it with your fabric, or make sure that it will go well. General-purpose polyester thread is durable enough for basic use.
- Needles: You need a sewing machine needle, and it’s helpful to have the different sizes available (especially for thicker fabrics). Bags are fairly easy going; a size 14 or 16 needle is usually good for them.
- Seam Ripper: Use this with confidence! No one is perfect (unless you are a machine, not a human!), and a seam ripper will be your best friend to remove mistakes without destroying the fabric.
- Turning Tool (Optional, but Useful): The likes of a chopstick or purpose-built turning tool help you push out the corners nicely.
The process becomes a bit more forgiving when you have the right tools. Just like cooking, you can eat with a knife and a pan, but more gadgets or tools make it convenient and fun.
And that’s pretty much it! There’s no need for an entire workshop to create a decent bag. These are the few things you will need to have prepared, and you will be set up for sewing.
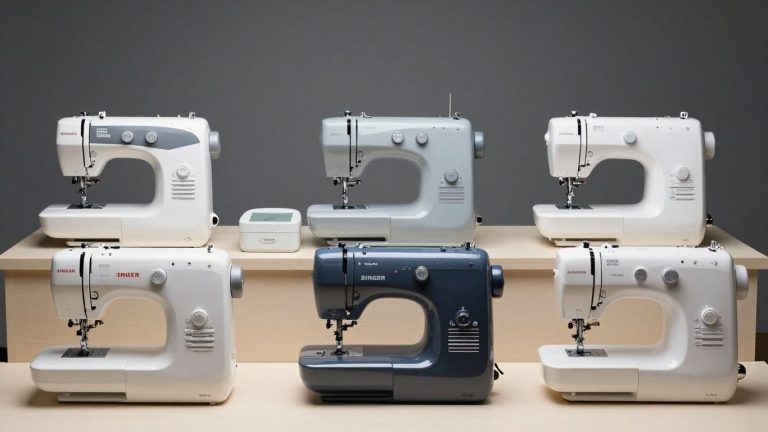
If you’re unsure which one to pick, you can check reviews like the Brother CS7000X review or the Singer M3330 review for beginner-friendly options.
Understanding Basic Sewing Terms and Techniques
I wanted to go over a few terms and techniques before diving into our beginner sewing projects with fabric. It may sound a bit tedious, but these will make your life easier all along the way. Look at this as the Alphabet before you write your story!
Bottom line up front, seam allowance. This is the worst-case-scenario distance to go between the fabric edge and the stitch line. On this project, I am going with a standard 1/4 to 3/8 inch seam allowance. You will also hear references to the fabric having a right side or a wrong side.
The ‘right side’ is often the nicer side you want to be on the outside of your bag, and the ‘wrong side’ is what’s going on inside. To sew pieces together, you usually put the right side of the fabric facing another piece of fabric.
Here are a few common stitches and techniques you’ll use:
- Straight Stitch. Your standard stitch for most construction. It is nothing more than a line of stitches.
- Zigzag Stitch: For finishing raw edges to help reduce fraying. Adjust the width and length according to your fabric. Fit a 4 X 2 usually works fine.
- Topstitching: Decorative stitching on the outside of the bag, generally located close to an edge for a finished appearance, along with strength.
- Pressing: Not just staggering, but using the heat and pressure to set seams and folds. Instead of rushing to the end, take the time to press as you go: it will really make a difference in the final look of your sewing crafts for beginners.
Well, the recommendation is that when you start sewing on any machine or with a new needle, you should hold onto both top thread and bobbin thread for the first few stitches of your sewing project. This should help keep a pile of threads from getting stuck on the bottom side of your fabric. You can release it after you have made a few stitches.
As we progress, these basics will go a long way in understanding. For a heavier fabric, I would veer toward a wonderful machine like the Janome HD1000 for sewing heavier fabrics. You will say, “There is a lot of information!” the first time. Don’t worry, practice makes perfect!
If you’re new to machines, I highly recommend reading this guide on how to thread a sewing machine, it saves a lot of beginner frustration.
Step-by-Step: How to Sew a Simple Fabric Bag

Now let’s get into the real business and actually create this bag! This is the part where the magic happens, and well, it’s pretty easy. And if you are looking for easy sewing projects with cloth bags, then here is a good one. DIY Tote Bag tutorial, Simple tote bag for Beginners!
If you want a quick overview version, you can also check this similar guide on how to make a simple tote bag.
Step 1: Measure and Cut Your Fabric
Cutting the fabric comes first. The dimensions of your bag are completely up to you, but for a good medium bag, I typically cut an 18-inch wide by 20-inch tall piece. Add a smidge more for seam allowances, around half an inch on each side, and the bottom is standard.
If you want a finished bag that is 17″ wide and 19″ tall, then cut your fabric to 18″ x 20″. If you are working with a fabric that frays easily, you may want to consider cutting it slightly larger, as this will provide more edge to the fabric for finishing.
Here’s a quick guide for some common sizes:
| Finished Bag Size (approx.) | Fabric Cut Size (approx.) |
| 8″ x 9″ | 9″ x 11″ |
| 13″ x 12″ | 14″ x 13″ |
| 17″ x 19″ | 18″ x 20″ |
Don’t stress too much about exact measurements for your first try. The goal is to learn the process. You can always adjust the size next time!
Step 2: Prepare the Bag Straps
I tend to cut 2 straps, each roughly 4×20. Change the size according to how long you want your bag straps. Fold each strip in half lengthwise with the wrong sides together and press to make them heavy. Next, open it up and fold each of the long ends over to meet at that center crease from earlier, and press again.
Finally, fold that in half along the original center crease, hiding any raw edges. Your strap needs to be approximately 1 inch. Sew along each long edge about 1/8 of an inch in from the edge to hold them. Yeah, make sure both straps are equal length!
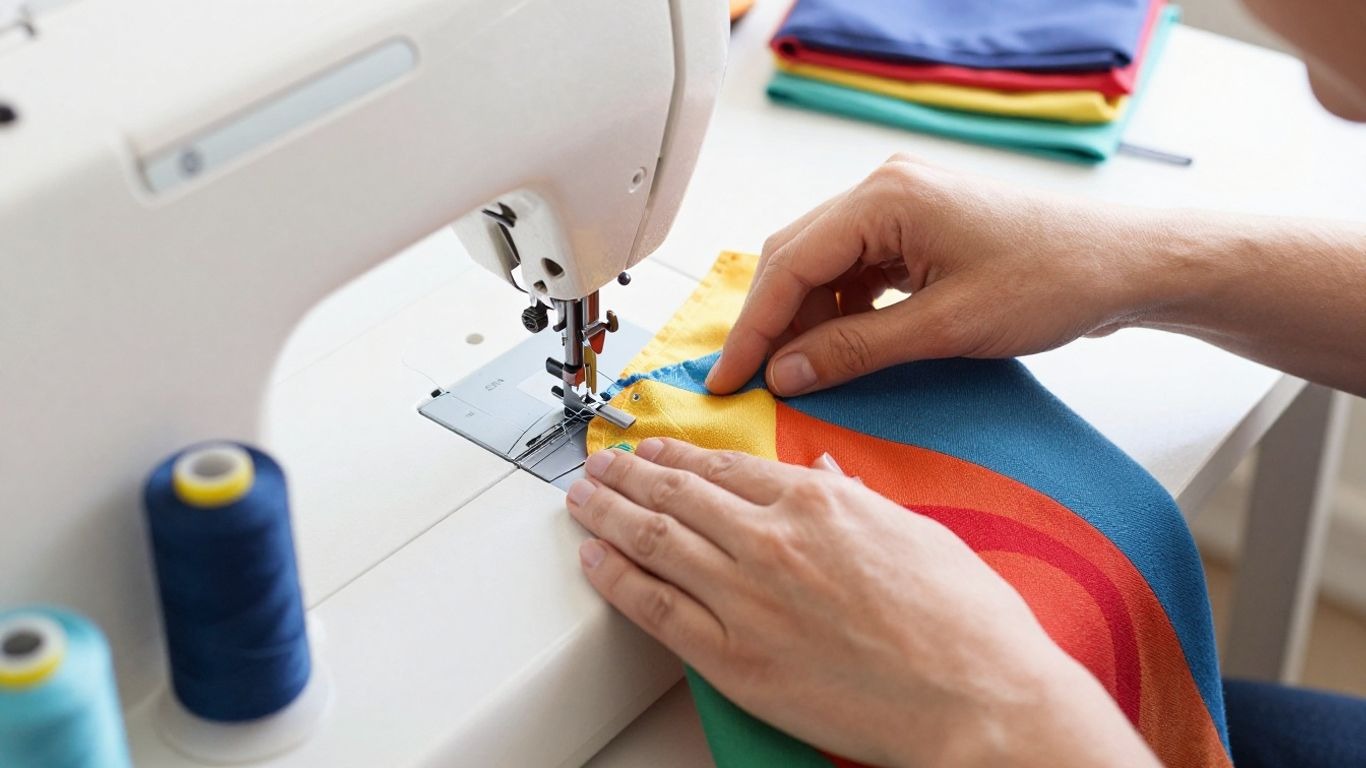
Step 3: Sew the Bag Body
Assuming you have fiddled around a bit with your main fabric pc (or PCs if making lined but let’s keep it simple. Layer on top, with the right sides of your fabric touching each other. Fold it in half in one way. Pin the two sides and pin the bottom edge.
We are going to sew these seams. Sew down the sides and across the bottom using a 1/2 inch seam allowance. Make sure you backstitch at the beginning and end of every seam to ensure it stays together. For fabrics that fray, going over the seams with a zigzag stitch will keep them neat.
For thicker materials, using machines like the Singer Heavy Duty 4423 can make stitching smoother.
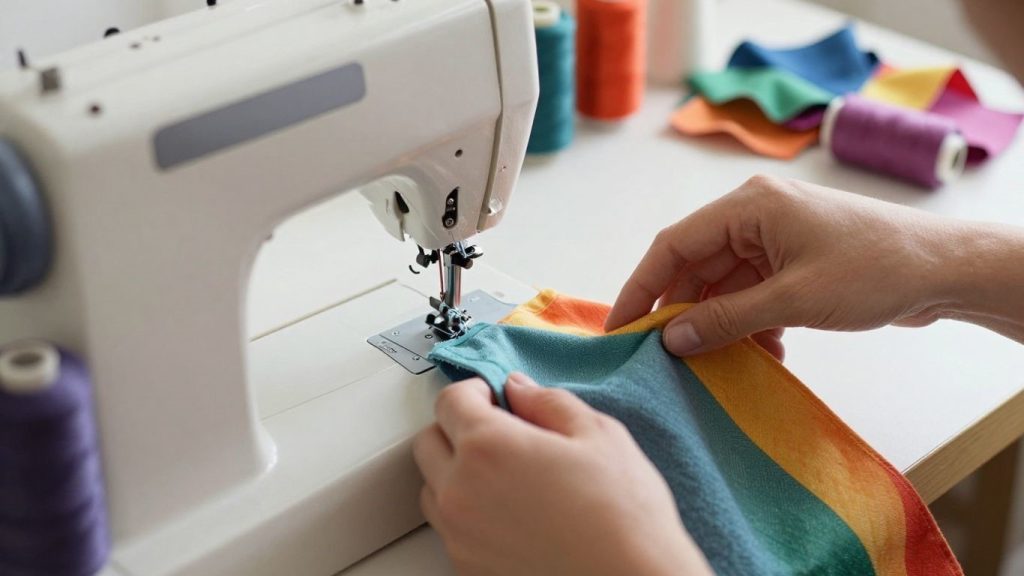
Step 4: Attach the Straps and Finish
This is what actually makes it a bag! The first thing is creating a beautiful upper edge. Press down the top raw edge about 1/2 inch towards the wrong side of the fabric. Next, fold it down again,// about 1 inch, and iron again. This creates a clean hem. Now, take your prepared straps. Fold over this hem inward, about 3 inches in from each side seam, and tuck the raw ends of each strap into place. Your strap thong has to be facing down into the well of the bag.
Pin them securely in place. Place the top of the hem into the bottom seam and, using your needle (two pants side by side), sew continuously around for about 1/8 of an inch from the edge. Thus, hems and attaches the straps. I usually further reinforce each connection with a box and ‘X’ sewn within the box.
And even if you do carry heavy stuff, this is a tried-and-true way to ensure those straps go nowhere. And that’s pretty much it! Give your bag a little press with the iron, and there you have an awesome finished bag. Wonderful sewing simple tote for beginners project, great way to create your own simple tote.
Tips for Customizing Your Fabric Bag
Once you’ve got the basic bag sewn, the real fun begins: making it your own! There are so many easy fabric project ideas to add your personal touch. I like to think of it as giving the bag a little personality.
Here are a few ways I like to jazz up my bags:
- Pockets: An interior or exterior pocket is really practical. Create a simple patch pocket or even (if you are feeling super adventurous) a zippered one. Which is great for holding your phone or keys.
- Appliques and Patches: There are some really neat bags out there with fabric appliques or even purchased patches added. Skip the free sewing and actually cut shapes out of different fabrics or iron-on patches for a graphic element!
- Embroidery. If you have an embroidery machine and/or enjoy doing hand embroidery, adding a monogram or even a small, low-contrast design can definitely make your bag look really professional.
- Fabric Paint or Stencils: Do not underestimate the power of fabric paint! You can use stencils to achieve basic patterns, or you can skip the stencil and freehand some designs. So it is a fast method to put some colors in.
Don’t forget about the straps! You can widen them, give a padding for comfort, or use another material like faux leather if you want a more structured look. Once, I sewed a bag with braided fabric straps, and it was gorgeous.
Think about what your bag is for as well. Maybe for groceries, you want to reinforce the bottom. Maybe if it’s for someone special, a nicer fabric or some embroidery. The possibilities are practically limitless and are really about creating something that functions for you and also looks excellent.
If you’re into embroidery, you might like checking machines like the Brother PE900 for more advanced designs.
You Did It!
And there you have it! I hope you had fun creating your own fabric bag. It’s amazing how one can turn a piece of fabric into something in such a way.
It’s okay, even my first one was far from it when I began. What matters is that you attempted, learned something different, and now have a purse that was made by your very own hands. Practice, and pretty soon, you will be churning these out in no time. Happy sewing!
Frequently Asked Questions
What kind of fabric should I use for my bag?
For a sturdy bag, I like to use fabrics like cotton canvas or denim. If I’m making a lighter bag, I might choose linen or a quilting cotton. It really depends on what I plan to use the bag for. For something that needs to hold up to a lot of use, a heavier fabric is best.
Do I need a special sewing machine?
Nope! A regular home sewing machine will work just fine for most fabric bags. If you’re using a really thick fabric, you might need a stronger needle, but for basic projects, your standard machine is perfect.
How big should I cut my fabric pieces?
The size of your fabric pieces depends on the size of the bag you want! For a medium-sized bag that’s about 8 by 9 inches when finished, I usually cut my fabric rectangles to be around 9 by 11 inches. Always remember to add a little extra for the seams and for folding over the top edge.
What’s a seam allowance?
A seam allowance is the little bit of fabric you leave on the edge when you sew two pieces together. It’s like a little buffer zone that keeps your stitches from unraveling. For most bags, I use about a 3/8 inch seam allowance, but it’s good to check your pattern or instructions.
How do I make the bag straps?
To make straps, I usually cut long strips of fabric. Then, I fold the long edges towards the middle and press them down. After that, I fold the whole strip in half again and press it to make a nice, sturdy strap. Finally, I sew along both long edges to keep it all together.
Can I add pockets to my bag?
Absolutely! Adding pockets is a great way to make your bag more useful. You can sew them onto the inside lining before you put the bag together, or even add them to the outside if you like. It’s a simple addition that makes a big difference.