25 Easy Sewing Projects for Beginners: Gifts, Home, Clothes & Accessories
The best sewing projects for beginners are small enough to finish, useful enough to feel rewarding, and simple enough to teach one or two new skills at a time. I start with stable woven fabrics, straight seams, simple hems, and projects that do not depend on perfect fitting or complicated fasteners. As confidence grows, I add turning, elastic, interfacing, thicker layers, curves, and eventually beginner garments.
This guide organizes 25 easy sewing projects in a practical skill progression so you can build real technique while making gifts, home items, clothing, and accessories you can actually use.
Quick Answer: What Are the Best Sewing Projects for Complete Beginners?
If you have never sewn before, start with cloth napkins, fabric coasters, a bookmark, curtain tiebacks, or an envelope pillow cover. These projects use stable shapes and mostly straight seams, so you can practice threading, seam allowance, corners, pressing, and backstitching without worrying about fit. Move next to drawstring bags, totes, scrunchies, and lined accessories, then try elastic-waist garments once straight seams and basic machine setup feel routine.
Key Takeaways
A beginner project should reduce variables, not remove learning. The goal is to finish something useful while practicing a skill you can carry into the next project.
- Start with stable woven fabrics like medium-weight quilting cotton for easier handling.
- Focus on one new sewing skill at a time instead of combining multiple difficult techniques.
- Test your machine on the same fabric, thread, needle, and layers before starting the project.
- Press seams and hems carefully to make sewing, alignment, and finishing easier.
- Choose the correct needle for the fabric, such as universal, stretch, denim, or Microtex.
- Start with essential tools instead of buying every sewing accessory at once.
- Follow manufacturer guidance for heat-sensitive projects because homemade items are not automatically microwave-safe.
I would rather see a beginner finish three simple projects and understand why the seams worked than start one complicated project that turns every step into a new problem.
How I Test and Develop Beginner Sewing Projects at MariaSew
I have more than 12 years of hands-on sewing experience, and I test sewing techniques in my own sewing space before I describe them as beginner-friendly. I do not judge an idea only by the finished photo. I cut the fabric, thread the machine, sew the seams, turn the corners, press the project, and pay attention to where a new sewist is most likely to get stuck.
When I work on a new idea, I simplify the construction first. I ask whether a zipper can wait until the next project, whether a stable woven fabric will teach the skill more clearly than a slippery or stretchy one, and whether the seam allowance, turning opening, elastic casing, or interfacing step can be explained without hidden assumptions. I also test the project on scraps when thickness, heat, stretch, or stitch settings could change the result.
- I test real fabric behavior. I check fraying, stretching, bulk, pressing response, and whether the layers feed evenly.
- I test the machine setup. I sew sample seams before the project and change the needle, thread, stitch length, or presser foot when needed.
- I repeat the difficult step. Corners, casings, curved seams, elastic, layered edges, and turning openings deserve more than one test.
- I check whether the project is useful. A beginner learns faster when the finished item has a real purpose and gives a reason to sew another one.
- I separate technique from decoration. Trim, contrast topstitching, and embellishment come after the basic construction works.
This matches the hands-on standard described on MariaSew’s About page, where techniques are tested under real conditions before they are taught or recommended.
Why These 25 Projects Work for Beginners
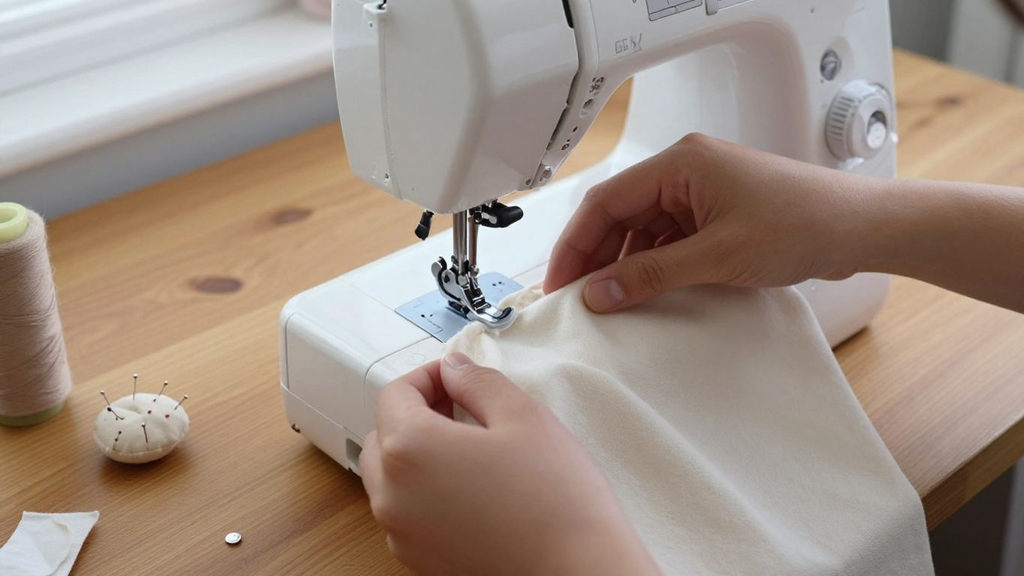
Most of these ideas use rectangles, squares, gentle curves, simple hems, elastic, or basic turning. That matters because every extra construction variable competes for attention while you are still learning to steer fabric and keep a consistent seam allowance.
I have ordered the projects from easier flat items toward more dimensional pieces and simple garments. You do not need to complete them in exact order, but the progression helps you build straight stitching before adding casings, elastic, interfacing, bulk, curves, and fit.
Essential Sewing Supplies for Your First Projects
You do not need a full sewing room to start. A small, reliable kit is easier to learn because every tool has a clear job, and you can add specialty supplies only when a project actually needs them.
- Sewing machine. A basic domestic machine that makes a reliable straight stitch, zigzag, and reverse stitch is enough for most projects in this guide.
- Fabric scissors or rotary cutter. Use cutting tools only for fabric so the edge stays sharp and clean.
- Pins or sewing clips. Use them to control layers, especially before you are comfortable guiding fabric by hand.
- Seam ripper. Mistakes are normal. A sharp seam ripper lets you correct a seam instead of sewing another step over it.
- Measuring and marking tools. A tape measure, ruler, seam gauge, and fabric-safe marking tool help with hems, elastic, rectangles, and seam allowances.
- Iron and pressing surface. Pressing stabilizes folds and makes hems, corners, casings, and topstitching easier to control.
- Thread and needles. Use reliable thread and a needle type and size that match the fabric and thickness.
If you’d rather buy it all at once, see our beginner sewing kit picks.
If you are still choosing a first machine, use MariaSew’s beginner sewing machine guide and sewing machine comparison tool.
Beginner Sewing Machine Features That Make Projects Easier
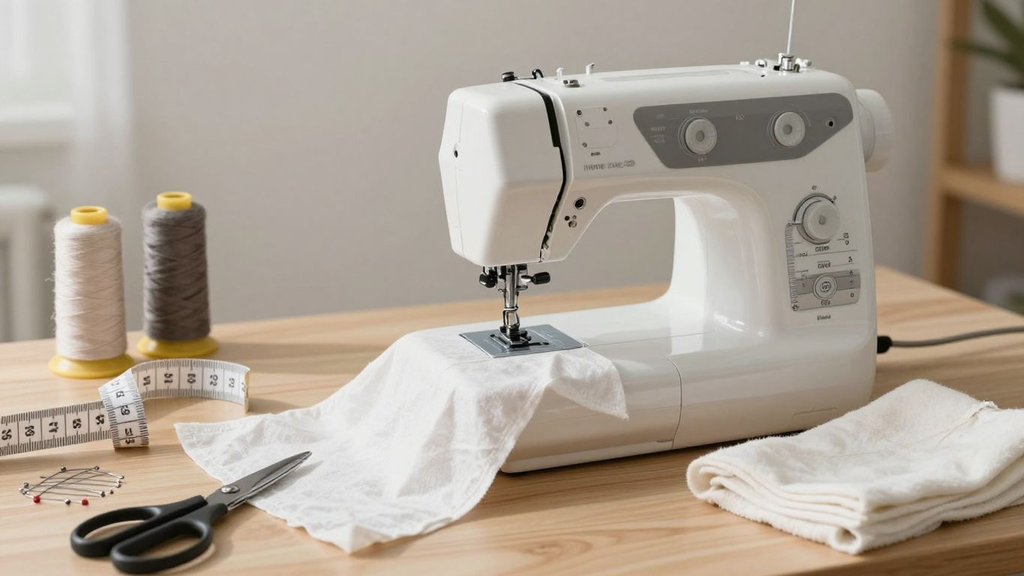
You can sew all 25 projects on many basic domestic machines, but a few features make the learning process calmer. I care more about predictable control than a large decorative-stitch library.
Reliable Straight Stitch and Zigzag
A straight stitch handles most construction seams, hems, topstitching, casings, and simple garments. Zigzag is useful for finishing some raw edges, sewing certain elastic applications, and working with fabric that needs a little stretch.
Adjustable Stitch Length and Width
Being able to lengthen or shorten a stitch helps when moving from light cotton to thicker layers or topstitching. Adjustable width gives you more control over zigzag and edge-finishing stitches.
Responsive Foot Pedal or Speed Control
A smooth pedal is enough for many beginners, but a maximum-speed slider can make corners, curves, and short seams much easier to learn. Controlled slow sewing is more useful than a high top speed on a first machine.
Needle Up/Down
Programmable needle down is useful for pivoting at corners and keeping fabric anchored while repositioning. It is common on computerized machines but not required for beginner success.
One-Step Buttonhole
You can complete these projects without relying heavily on buttonholes, but a one-step system becomes valuable as you move into garments, bags, and closures.
Built-In Needle Threader and Easy Bobbin Access
These features do not improve stitch quality by themselves, but they reduce setup friction. A visible top-loading bobbin also makes it easier to notice when thread is running low.
Free Arm
Removing the accessory bed to expose a free arm makes cuffs, trouser hems, sleeve openings, and narrow tubes easier to sew.
Useful Presser Feet and Good Lighting
A standard foot, zipper foot, buttonhole foot, and edge-finishing option cover many beginner tasks. Bright needle-area lighting makes seam allowances and markings easier to see.
Beginner Sewing Machine Feature Guide
The explanations above show why these features matter. The table below is a practical checklist rather than a minimum specification every machine must meet.
A simple mechanical machine can be an excellent first choice if you prefer physical dials, while a computerized machine can be easier if a speed slider or display makes you more confident. Choose the control style you understand best, and see mechanical vs. computerized machines if you’re unsure.
| Feature / Specification | Priority | Why It Helps a Beginner |
|---|---|---|
| Straight stitch + reverse | Essential | Construction seams, hems, handles, casings, garments |
| Zigzag stitch | Very useful | Edge finishing, elastic techniques, some stretch sewing |
| Adjustable stitch length | Very useful | Cotton, thicker layers, basting, topstitching |
| Adjustable stitch width | Useful | Zigzag and edge finishing |
| Speed control slider | Helpful | Learning control, curves, detailed sewing |
| Needle up/down | Helpful | Corners, quilting, precise pivoting |
| One-step buttonhole | Growth feature | Garments, closures, future projects |
| Built-in needle threader | Convenience | Faster setup and less eye strain |
| Top-loading bobbin | Convenience | Easy changes and visible thread supply |
| Free arm | Very useful | Cuffs, sleeves, narrow hems, elastic-waist garments |
| Drop feed | Optional | Future free-motion quilting and darning |
| Bright LED lighting | Very useful | Following seam allowances and markings |
For the projects below, the machine only needs to be predictable. A smaller set of reliable features will teach you more than an overloaded machine you do not feel comfortable using.
Choosing Fabric, Thread, and Needles for Beginner Projects
Fabric choice can make an easy pattern feel easy or impossible. I usually start beginners on medium-weight woven cotton because it holds its shape, accepts a press, and does not curl or slide as aggressively as many knits, satins, or lightweight synthetics.
Prewash fabric when the finished project will be washed and when the fabric or pattern care guidance supports it. Some interfacing, batting, coated fabrics, and specialty materials have their own preparation rules, so I do not prewash every component automatically.
- Quilting cotton. My first choice for napkins, coasters, bookmarks, drawstring bags, pillow covers, aprons, and many accessories.
- Cotton canvas or duck. Useful for totes, baskets, book sleeves, and structured projects after you are comfortable with slightly thicker seams.
- Cotton flannel. Soft and beginner-friendly for sleep masks and cozy accessories, but it can shrink and fray more than quilting cotton.
- Lightweight cotton or linen blends. Good for produce bags, simple tops, skirts, and lounge pieces when the fabric is not too slippery.
- Knit jersey. Better saved for later beginner garments because stretch, curling edges, and seam recovery add another variable.
A universal needle is a practical general-purpose choice for many fabrics, but it is not the answer for every project. Stretch fabrics, denim, tightly woven fabric, and heavy topstitching can benefit from purpose-specific needles.
Skills to Practice Before Project One
Before cutting your favorite fabric, spend ten or fifteen minutes on scraps. That tiny practice session can prevent most of the problems that make a first project feel harder than it is.
- Thread and rethread the machine. Learn the full upper-thread path, bobbin loading, and how the presser-foot position affects threading.
- Sew a straight line beside a guide. Practice guiding rather than pulling the fabric.
- Stop with control. Learn how the foot pedal responds and how to stop before the needle runs past a corner.
- Pivot a corner. Stop with the needle in the fabric, raise the presser foot, turn the fabric, lower the foot, and continue.
- Secure seam ends. Practice reverse or the locking method your machine uses.
- Press a seam and hem. Measured, pressed folds are easier to sew accurately.
For a full fundamentals refresher, use MariaSew’s step-by-step learn-to-sew guide.
25 Easy Sewing Projects for Beginners, Ordered by Skill
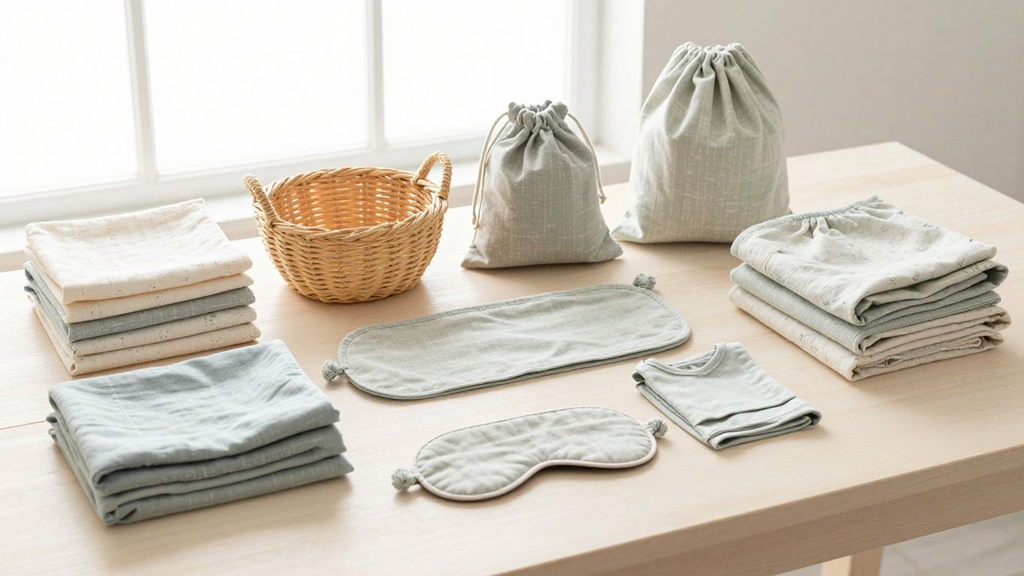
I have arranged these ideas from flatter, straighter projects toward dimensional accessories and simple garments. Each one should make something useful and leave you with a skill that makes the next project easier.
Fabric quantities depend on finished size, fabric width, print direction, lining, and interfacing. For planning rectangles, seam allowances, and yardage, I use the MariaSew Fabric Calculator rather than guessing.
Stage 1: Straight Seams, Hems, and Corners
Start here if you are still learning how fast your machine moves and how to keep fabric aligned. These projects use stable shapes and give you useful repetition without complicated fitting.
1. Cloth Napkins – Best First Hemming Project
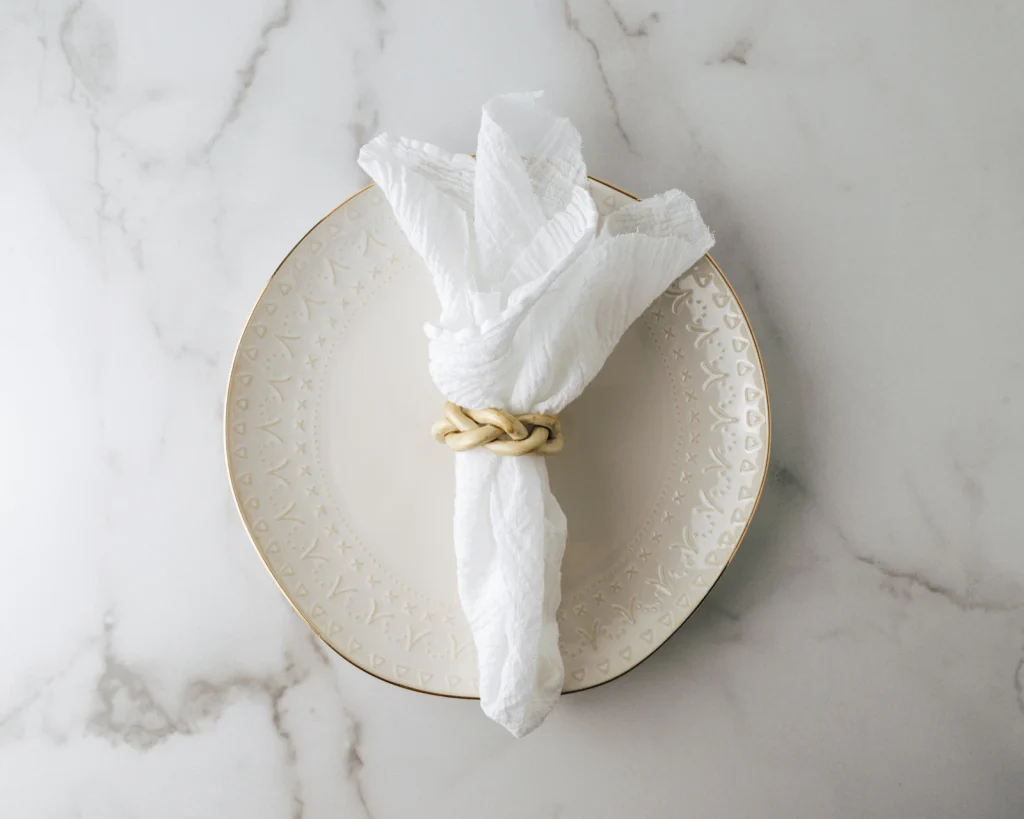
Cloth napkins are one of my favorite true first projects because they are squares or rectangles with finished edges. I use quilting cotton or a washable cotton-linen blend, square the fabric carefully, and practice a double-fold hem around all four sides. The project teaches measuring, pressing, corner control, and keeping a consistent distance from the folded edge. If one corner is not perfect, the napkin is still completely usable.
I make a small sample before sewing the full set so I can decide whether I prefer simple folded corners or a cleaner mitered finish later. For a first set, I keep the construction plain and focus on straight stitching rather than decorative thread. Making four matching napkins is useful because repetition builds muscle memory quickly. By the fourth napkin, most beginners can feel a real difference in control.
2. Fabric Coasters – Best Scrap-Busting Practice Project
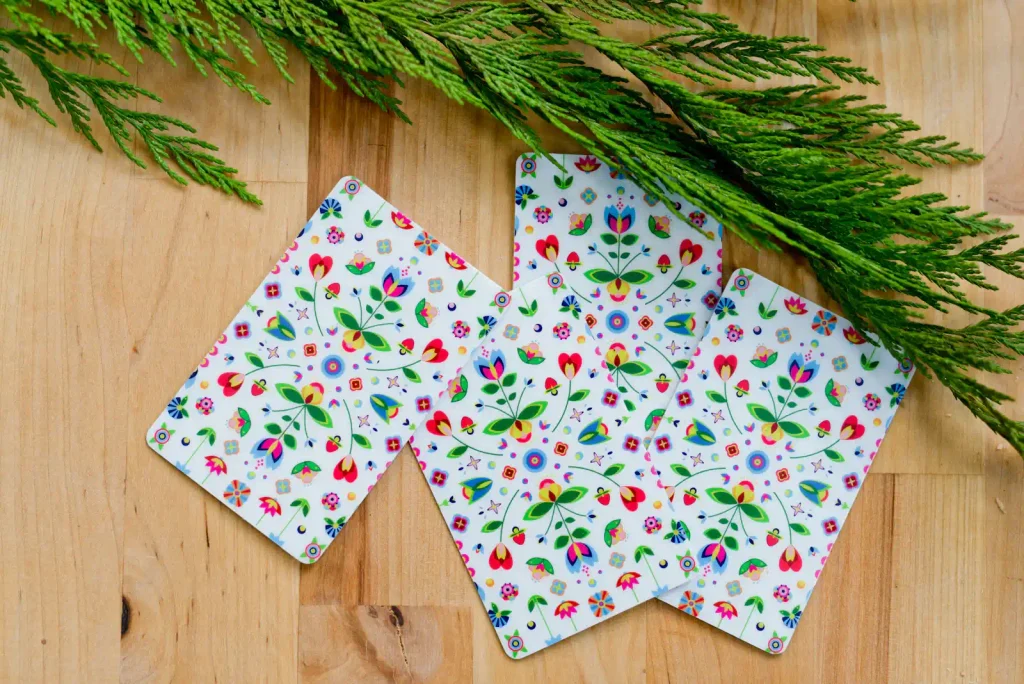
Fabric coasters teach the same straight-seam control as napkins but add turning and topstitching in a very small format. I cut matching squares from stable cotton, sew them right sides together, leave a small opening, trim corner bulk, turn, press, and topstitch around the edge. This introduces a construction method that appears later in sleeves, pillow covers, and small bags. The low fabric cost also makes mistakes feel less stressful.
I like coasters as a first gift project because a slightly uneven seam is easy to correct and the finished set still looks intentional when the fabrics coordinate. You can add a thin layer of suitable batting for body, but keep the stack easy enough for your machine to feed cleanly. Very bulky corners are harder to turn neatly. Once the basic coaster works, contrast topstitching is a simple accuracy exercise.
3. Fabric Bookmark – Best Tiny Project for Precise Topstitching
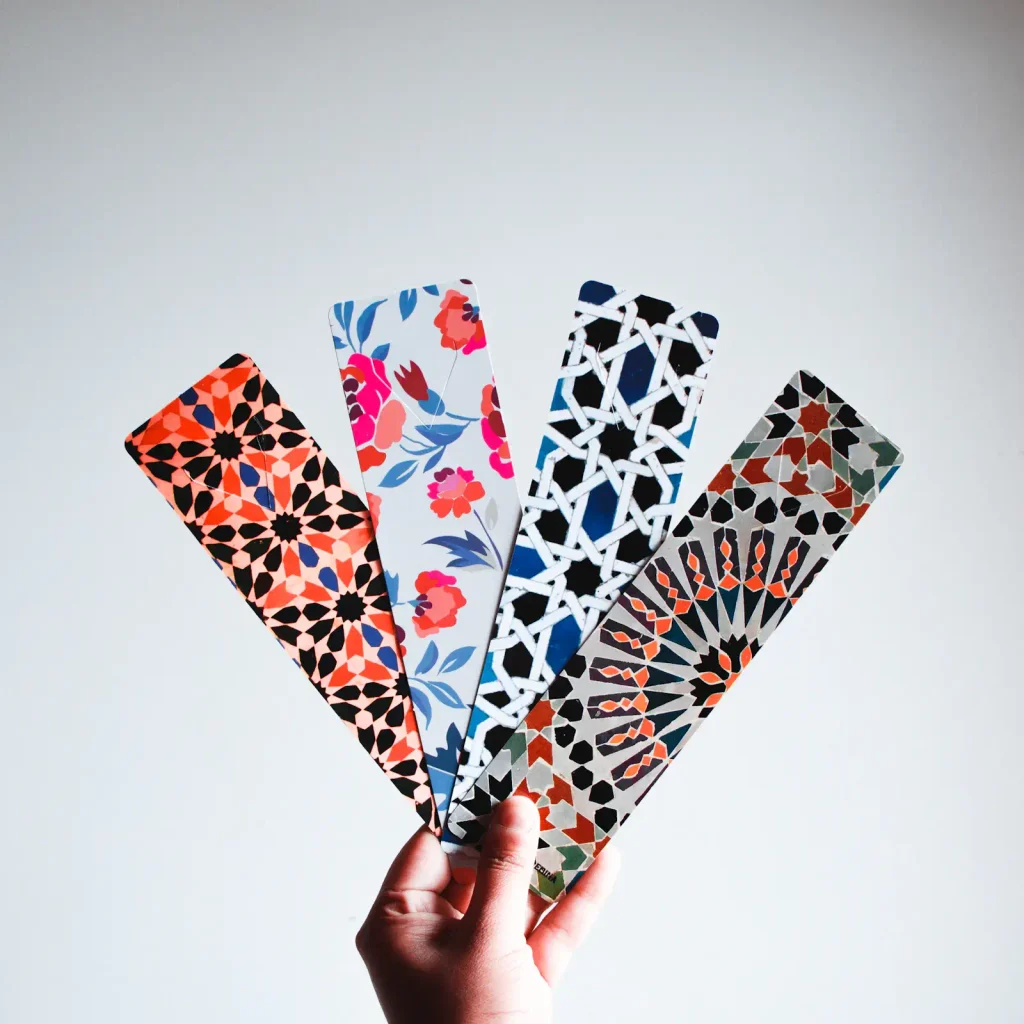
A fabric bookmark uses very little material and is ideal for practicing a narrow, straight finished edge. I usually use quilting cotton with a light interfacing or a second fabric layer so the bookmark has enough body without becoming stiff. The project teaches accurate cutting, pressing, turning, and close edge stitching. Because the piece is small, you can finish one quickly and immediately repeat the technique.
The main challenge is keeping the bookmark straight and flat after turning. I trim the corners carefully, shape them without puncturing the fabric, and press before topstitching. A longer bookmark gives you several inches to practice guiding beside the edge of the presser foot. If the first one twists slightly, check whether the fabric was cut on grain and whether both layers were smoothed before sewing.
4. Curtain Tiebacks – Best Project for Long Straight Seams
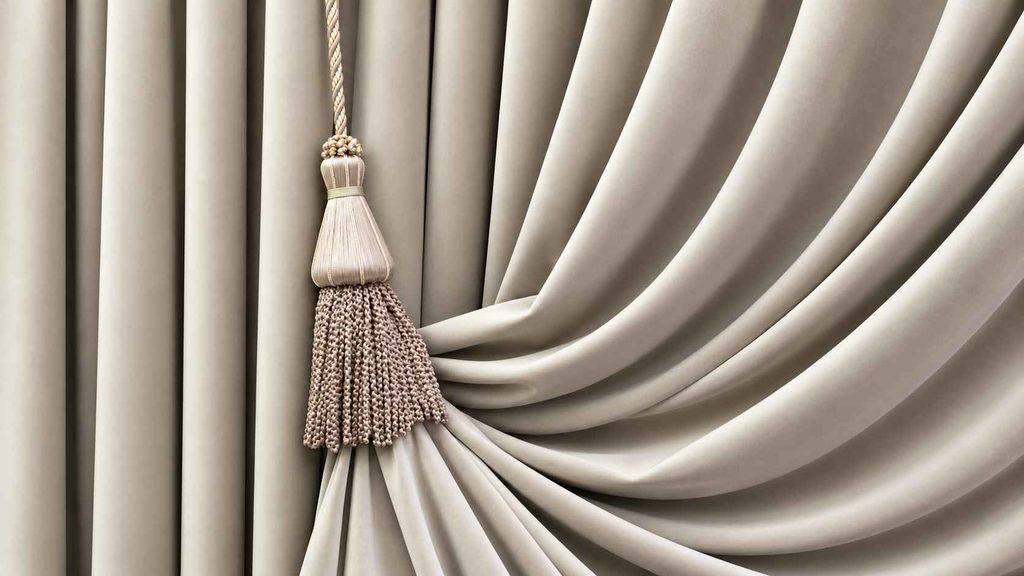
Curtain tiebacks are simple fabric straps that let you practice long seams without fitting a body or sewing a large item. I cut two pieces for each tieback, sew them right sides together, turn them, press them flat, and topstitch for structure. Medium-weight cotton, linen blend, or light home-decor fabric works well. The project teaches consistent seam allowance and how to keep a long narrow piece from twisting.
I keep hardware optional on the first version. A sewn loop, button, hook, or ring can be added later, but the basic fabric tieback is useful without complicating the closure. If the fabric is soft, a light interfacing can add shape, though I test the fused sample first. Matching two tiebacks is also a good exercise in cutting pieces to the same dimensions.
5. Envelope Pillow Cover – Best First Home Decor Project
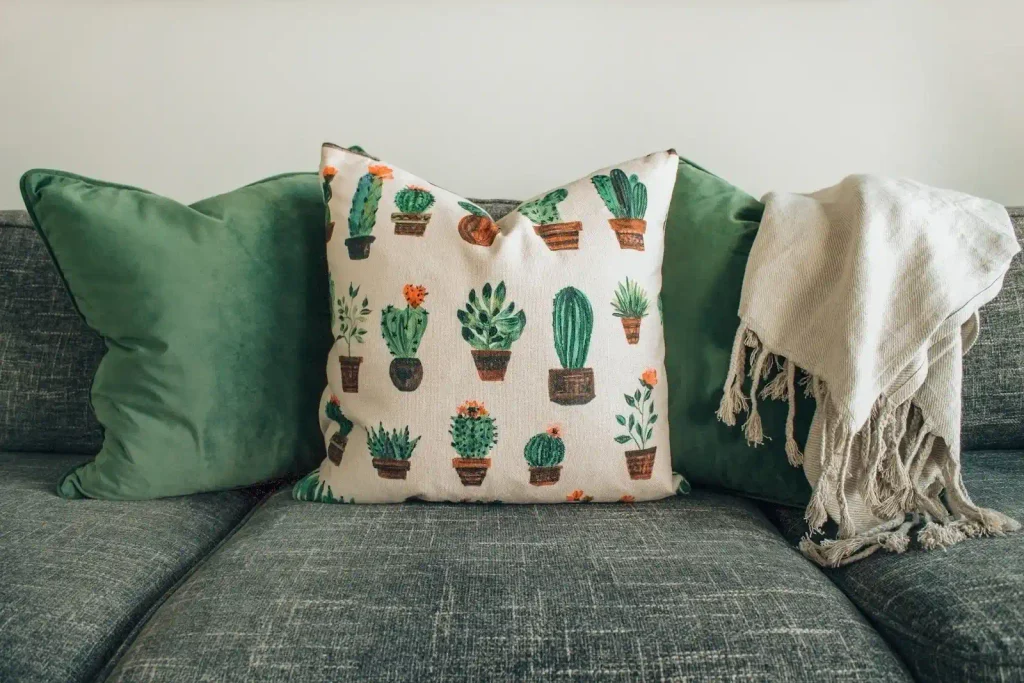
An envelope pillow cover is an excellent first larger project because it is built from rectangles and does not require a zipper. I use stable cotton, linen blend, or light home-decor fabric, finish the two back-panel edges, overlap them, and sew around the perimeter. The pillow form creates the final shape, so the project is forgiving even if an internal seam is not perfect. It teaches measuring, hemming, layering, and long straight seams.
The key is calculating the finished cover size correctly so it is not loose or impossibly tight. I measure the actual pillow form and include seam allowances rather than relying only on the label size. If the fabric has a directional print, I check orientation before cutting. Once the cover is turned and pressed, optional edge topstitching can make it look sharper.
6. Lavender Sachet – Best Small Gift for Turning and Closing Openings
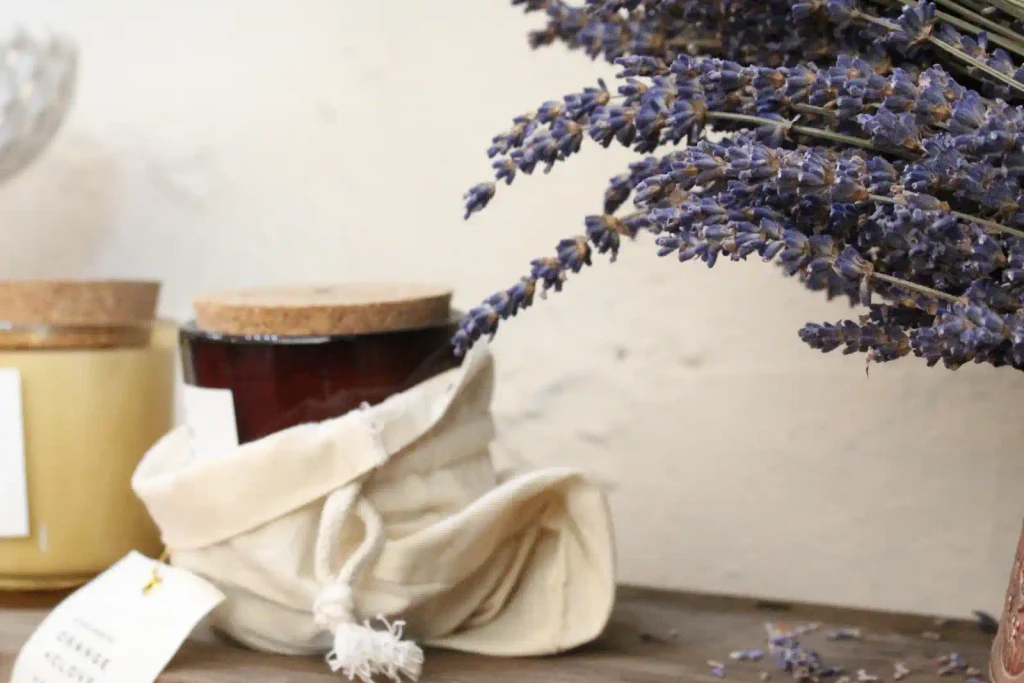
A lavender sachet is a small fabric pouch, which makes it useful for practicing sewing around a shape and closing a turning opening. I use tightly woven cotton so the dried filling does not escape easily, sew the pieces right sides together, and leave a small opening. After turning and pressing, I fill the sachet lightly rather than packing it hard. The final opening can be hand stitched or carefully topstitched closed.
I treat the filling as part of the project choice, not an automatic ingredient. Fragrance can bother people with sensitivity or allergies, so an unscented filling or removable inner pouch may be a better gift. Keep loose botanicals away from children and pets who might ingest them. From a sewing perspective, this turning-and-closing method appears in many cushions, toys, and soft accessories.
7. Drawstring Gift Bag – Best First Casing Project
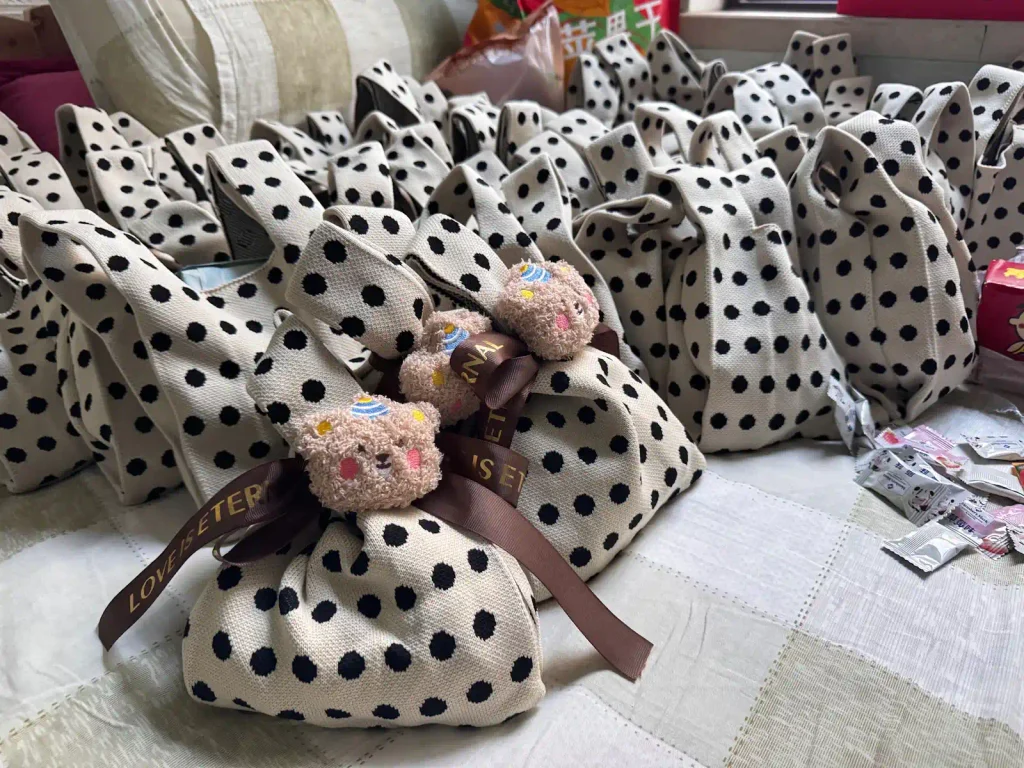
A drawstring gift bag introduces a casing without adding a zipper or complicated hardware. I start with quilting cotton, sew the side and bottom seams, finish raw edges as needed, and fold the top to create a channel for cord or ribbon. The project teaches you to stop seams accurately so the casing remains open and to stitch parallel lines around an edge. It is easy to resize for jewelry, gifts, or reusable holiday packaging.
I test the drawstring width before sewing the casing because a narrow channel can make threading frustrating. A safety pin or bodkin helps pull the cord through, and two cords threaded from opposite sides create a bag that cinches evenly. If you are still learning seam finishing, a simple zigzag inside is enough for practice. French seams or a lining can become later upgrades.
Stage 2: Simple Bags, Elastic, Linings, and More Layers
Move here once straight seams and basic turning feel comfortable. These projects add handles, elastic, lining, thicker stacks, or light structure while keeping the overall shapes beginner-friendly.
8. Simple Tote Bag – Best First Bag
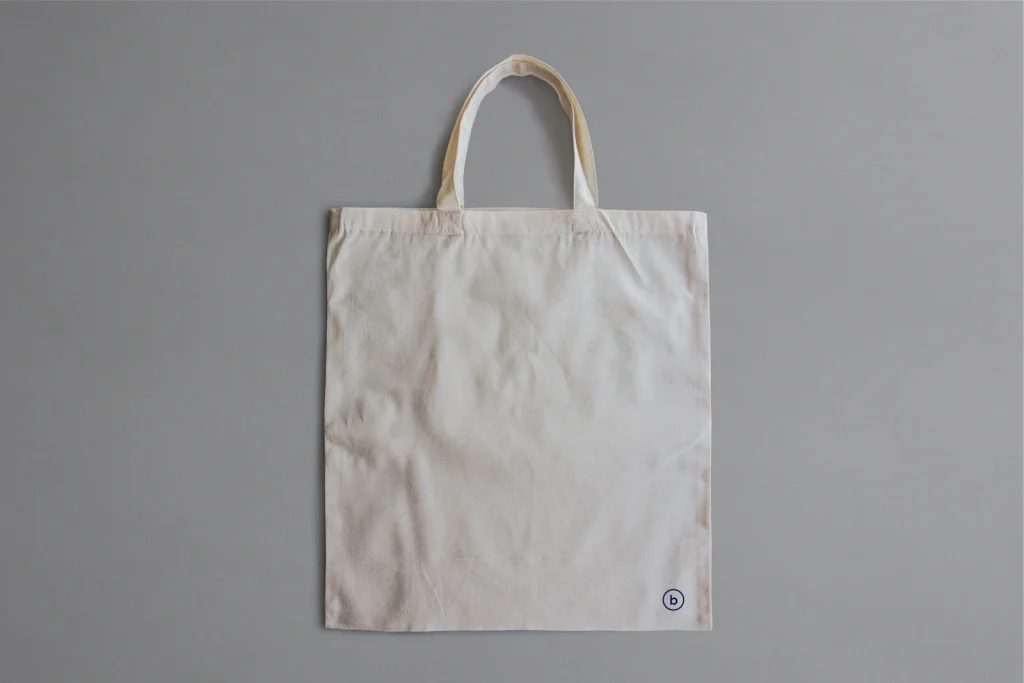
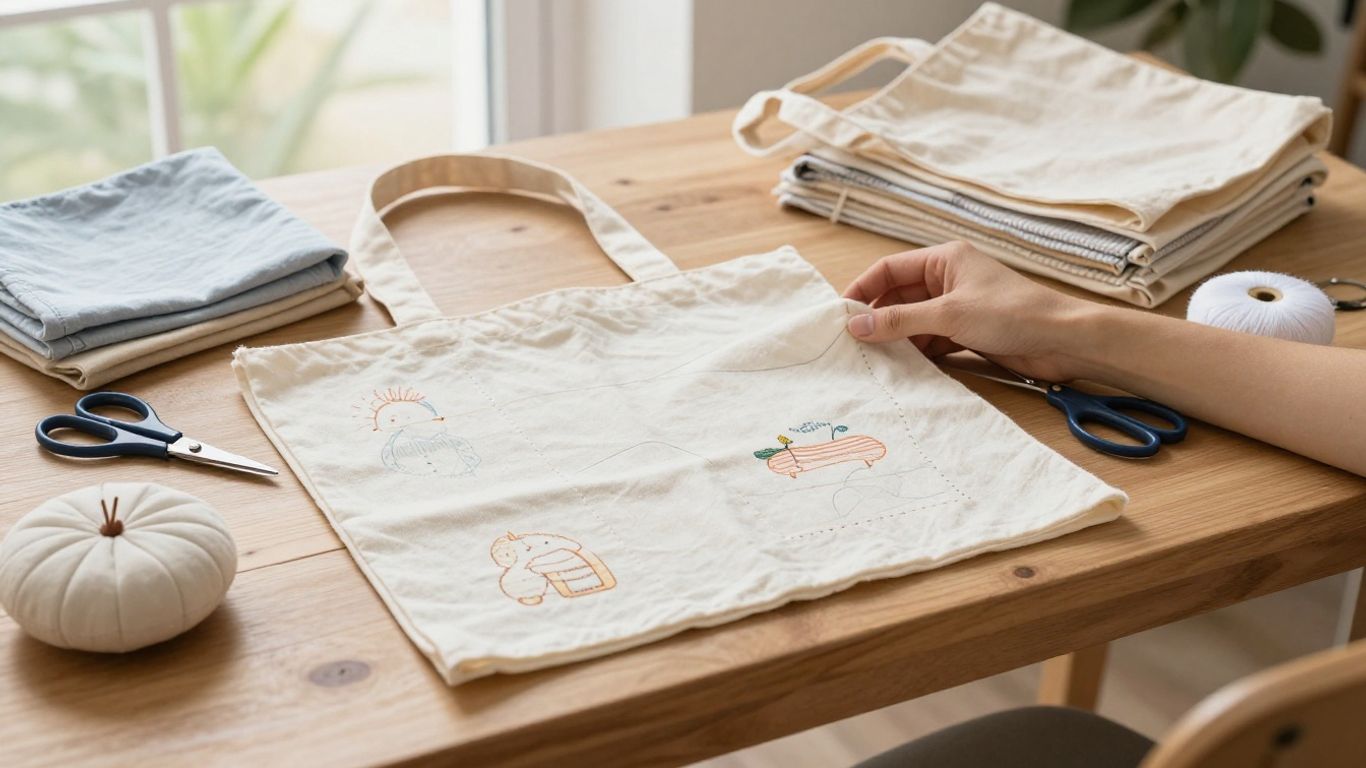
A basic tote bag is one of the most useful beginner milestones because it combines rectangles, handles, reinforced seams, and a three-dimensional finished shape. I start with quilting cotton for an easy version or cotton canvas when I want more structure. The handles are the first stress point, so I attach them carefully and reinforce the top edge. An unlined tote keeps the project simple, while a lined version can be your second attempt.
I press handle placement before sewing because uneven straps are more noticeable than a slightly imperfect interior seam. If canvas becomes bulky where the handle, hem, and side seam meet, I slow down and level the presser foot instead of forcing the fabric. Boxed corners are optional; leave them out for the first tote and add them once the flat version feels easy. This project teaches skills you will reuse in nearly every bag.
9. Zipper-Free Pouch – Best First Lined Accessory
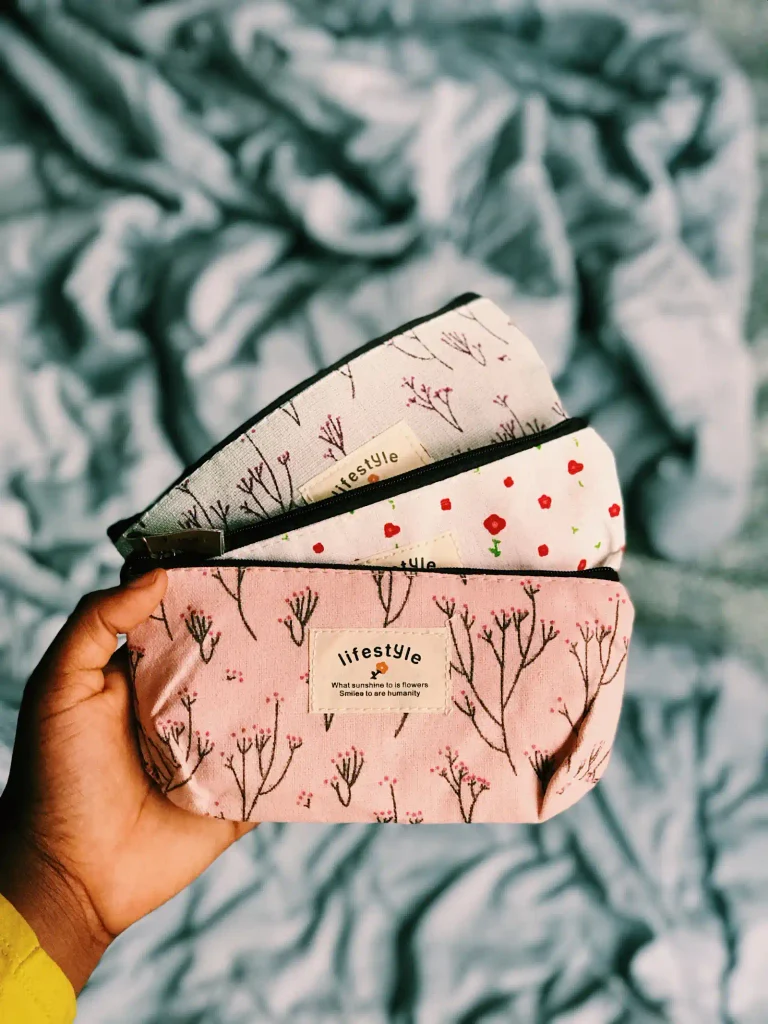
A zipper-free pouch can use a flap, fold-over opening, button, snap, or simple envelope-style closure, so you can learn lining before zipper installation. I use two layers of quilting cotton and add light interfacing only if the fabric needs body. The project teaches matching lining and exterior pieces, turning through an opening, shaping corners, and topstitching the finished edge. It is a natural next step after coasters and drawstring bags.
The easiest closure is often a deep overlap or flap. If you add a snap or button, install it only after testing the placement on a scrap or paper template. I keep the first pouch rectangular so the challenge is construction, not curved seam accuracy. Once the lining sits smoothly, the same method transfers to makeup bags and small organizers.
10. Reusable Produce Bags – Best Lightweight Utility Project
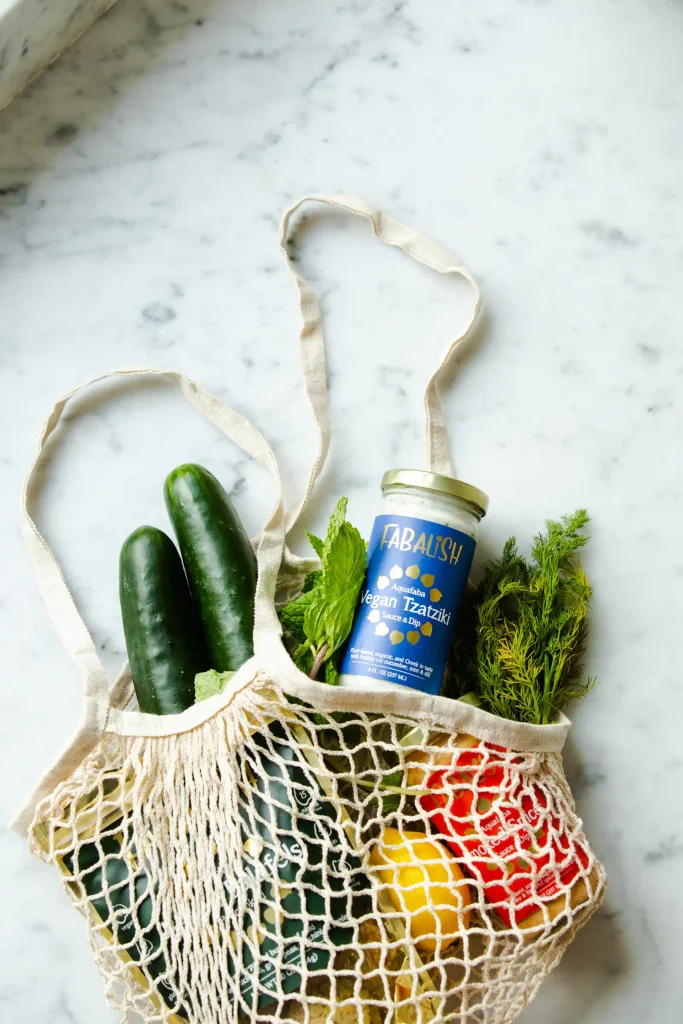
Reusable produce bags are easy to sew because they are usually rectangles with side seams and a drawstring or folded opening. I choose lightweight, washable fabric such as cotton voile, muslin, or suitable mesh and keep the seams narrow but secure. The project teaches handling thinner fabric, making a casing, and keeping a lightweight edge from stretching out of shape. Several bags can be cut at once for useful repetition.
I avoid making food-safety claims based only on fabric type; I use clean, washable material and launder the bags according to the fabric’s care instructions. If the bags will be weighed with produce, lighter fabric reduces tare weight. Mesh may need clips instead of pins if the holes are large, and it can behave differently under the presser foot. A solid cotton version is easier for a true beginner.
11. Sleep Mask – Best Project for a Gentle Curve
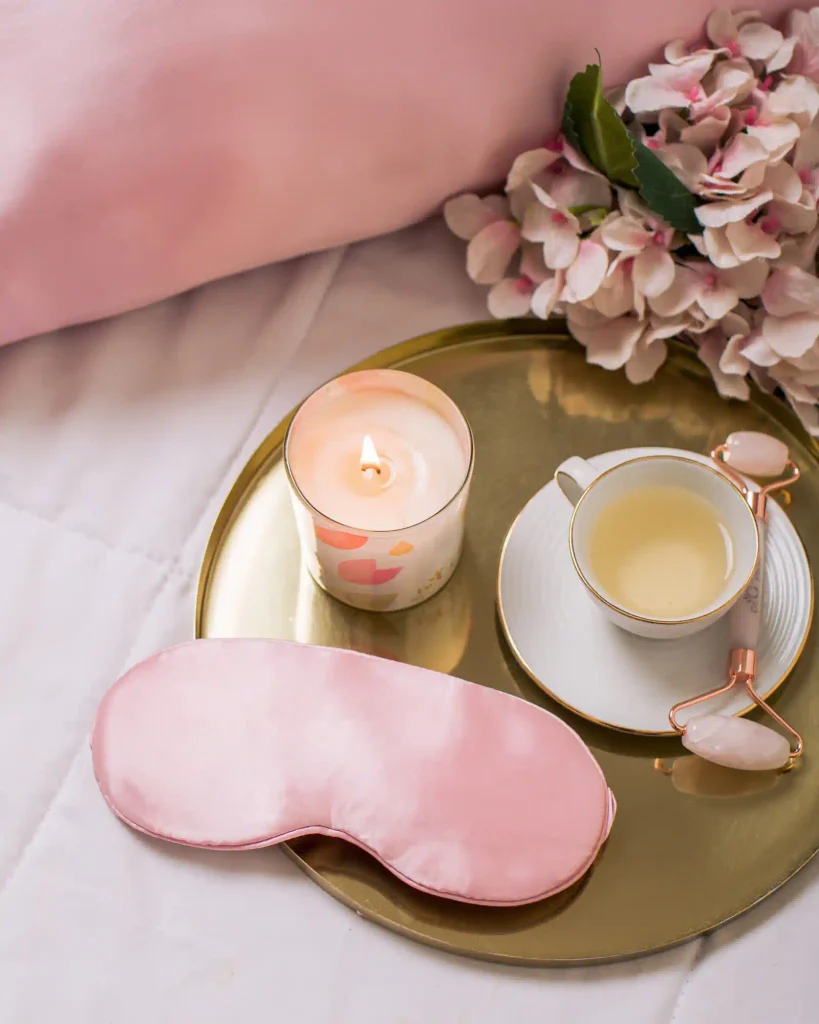
A sleep mask introduces a continuous curve without requiring full garment fit. I use soft cotton, flannel, or another washable fabric against the face, add a light inner layer for body, and use elastic for the head strap. The project teaches clipping curved seam allowances, turning a shaped piece, and distributing elastic without twisting it. A paper template makes it easier to keep both sides symmetrical.
The elastic should hold the mask in place without creating pressure around the eyes or ears, so I test the length before closing the final opening. I also keep bulky seam intersections away from the face where possible. If the first curve looks uneven, sew slower rather than dramatically shortening the stitch. Press only with heat settings that are safe for every layer you used.
12. Scrunchie – Best First Elastic Project
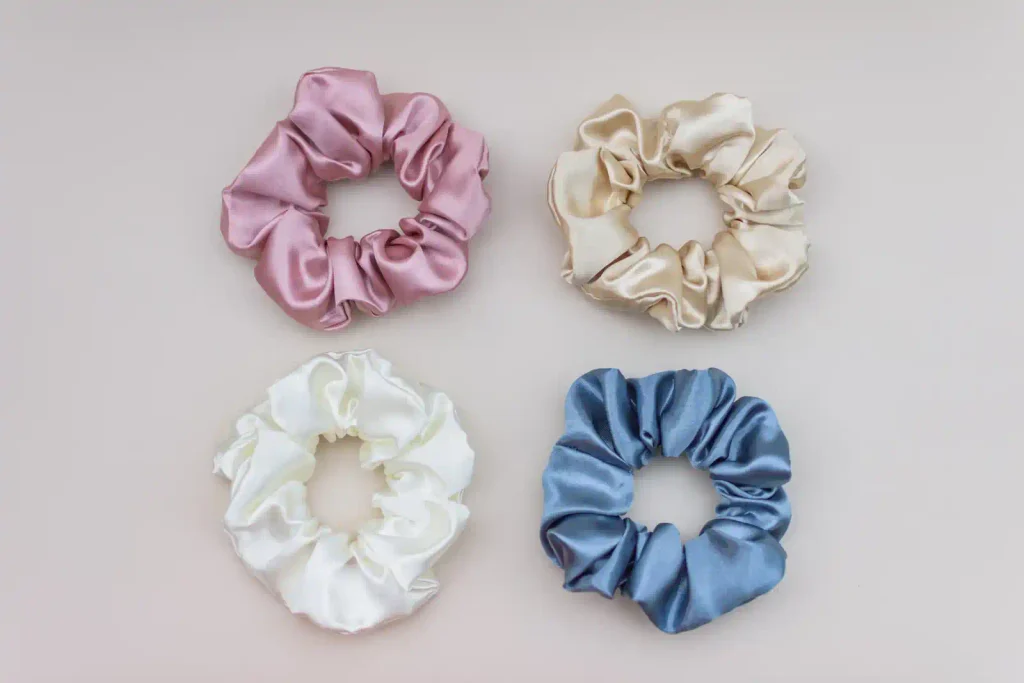
A scrunchie is small, inexpensive, and perfect for learning how fabric gathers around elastic. I start with a woven cotton strip because it is easier to control than slippery satin, then sew the long edge into a tube and thread the elastic through. The project teaches turning a narrow tube, joining elastic securely, and closing a small opening. After the cotton version works, you can try softer or more slippery fabrics.
The main variable is elastic length. Different elastics stretch and recover differently, so I do not rely on one universal measurement for every material. I test the loop around my hair or wrist before closing the final seam and shorten it if the fabric looks limp. A bodkin, safety pin, or tube turner can save time, but the sewing remains simple.
13. Fabric Headband – Best Wearable Accessory Before Garments
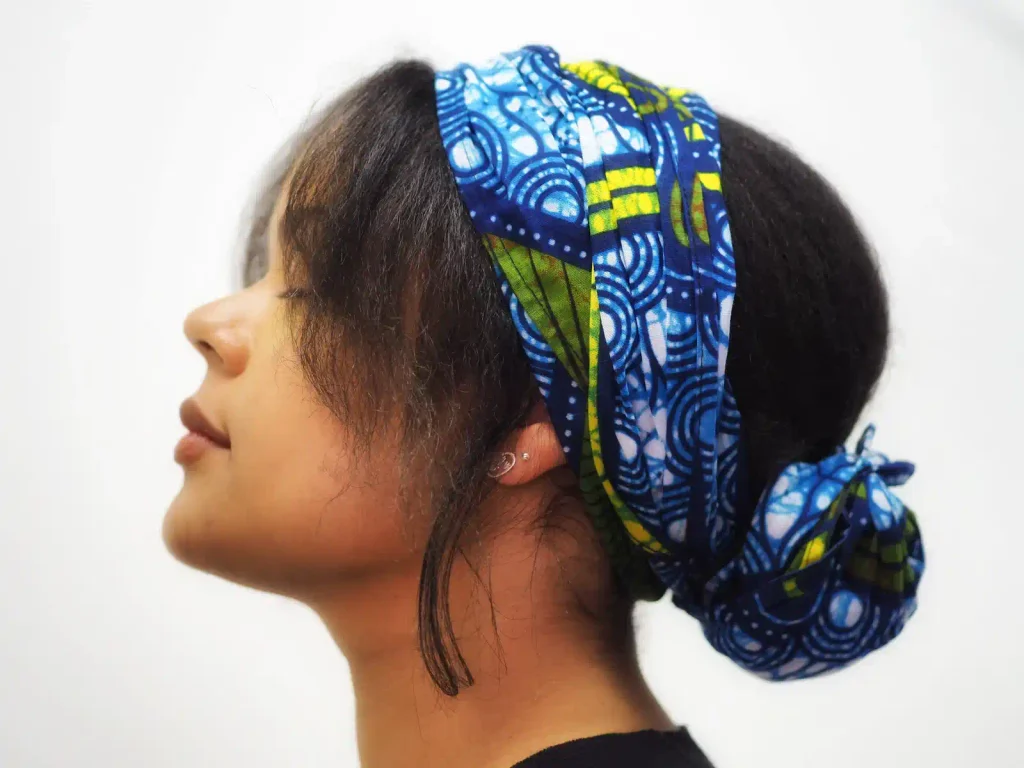
A fabric headband introduces fit without requiring a full garment pattern. I use stable cotton for a tied headband or a little elastic at the back for a fitted version, and I keep the first pattern wide enough to turn easily. The project teaches long seam control, turning, topstitching, and checking comfort against the body. Because the shape is simple, adjustments are easy to understand.
I measure the actual head and test the elastic or tie length instead of copying a size blindly. Too-tight headbands become uncomfortable, while too-loose bands slide off and make the sewing seem like the problem. If the fabric has stretch, I use an appropriate needle and test the seam first. A reversible headband is an easy second version once the fit works.
14. Book Sleeve – Best Project for Light Padding
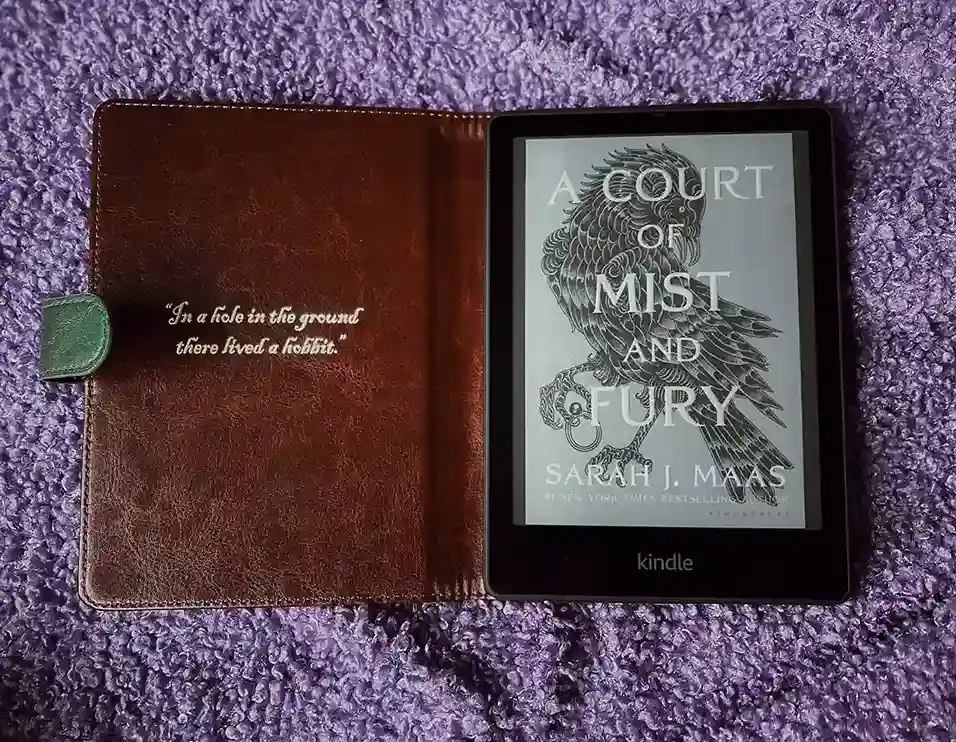
A book sleeve is a good introduction to padding because the finished item benefits from structure but does not need to withstand high heat or heavy loads. I use quilting cotton or canvas with a light fleece, foam, or batting layer suited to the fabric and machine. The project teaches layering, reducing bulk, turning, and topstitching through more than two layers. Measuring the actual book or e-reader is more reliable than using a one-size pattern.
I add room for the book’s thickness, not just its height and width. A sleeve cut exactly to flat dimensions can become too tight after seam allowances and padding are added. If the stack is bulky, I lengthen the stitch slightly after testing and support the project so it does not drag behind the needle. A flap or snap is optional and is best added after the basic sleeve fits correctly.
15. Phone Sleeve – Best Small Structured Case
A phone sleeve is similar to a book sleeve but smaller, so accuracy matters more. I measure the phone with its everyday case attached, add ease for insertion, and choose thin padding so the sleeve protects against light scratches without becoming difficult to turn. The project teaches careful measurement, straight topstitching, and managing a small layered opening. Quilting cotton with light fleece or soft lining works well.
I treat the sleeve as a soft cover, not a certified impact-protection case. It can help prevent surface scratches in a bag, but it should not be described as drop protection unless the design and materials are engineered and tested for that purpose. Keep magnetic snaps or hardware away from devices unless the device maker confirms compatibility. A simple fabric loop or flap is easier for a first version.
16. Placemats – Best Larger Flat Project
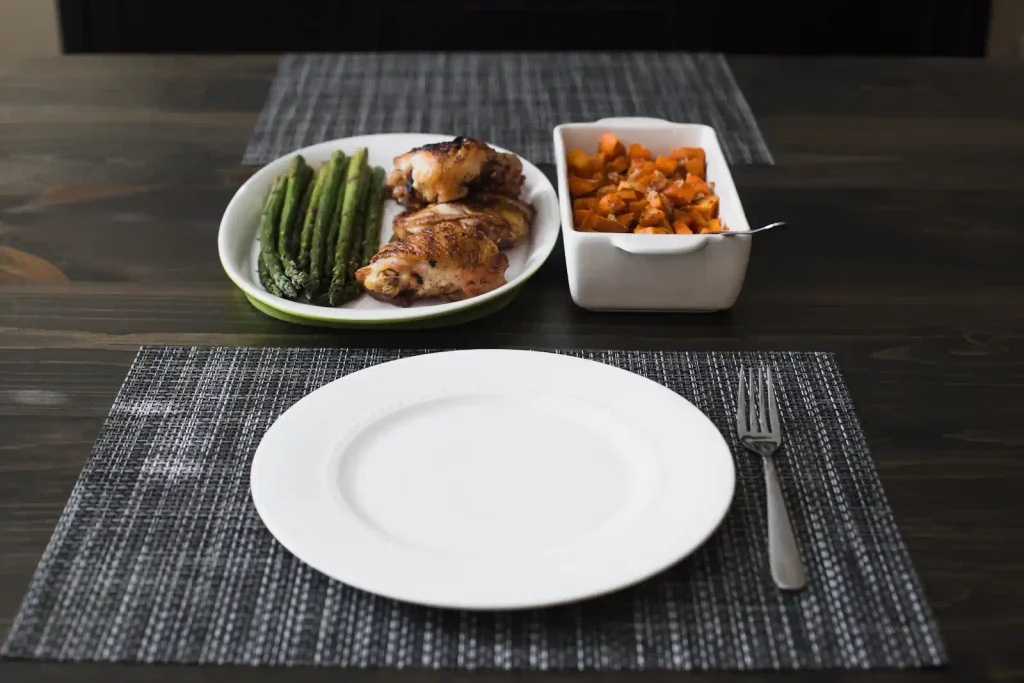
Placemats take the skills from coasters and napkins and scale them up. I use cotton for the top and backing, and I may add low-loft batting if I want more body, then sew, turn, press, and topstitch the perimeter. The larger surface helps you practice keeping layers flat while feeding more fabric around the needle. It is also a good project for learning consistent decorative topstitching.
I cut every placemat from the same template or measurements so the finished set looks intentional. If using batting, I baste or clip more generously because layers can shift over a longer seam. I do not treat an ordinary placemat as heat protection for cookware; hot-pan protection requires materials designed for that purpose. Washability matters more than fancy construction for an everyday table set.
17. Fabric Basket – Best First Structured Storage Project
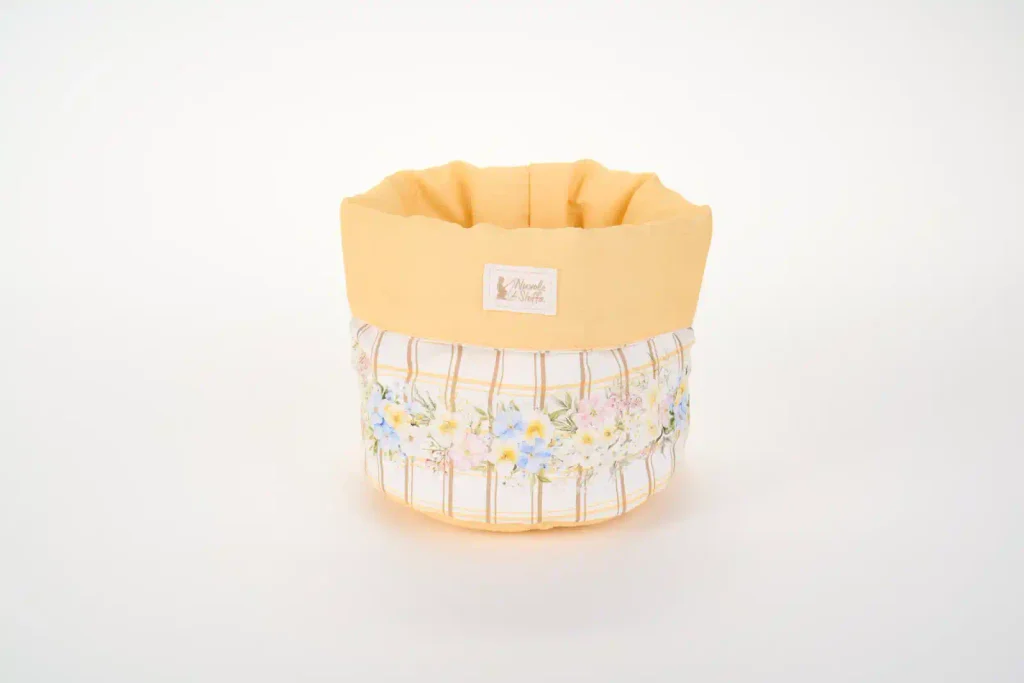
A fabric basket adds interfacing and boxed corners, which makes it a satisfying next step after a tote bag. I use quilting cotton or canvas for the exterior and lining, then choose interfacing that gives enough body without becoming too stiff for my machine. The project teaches fusing, matching layers, creating volume, turning, and topstitching a rim. Small baskets are easier to control than tall or oversized bins.
I test the interfacing on a scrap because too much heat can distort some fabrics and very heavy interfacing can make seam intersections bulky. Boxed corners need accurate matching if you want the basket to sit squarely, so I mark them rather than guessing. If the rim waves after turning, the layers may have stretched or the seam allowances may not match. A smaller first basket is easier to troubleshoot.
Stage 3: Heat-Aware Projects and Simple Garments
These projects are still beginner-friendly, but they add safety considerations, thicker layers, or body fit. By this stage, you should be comfortable threading the machine, sewing a consistent seam allowance, pressing, and correcting a seam when needed.
18. Simple Apron – Best First Wearable Sewing Project
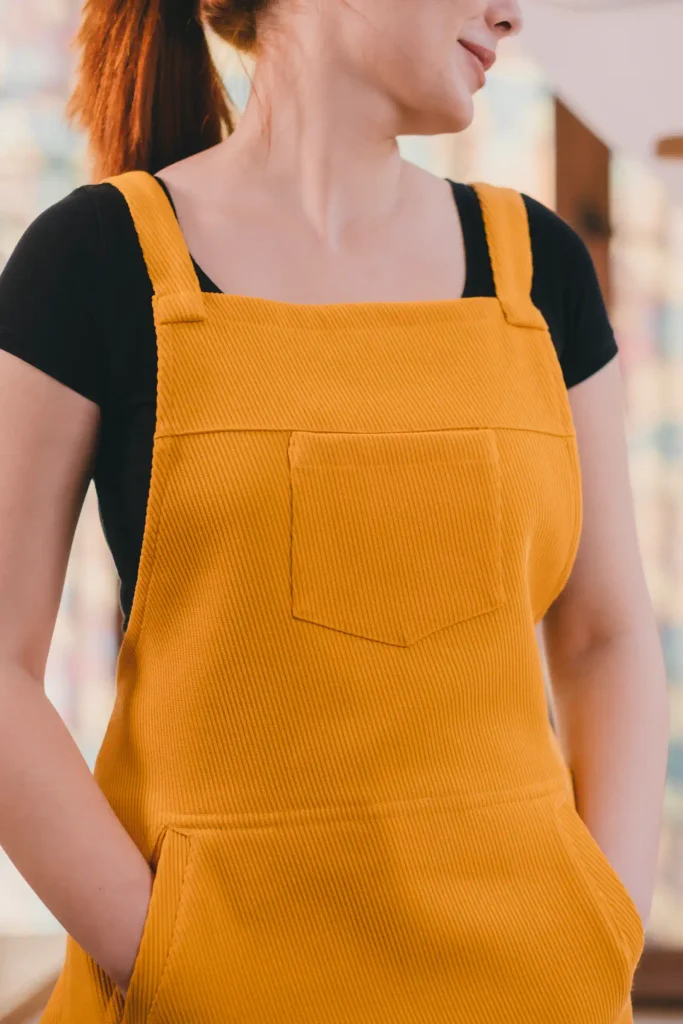
A simple apron is an ideal bridge between home sewing and garments because fit is forgiving. I use medium-weight cotton, cut a basic rectangle or gently shaped body, finish the edges, and add waist ties plus a neck strap or cross-back straps. The project teaches long hems, attaching straps, reinforcing stress points, and checking length on the body. A pocket is optional and can be added after the main apron works.
I press every tie before sewing because narrow folded straps are much easier to topstitch when the creases are set. If the pattern includes a curved arm area, I sew slowly and clip only when the construction method calls for it. Adjustable ties make sizing easier than fixed straps. This is also a good place to practice neat topstitching because most seams remain visible.
19. Bowl Cozy – Best Layered Bowl-Handling Project
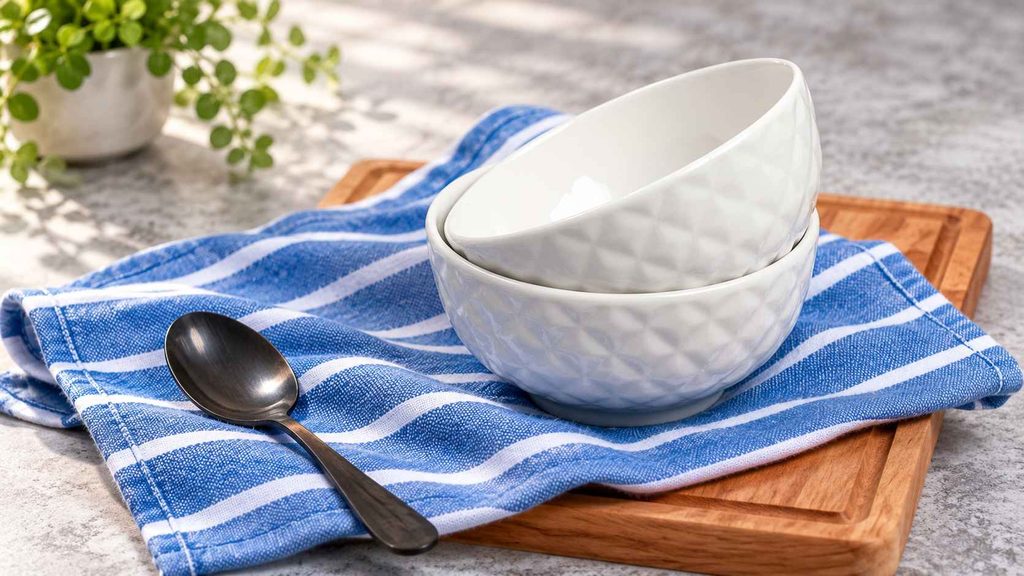
A fabric bowl cozy teaches darts, layered construction, and shaping around a three-dimensional object. I use stable cotton fabric and a batting or insulating layer that is appropriate for the intended use, then sew the darts accurately so the finished cozy sits evenly around the bowl. The project is excellent practice for handling multiple layers and matching points. I make the first one for serving and handling rather than assuming it is automatically microwave-safe.
Microwave safety needs special caution. Cotton fabric, cotton thread, and batting are still flammable, and some batting manufacturers specifically do not recommend their products for microwave use. I only describe a bowl cozy as microwave-safe when every material manufacturer explicitly approves that use and the pattern is written for it. Otherwise, I use the cozy outside the microwave to hold or protect hands from a warm bowl.
20. Pot Holder – Best Heat-Protection Sewing Practice
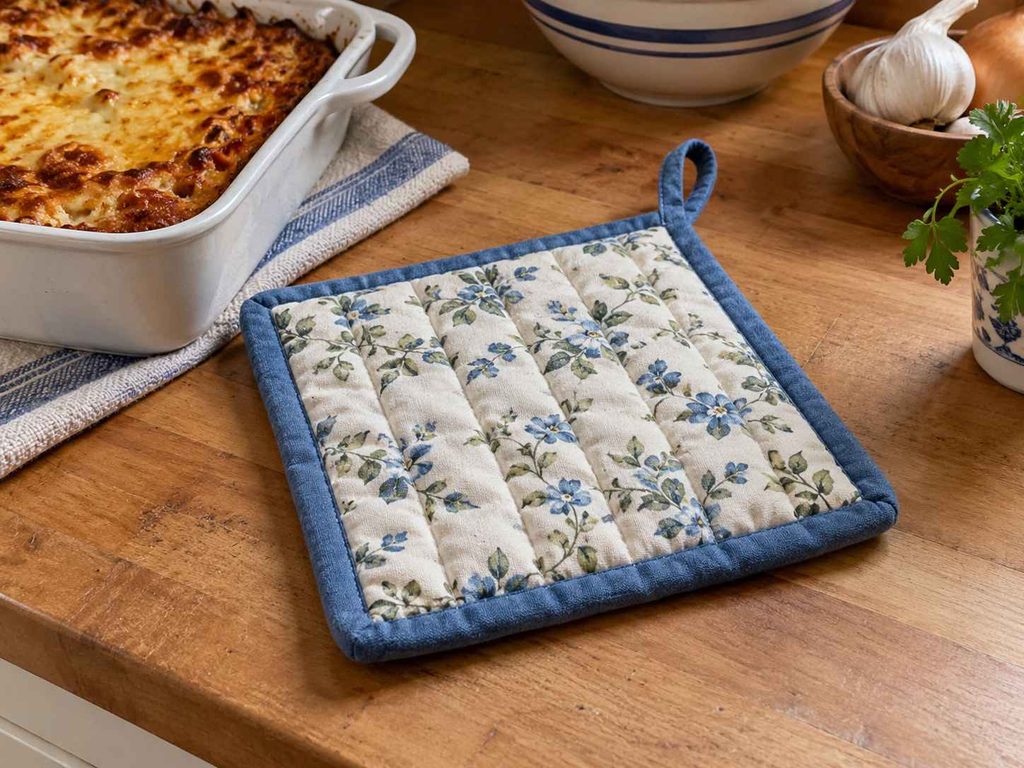
A pot holder is a useful layered project, but it should be built with materials designed for heat exposure rather than ordinary craft batting alone. I use a tested pot-holder pattern and an insulating layer whose manufacturer recommends it for hot-item handling. The project teaches quilting layers together, binding or turning thick edges, and reinforcing a hanging loop if one is included. Simple quilting lines also help keep the layers from shifting.
I never assume a homemade pot holder provides unlimited heat protection. Heat resistance depends on material, thickness, moisture, construction, and contact time. I keep the finished holder dry, inspect it for thinning or damage, and replace it when the insulating layer breaks down. For a first version, a square shape is easier than an oven mitt with fingers or tight curves.
21. Elastic-Waist Skirt – Best First Garment for Fit
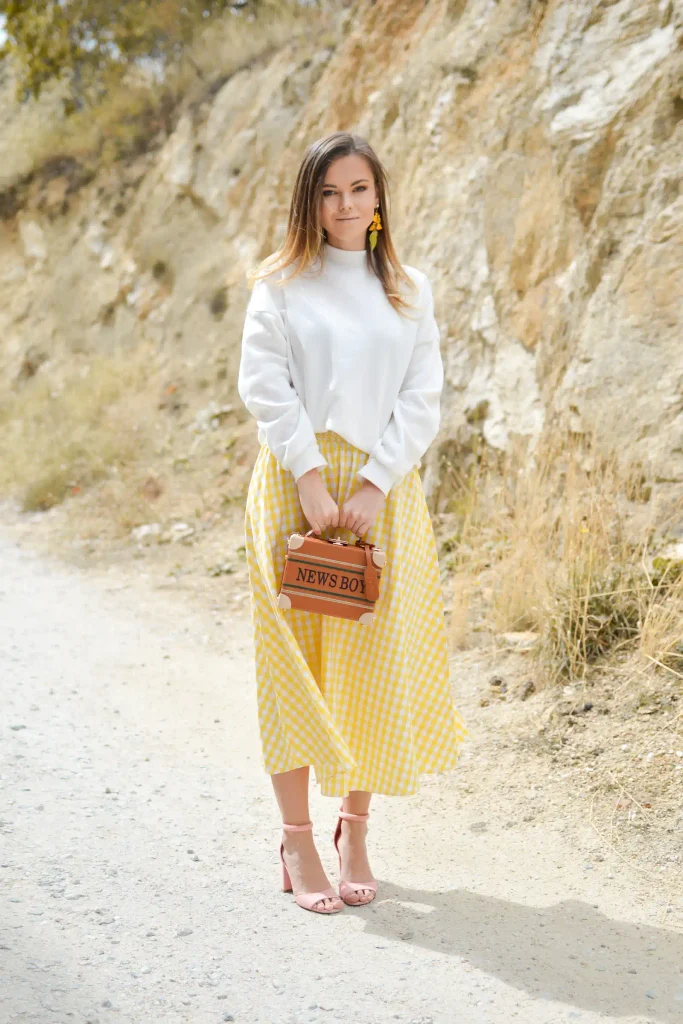
An elastic-waist skirt is one of the simplest garments because the waistband creates flexible fit and the main construction can be mostly straight seams. I choose stable woven cotton, chambray, linen blend, or another pattern-recommended fabric, then measure the body instead of relying only on a ready-to-wear size. The project teaches side seams, a waistband casing, elastic joining, and a longer hem. A gathered skirt is more forgiving than a fitted shape.
I test the elastic around the waist before sewing the casing closed because elastic brands and widths stretch differently. After inserting it, I distribute the gathers evenly and stitch the opening securely. The hem is easier if I let some fabrics hang before finalizing length, especially if sections can relax. A muslin or inexpensive first version is worthwhile when you are unsure about length or fullness.
22. Pajama Shorts – Best First Garment With Two Legs
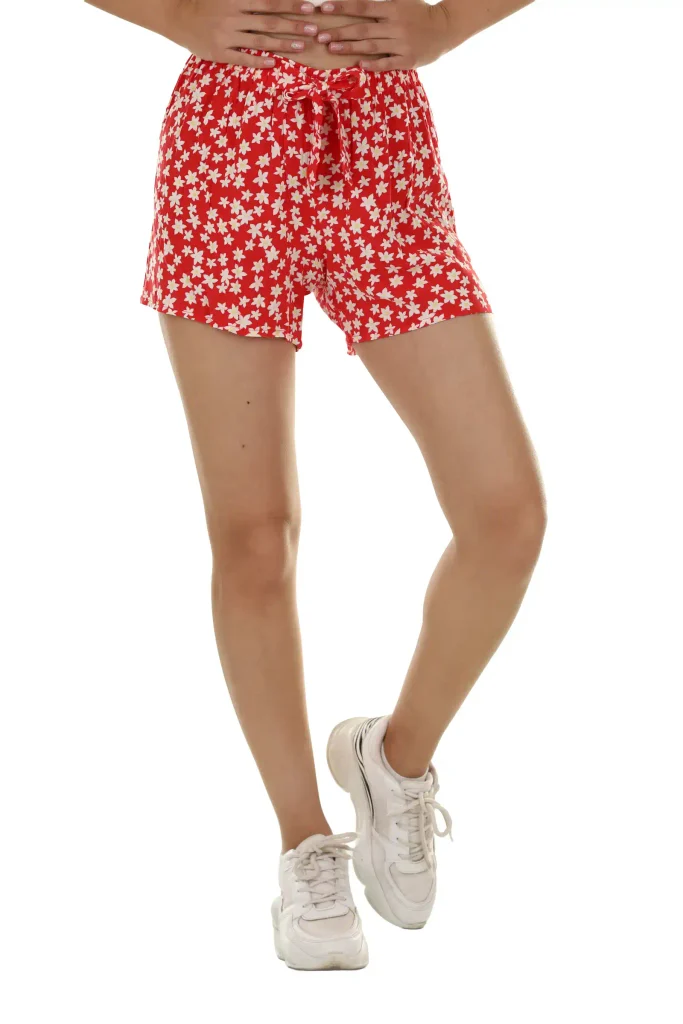
Pajama shorts add a crotch curve and two-leg construction while keeping the fit loose and forgiving. I choose a simple pull-on pattern with an elastic waist, stable woven cotton or flannel, and no fly, zipper, or complicated waistband. The project teaches reading pattern pieces, matching front and back, sewing inseams and crotch seams, creating an elastic casing, and hemming two legs. It is a practical first pattern-based garment.
I pay close attention to grainline and pattern markings because reversing a front or back piece is a common beginner mistake. I pin or clip the crotch curve rather than stretching it to fit, and I use the pattern’s seam allowance consistently. Before closing the waistband, I try the shorts on carefully to check elastic comfort and rise. Once this project works, lounge pants use nearly the same logic on a longer scale.
23. Elastic-Waist Lounge Pants – Best Next Step After Pajama Shorts
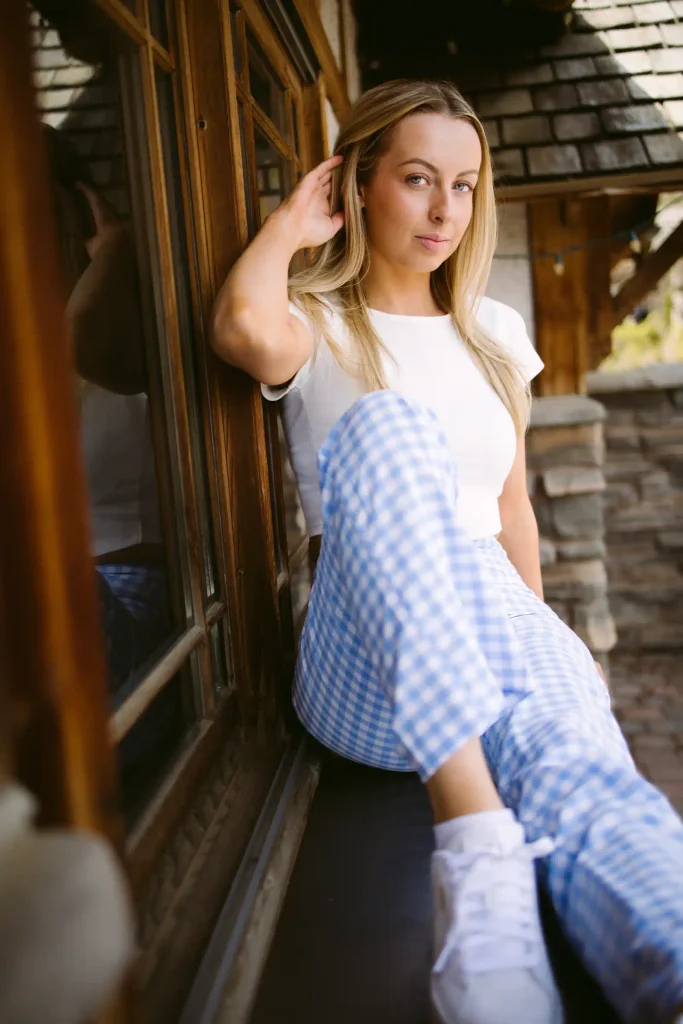
Elastic-waist lounge pants extend the pajama-short skills into longer seams and more fabric. I choose a beginner pull-on pattern, stable woven fabric, or an easy knit only after I am comfortable with stretch sewing. The project teaches controlling long inseams, matching leg lengths, casing elastic, hemming, and keeping grain straight over a larger garment. It also exposes small cutting errors that may not matter on tiny projects.
I measure the finished inseam and rise before cutting because body proportions vary more than pattern size labels suggest. If the fabric is directional, I make sure every leg points the same way. I support the fabric beside the machine so its weight does not pull the seam off course. The elastic should be secure but comfortable enough for sitting and movement, so I test the fit before closing the casing.
24. Loose Tank Top – Best Beginner Top With Simple Shaping
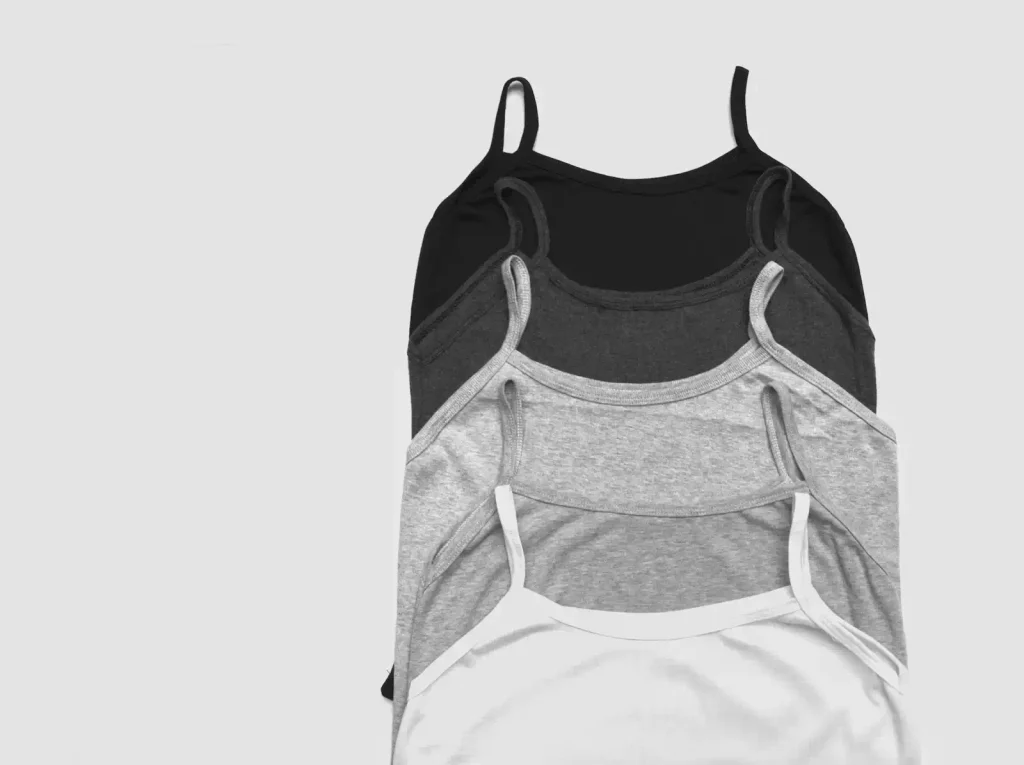
A loose tank top is a good first upper-body garment when the pattern avoids zippers, darts, collars, and fitted sleeves. I prefer a woven pull-on pattern with generous ease for the first version because woven fabric is simpler to control than a stretchy knit. The project teaches neckline and armhole finishing, shoulder seams, side seams, hemming, and basic fit evaluation. Bias binding or facings may be the first truly new finishing technique.
I make a test version if the pattern is new to me because neckline depth and armhole shape affect comfort more than a tote or skirt does. If the pattern uses bias binding, I practice it on a curved scrap before sewing the real neckline. Staystitching can help prevent a curved woven neckline from stretching while handled. A clean press at each stage makes the final top look far more polished.
25. Boxy Pull-On Top – Best Final Project in This Beginner Progression
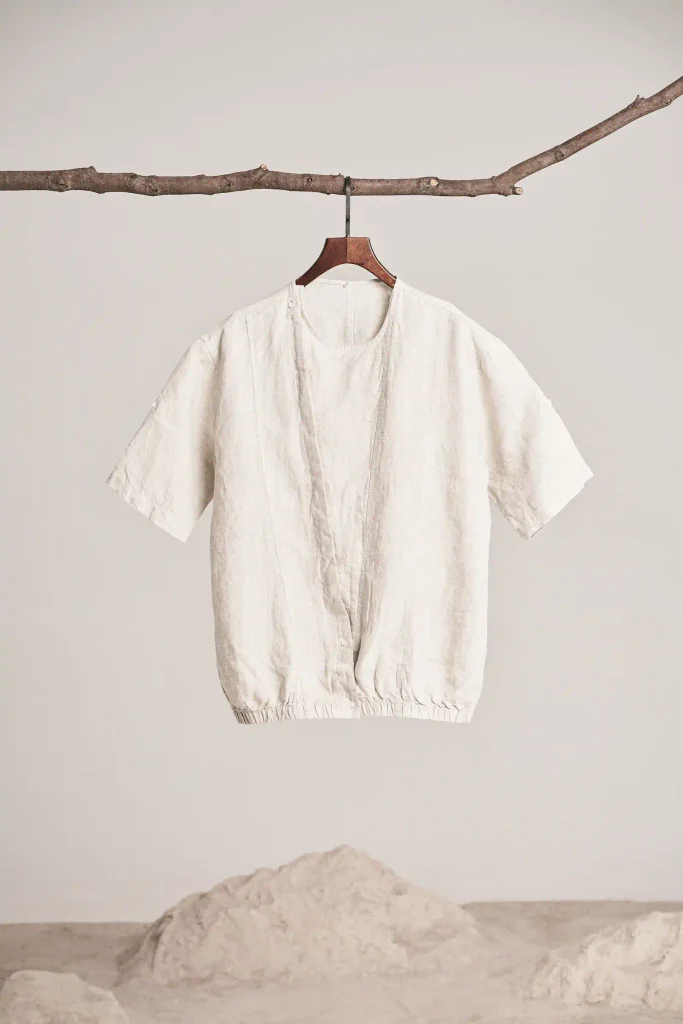
A boxy pull-on top is a strong final project because the shape is forgiving but the construction combines several earlier skills. Depending on the pattern, you may sew shoulder seams, side seams, grown-on sleeves or simple sleeve pieces, neckline finishing, hems, and optional topstitching. I use a stable woven fabric with enough drape to hang well but not so much slipperiness that cutting becomes difficult. The simple silhouette lets you focus on clean construction rather than close fitting.
I check the finished garment measurements before choosing a size because boxy patterns intentionally include ease. A size that sounds large on paper may be exactly what creates the intended silhouette. I mark front and back clearly, press the neckline finish carefully, and compare the hem level before stitching it permanently. Finishing this project means you have already practiced most of the core beginner skills needed for many casual garments.
How to Choose Your Next Beginner Sewing Project
When you finish one project, choose the next one by skill rather than by appearance. The easiest way to keep progressing is to repeat most of what you already know and add only one new variable.
- If straight seams still feel difficult. Repeat napkins, coasters, pillow covers, bookmarks, or placemats.
- If turning and topstitching feel comfortable. Move to a pouch, tote, book sleeve, phone sleeve, or basket.
- If you want to learn elastic. Start with a scrunchie, then move to a skirt, pajama shorts, or lounge pants.
- If you want to sew clothing. Make an apron first, then an elastic-waist bottom, then a loose top.
- If you want quilting skills. Use coasters or placemats with light batting before taking on a large quilt.
- If you want heavier fabric. Move from quilting cotton to canvas gradually and test seam intersections first.
I keep notes about the fabric, needle, stitch length, seam allowance, and any adjustment that solved a problem. Those small records make the next project faster because I do not have to rediscover every setting.
Common Beginner Sewing Mistakes to Avoid
Most beginner sewing problems start before the needle touches the final project. A few minutes of preparation is usually more valuable than trying to sew faster.
- Skipping the scrap test. The scrap is where I check threading, needle choice, stitch length, tension, and how multiple layers feed.
- Pulling or pushing the fabric. Guide the fabric while the feed dogs move it. Pulling can bend the needle, distort the seam, or damage the machine.
- Using the wrong needle. A dull, bent, too-small, or wrong-style needle can cause skipped stitches, thread damage, puckering, or breakage.
- Ignoring grain and direction. Off-grain rectangles twist, directional prints end up upside down, and garments can hang strangely.
- Skipping pressing. Unpressed folds make hems, casings, corners, and topstitching harder to sew accurately.
- Cutting before reading all instructions. You need to know where seam allowance, folds, openings, interfacing, and directional pieces appear before fabric is committed.
- Choosing slippery or stretchy fabric too early. Satin, chiffon, minky, and jersey add handling problems before basic control is automatic.
- Sewing through pins. Remove pins before the needle reaches them. A needle can deflect, break, or damage the machine.
- Changing tension before rethreading. Loops underneath often come from upper-thread setup. I rethread, check the bobbin and needle, then test before changing tension.
- Assuming heat projects are automatically safe. Microwave and hot-pan projects require materials and construction specifically appropriate for the intended heat exposure.
When something goes wrong, stop at the first bad seam instead of sewing three more steps over it. A seam ripper and a five-minute reset usually save more time than trying to hide a setup problem later.
How to Keep Growing Your Sewing Skills
Once these projects feel comfortable, start adding one technique at a time: zipper insertion, buttonholes, bias binding, interfacing, set-in sleeves, knit sewing, gathering, facings, pockets, or basic quilting. Each technique is easier when the rest of the project uses skills you already trust.
I also revisit old projects with one upgrade. A plain tote becomes a lined tote, a pillow cover gets piping, a basic skirt gets pockets, or a pouch gets a zipper. Repeating a familiar shape while changing one detail is one of the fastest ways to build real sewing confidence.
Final Verdict: Start Small, Finish Something Useful, Then Add One New Skill
The best beginner sewing project is not the most impressive one. It is the project that lets you practice a real skill, finish the item, and understand what you would do differently next time. Cloth napkins, coasters, bookmarks, pillow covers, drawstring bags, and totes are especially strong starting points because they keep the construction visible and forgiving.
As your control improves, move into elastic, lining, interfacing, thicker layers, curves, and simple garments. You do not need perfect seams before progressing, but you should understand why a seam went wrong and how to correct the setup. That is the point where sewing stops feeling like a series of surprises and starts feeling like a skill you can build deliberately.
Frequently Asked Questions
What is the easiest sewing project for a complete beginner?
Cloth napkins, fabric coasters, a bookmark, or an envelope pillow cover are excellent first projects because they use stable shapes, mostly straight seams, and no body fitting.
What fabric should I use for my first sewing project?
Medium-weight woven cotton is one of the easiest choices because it is stable, easy to cut, and easy to press. Follow the actual project or pattern instructions when another fabric is required.
Do I need a sewing machine to learn to sew?
No. Hand sewing can teach useful basic stitches and repairs. A sewing machine becomes helpful when you want faster, more consistent construction seams and larger projects.
What basic sewing supplies do I need?
Start with a reliable machine, fabric scissors, pins or clips, measuring tools, a seam ripper, marking tools, thread, suitable needles, and an iron or pressing setup.
Should I prewash fabric before sewing?
Often yes when the finished item will be washed and the fabric may shrink or bleed, but follow the fabric, pattern, interfacing, and batting care instructions rather than prewashing every material automatically.
What sewing machine stitches do beginners actually need?
A reliable straight stitch, reverse, and zigzag cover most first projects. Buttonholes, stretch stitches, and decorative stitches become more useful as your projects expand.
How do I keep fabric from shifting while I sew?
Pin or clip the layers, support the fabric beside the machine, guide instead of pulling, and test on a scrap. For layered projects, additional basting or a compatible walking foot may help.
What should I do if thread loops underneath the fabric?
Stop and rethread the upper thread with the presser foot raised, confirm the bobbin is inserted correctly, check the needle, and test again before changing tension.
Can I start with a clothing project?
Yes, but choose a forgiving garment such as a simple apron, elastic-waist skirt, pajama shorts, or loose top. Clothing adds fit, sizing, and pattern-reading skills that home projects do not require.
Is a bowl cozy safe to put in the microwave?
Do not assume it is. Microwave safety depends on every fabric, thread, batting, and construction component. Some batting manufacturers specifically do not recommend their products for microwave use, so follow the material manufacturers and the pattern’s safety guidance.
How many projects should I make before trying a zipper?
There is no required number. I would try a zipper after straight seams, turning, and topstitching feel comfortable, usually after a few pouches, bags, or home projects.
How do I know when I am ready for a harder project?
If the current project feels predictable and you can identify and fix basic threading, seam, and pressing problems, add one new technique in the next project rather than several at once.