
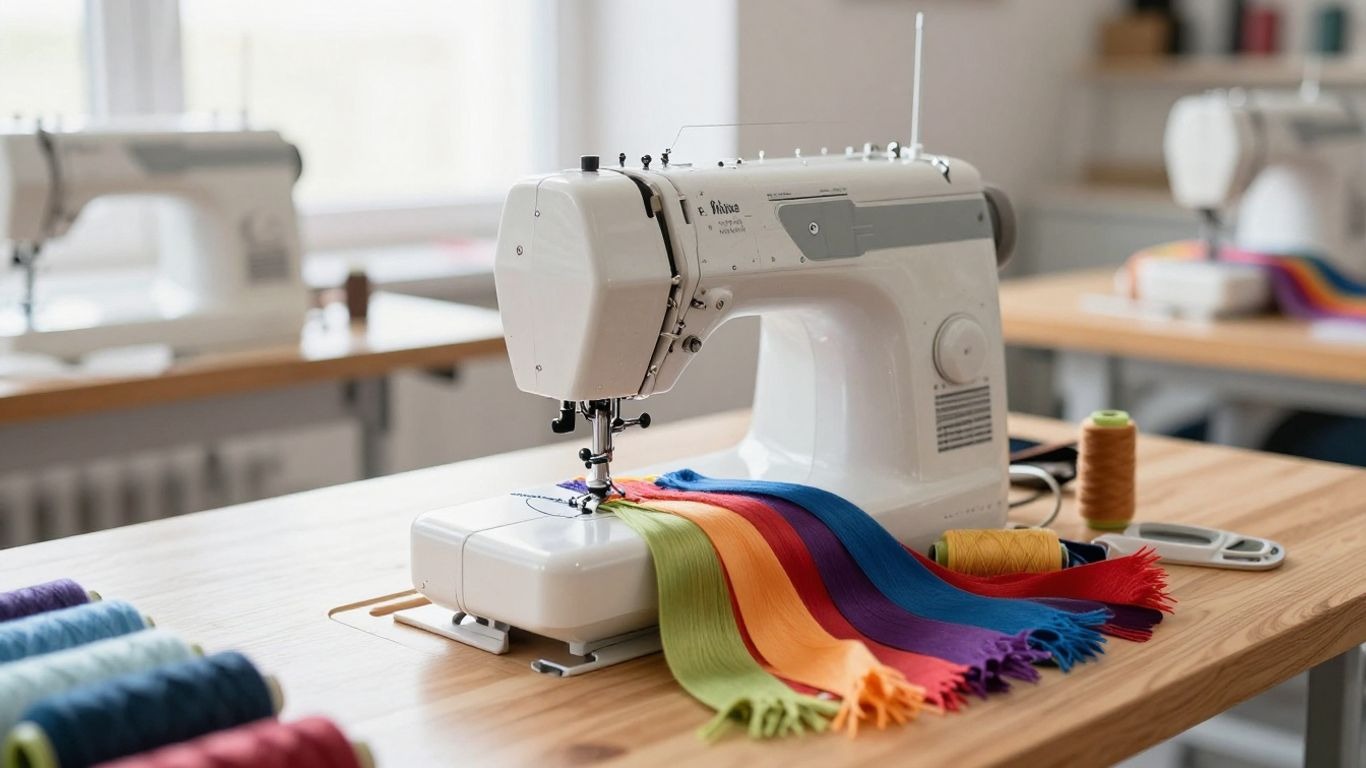
How to Adjust Sewing Machine Tension: A Beginner-Friendly Step-by-Step Guide
Learning how to adjust sewing machine tension is one of the fastest ways to improve stitch quality, reduce thread nests, and make your seams look cleaner on every project. Balanced tension means the needle thread and bobbin thread lock neatly inside the fabric layers instead of pulling to the top or looping underneath.
In this guide, you will learn how to diagnose common sewing machine tension problems, adjust the upper tension dial safely, and know when bobbin tension should or should not be touched. Whether you are sewing cotton, denim, knits, or quilting layers, these practical steps will help you test, fine-tune, and troubleshoot your machine with confidence.
Key Takeaways
- A balanced lockstitch forms when the upper thread and bobbin thread meet inside the fabric layers, not on the top or underside.
- Most tension problems should be checked through rethreading, needle inspection, and bobbin placement before turning any dial.
- Lower numbers on most upper tension dials loosen the needle thread, while higher numbers tighten it.
- Bobbin tension is usually factory-set and should only be adjusted after the upper thread path, needle, thread type, and bobbin setup are confirmed.
- Always test on the same fabric, thread, needle, and stitch length you plan to use in the final project.
Quick Answer: What Should Sewing Machine Tension Look Like?
When the sewing machine has the proper tension, the top thread and bobbin thread interlace in the middle of the fabric. There should be no bobbin thread on the top side, and no loose loops, thread nests, or long floating strands on the underside. If the stitch is not even, the first step is to rethread the machine with the presser foot up, then check the needle and make sure the bobbin is in place.
The upper tension dial is usually around the middle setting (4 or 5 on a 0-9 dial) for most regular sewing, but the correct setting varies depending on fabric weight, thread thickness, needle size, and stitch type. The best advice is to make small changes, sew a short test seam, check both sides, and make further changes. This gradual, controlled approach will avoid over-correction and will give you insight into what your machine is doing.
What Is Sewing Machine Tension and Why Does It Matter?
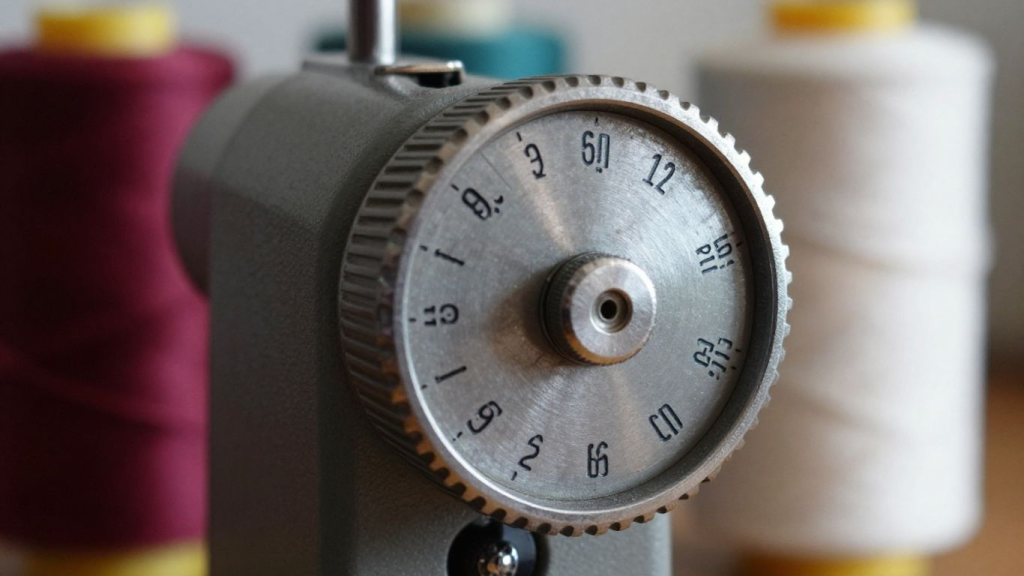
The tension of the sewing machine adjusts the tightness of the upper thread and bobbin thread when the machine is sewing. The standard lock stitch machine has the needle moving the top thread down through the fabric and catching the bobbin thread and then pulling it through the fabric. If the tension is even, the little interlock is concealed among the layers of fabric, providing the seam with strength and a neat appearance.
Not having good tension will impact appearance and durability. Excess tension will lead to puckering, broken thread, or bobbin thread on top of the fabric. If there is not enough tension, loops, weak seams, and loose threads will result under the fabric. For this reason, tension troubleshooting is not only for making stitches look good; it’s also for making the seam strong enough for actual use.
Understanding how different sewing machine parts work together makes it much easier to diagnose tension-related problems.
Understanding Upper Thread Tension vs. Bobbin Tension
The upper tension is set by the tension discs as well as the numbered dial or digital tension setting on your machine. This is the one that beginners should use initially, as it is intended for frequent transitions between fabrics, threads, and stitches. Most machines are designed in such a way that the top tension can be adjusted readily without altering the bobbin tension.
The bobbin tension is adjusted by a small spring or screw in the bobbin case, depending on the machine type. This setting is more sensitive and should not be changed on a whim. When your machine has been sewing well and suddenly starts to loop or nest, it is not necessarily a problem with the bobbin screw, but more likely a problem with the threading, lint, needle damage, or incorrect bobbin placement.
| Tension Area | What It Controls | When to Adjust |
|---|---|---|
| Upper thread tension | How tightly the needle thread feeds through the tension discs | First choice for most fabric, thread, and stitch changes |
| Bobbin tension | How firmly the bobbin thread exits the bobbin case | Only after rethreading, cleaning, and upper tension tests fail |
| Presser foot pressure | How firmly the foot holds the fabric against the feed dogs | For fabric feeding issues, not as a first tension fix |
| Needle and thread match | How smoothly the thread passes through the needle and fabric | Any time stitches skip, shred, break, or look uneven |
The reason this table is important is that many beginners attempt to solve all of their problems with the tension dial when, in fact, it is a bent needle, a wrong thread path, or a poorly wound bobbin. A tension setting can only function if the machine is properly threaded and the needle/thread/ fabric combination is correct. Don’t think of the dial as the only control that influences stitch quality.
When sewing normally, make small adjustments to the upper tension and do not change the bobbin unless necessary. Bobbin tension can become an issue with specialty threads, very heavy topstitching thread, or unusual fabrics, but these are more advanced than the typical garments sewn, quilted, and basic repairs.
Before You Adjust the Tension Dial: Do These Checks First
A surprising number of sewing machine tension problems are not true tension problems at all. If the thread misses the tension discs, the bobbin is inserted backward, or the needle is damaged, changing the dial will only mask the problem for a few stitches before the issue returns. That is why the best troubleshooting process starts with the simple mechanical checks below.
- Raise the presser foot before threading so the tension discs open and the thread can seat correctly.
- Rethread the entire upper thread path from spool to needle without skipping any guides.
- Remove the bobbin and check that it is wound evenly, inserted in the correct direction, and seated properly.
- Replace the needle if it is dull, bent, sticky, or the wrong type for the fabric.
- Brush lint from the bobbin area and under the needle plate before testing again.
- Set the stitch length and width to a normal test setting before making tension decisions.
These steps create a clean baseline. Once the machine is threaded correctly and the bobbin area is clear, your test stitches will tell you something useful. If you skip this stage, the same tension setting may look different from one seam to the next because the thread is not feeding consistently.
If you’re unsure whether your machine has been threaded correctly, revisit our guide on how to thread a sewing machine before adjusting any settings.
Common Sewing Machine Tension Problems and What They Mean
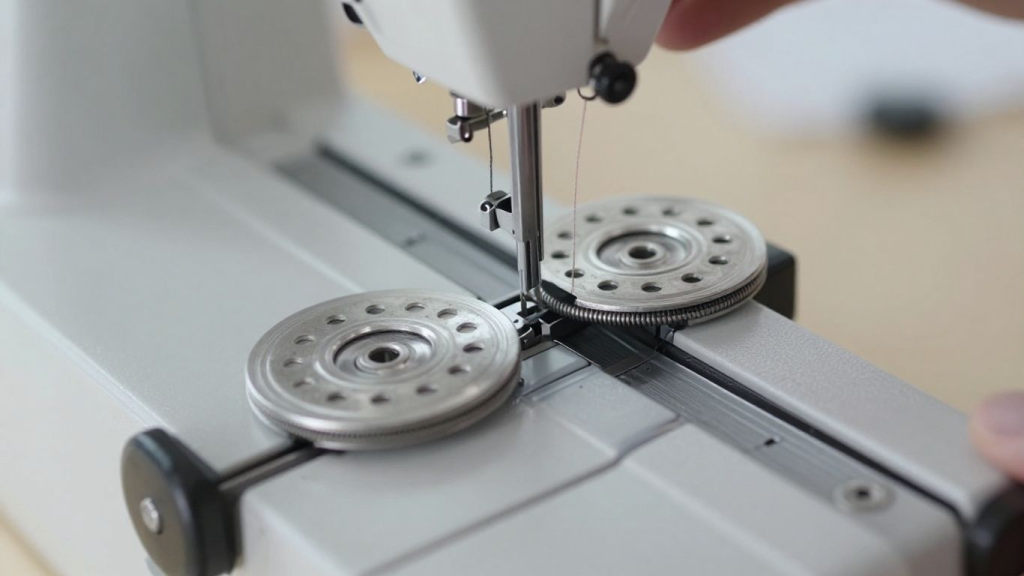
The simplest method to solve tension is to identify where it’s happening in the body. Look at both sides of the fabric with good lighting. When the loops are below, the top thread is typically too loose, not threaded, or not in place in the discs. If the bobbin thread is on top, the upper tension is too tight, or the bobbin thread is too loose.
The following table is a practical starting point, but it is not a substitute for a test seam. Refer to the table to determine what to examine first, and then stitch a small sample using the same fabric and thread. Repeat the procedure of making adjustments and comparing the top and bottom of the test piece until the desired adjustment is made.
If you’re still learning these basics, our guide on how to learn sewing explains how needle selection and machine setup affect stitch quality.
| Stitch Symptom | Most Likely Cause | Best First Fix |
|---|---|---|
| Loops or nests on the underside | Upper thread missed the tension discs, upper tension too loose, or the machine was threaded with the presser foot down. | Rethread with presser foot raised, clean thread path, then increase upper tension slightly if needed. |
| Bobbin thread visible on top | Upper tension is too tight, bobbin tension is too loose, or the bobbin is not seated correctly. | Check bobbin placement, then lower upper tension in small steps. |
| Fabric puckering along the seam | Tension too tight, stitch length too short, needle too large, or fabric being stretched while sewing. | Reduce upper tension slightly and test longer stitch length on scrap fabric. |
| Skipped stitches | Dull or bent needle, wrong needle type, incorrect threading, or fabric/thread mismatch. | Replace needle and rethread before changing tension. |
| Thread breaks repeatedly | Tension too tight, burr on needle, poor thread quality, or wrong needle size. | Replace needle, check thread quality, and reduce upper tension if needed. |
| Uneven decorative stitches | Fabric not stabilized, speed too fast, or tension not balanced for stitch width. | Use stabilizer, slow down, and fine-tune upper tension. |
A common error is to think that the bobbin is at fault whenever thread collects under the fabric, which this corrected troubleshooting flow will help you avoid. The thread on the underside is usually the same as the upper thread path, as the needle thread is the one that tends to form uncontrolled loops when it is not properly tensioned.
A second important correction is that skipped stitches are not typically corrected by turning the tension dial. A needle that is unable to form the correct loop for the hook to catch is a common cause of skipped stitches. Sometimes the problem is solved quicker by switching to the proper needle size: for knits, a ballpoint needle, and for heavy woven fabric, a denim needle.
How to Adjust Sewing Machine Tension Step by Step
After eliminating the threading, bobbin placement, lint, and needle issues, you can start to adjust the upper tension dial. It is not the aim to discover one number that is perfect forever. The aim is to discover the most appropriate balance for the fabric, thread, needle, and stitch you are employing at this time.
Work slowly and make one change at a time. If you adjust the tension, change the thread, swap the needle, and change the stitch length all at once, you will have no idea which of the changes actually made the stitch better. A controlled test process provides you with repeatable results, and you develop confidence rather than guesswork.
Step 1: Return to a Normal Starting Setting
Adjust the top tension dial to the middle position, typically 4 or 5 on a 0-9 dial, or as suggested by the manual. This will provide you with a neutral basis for regular cotton thread and medium-weight woven fabric. If your machine is computerised, select the standard stitch setting and don’t use the specialty stitch modes when testing it.
Step 2: Sew a Test Seam on Matching Scrap Fabric
Use the same fabric, thread, needle, and number of layers you plan to use in your final project. A test on thin cotton will not accurately predict tension for denim, fleece, or quilt batting. Sew a straight line at a moderate speed, then inspect the top and underside before making changes.
Step 3: Increase Upper Tension If the Underside Has Loops
If loops are found on the underside after the machine is properly threaded, add a half number or one small tension increase to the upper tension. The higher setting increases the resistance of the needle thread and assists in drawing the needle thread back into the layers of the fabric. Repeat the test before adding more.
Step 4: Decrease Upper Tension If Bobbin Thread Shows on Top
Decrease the top tension if the bobbin thread is being pulled up the fabric. A lower setting will give the top thread more freedom to move and will prevent the top thread from dominating the bobbin thread. Repeat the above steps if the problem persists after a few minor adjustments, and then check the direction of the bobbin and the bobbin case.
Step 5: Confirm the Balanced Stitch
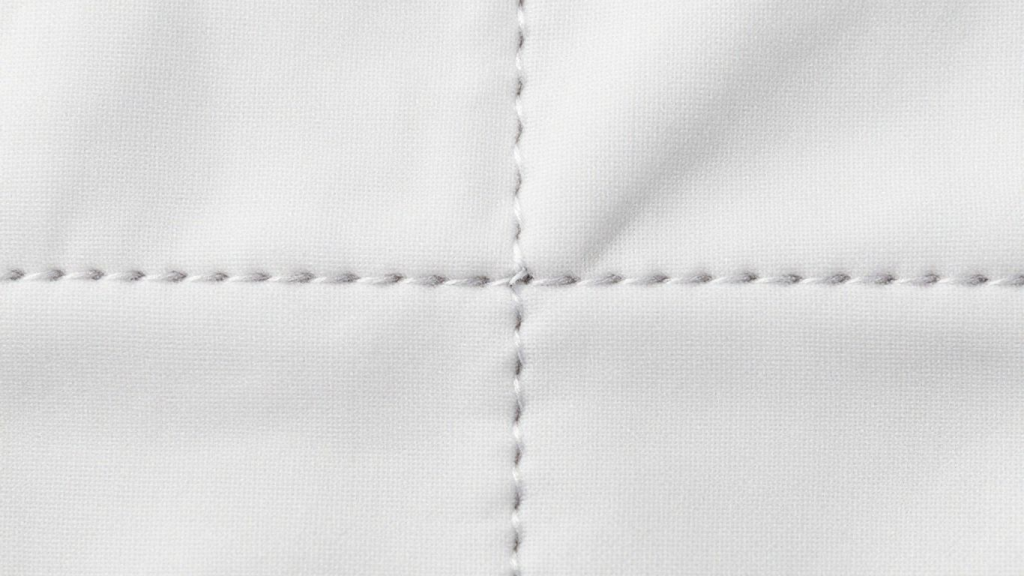
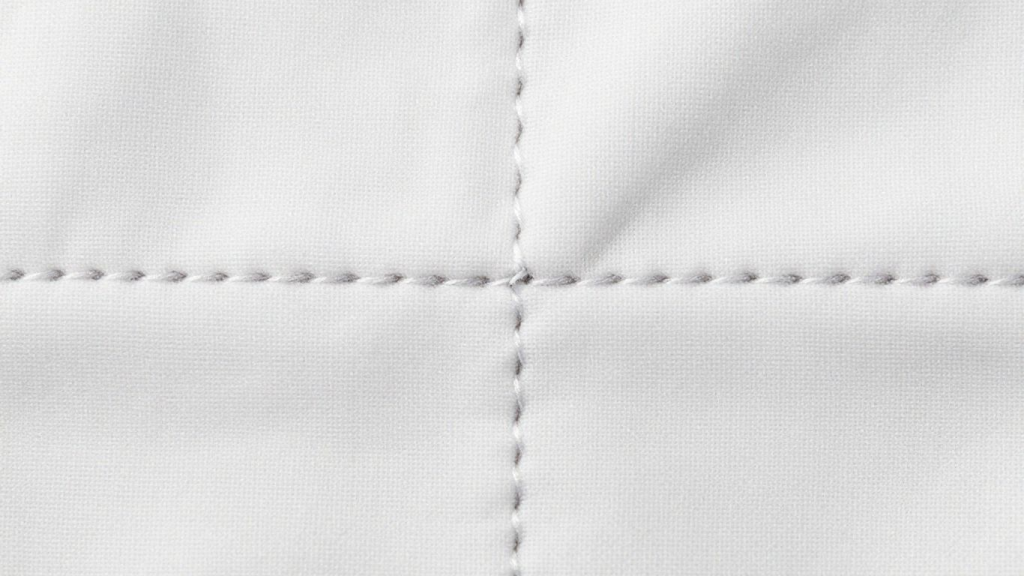
A balanced stitch should be even on both sides and should not show any loops, nests, puckers, or pulling from the other side of the stitch. To practice, use a contrasting bobbin thread to see where the threads are meeting. When the balance is right, return to your final project thread and test again.
Recommended Tension Approach by Fabric Type
The tension required in the thread varies from one fabric to another. If the top thread is too tight, lightweight fabrics may pucker; heavy fabrics may require a bit more tension on the top thread for a good seam. The tension number is important, but it is also important to use the correct needle and stitch style with knits, as they stretch when sewn.
The chart below is a guide, not a rule. Each machine, thread type, and fabric finish may react in a different manner. The best way to ensure it is the correct setting for the specific project you are working on is to test a swatch.
If you frequently work on quilting projects, choosing one of the best quilting sewing machines can make achieving balanced tension much easier.
| Fabric Type | Common Issue | Best Starting Approach |
|---|---|---|
| Lightweight cotton or voile | Puckering or visible tension marks | Start at default tension, use a fine needle, and lower tension slightly if puckering appears. |
| Medium quilting cotton | Uneven stitch balance through multiple layers | Use default tension, matching needle/thread, and test through the same batting layers. |
| Denim or canvas | Skipped stitches or weak seams in thick layers | Use a denim needle, a longer stitch length, and adjust upper tension only after testing. |
| Knits and jersey | Wavy seams or skipped stitches | Use a ballpoint/stretch needle and stretch stitch before changing tension. |
| Silk or slippery fabric | Puckers, thread marks, or shifting layers | Use a fine needle, stabilizer if needed, and gentle tension adjustments. |
| Topstitching thread | Thread shredding or loops | Use a larger needle, slower speed, and adjust upper tension carefully. |
The important point to remember is that tension should not be adjusted one way without adjusting the other. A tighter dial might not be as important as a stronger needle if a denim seam skips. If the knit seam wavers, it could be a problem of stretching under the presser foot, so it may be a stretch needle, walking foot, or other stitch that will solve the problem before tension comes into play.
When testing for quilting, do not test just the top cotton layer, but the entire quilt sandwich. The batting thickness affects the interlacing of the threads, and a stitch that is perfect on two flat layers can seem loose or strained with batting. Before free-motion quilting, decorative stitching, or binding work where the thread will be visible, this is particularly important.
When Should You Adjust Bobbin Tension?
Bobbin tension should be considered as a last resort, not a first reaction. Most domestic sewing machines have a bobbin case that is set up to accept normal sewing thread and standard bobbins. When changing the bobbin screw, you may create a new problem that will be more difficult to diagnose later if you change the bobbin screw too fast.
Only adjust bobbin tension when the machine is threaded correctly, the needle is new, the bobbin is wound and seated, the bobbin area is clean, and the upper tension adjustments do not correct the stitch balance. Depending on the machine manual, specialty threads, embroidery bobbin thread, or unusual thread weights may need to be fed from a separate bobbin case or carefully adjusted on the bobbin.
| Situation | Adjust Bobbin Tension? | Why |
|---|---|---|
| Regular cotton thread with standard fabric | Usually No | Upper tension and proper threading solve most issues. |
| Thread nests immediately after threading | No | This usually means the upper thread path is wrong. |
| Specialty or heavy thread in bobbin | Possibly | The bobbin case may need a different setting or a separate case. |
| Bobbin thread feeds with no resistance | Possibly | The bobbin may not be seated correctly, or the case tension may be too loose. |
| The machine manual specifically instructs on adjustment | Yes, Carefully | Follow the manufacturer’s process and make tiny changes. |
When adjusting the bobbin screw, adjust it only a small amount at a time, e.g., the width of a clock minute mark. Take a photo of the original screw position before making any changes, in case things get worse and you need to go back to the baseline. This little thing can save a lot of frustration.
Some drop-in bobbin machines are not suitable for a beginner to change the bobbin tension frequently. If your manual does not recommend adjustment, or if the bobbin case is hard to reach, it is best to consult a technician, particularly if the machine has sewn fine in the past and the issue has just come up.
How to Test Sewing Machine Tension Correctly
Most beginners either solve the problem or end up making it worse in testing. The same project conditions should be used for a good tension test as for the final seam. Which translates to the same fabric layers, the same thread, the same needle, the same stitch length, and the same presser foot. If there is no matching test, the outcome might not apply to the actual project.
When learning, a contrasting thread can be helpful to determine if the top thread is pulling down or the bobbin thread is pulling up. Only use a light top thread and dark bobbin thread (or vice versa) on your test swatch. After learning the stitch balance, go back to matching the thread for the last piece.
If you’re just getting started, practicing these techniques on one of the best sewing machines for beginners can make tension adjustments more forgiving and easier to understand.
- Cut a scrap using the same fabric and number of layers as the project.
- Thread the top and bobbin with contrasting colors for easy visibility.
- Sew a straight seam at normal speed without pulling the fabric.
- Inspect the top, underside, and fabric edge for loops, puckers, or visible opposite thread.
- Adjust one setting only, then sew a second line beside the first for comparison.
- Write down the best setting for that fabric and thread combination.
Troubleshooting Guide: Fix the Problem Before Changing Settings Again
If this adjustment doesn’t help, stop and go back to diagnosis. If the dial is turned repeatedly without planning, the machine will move further away from balance. It’s better to relate each symptom to a practical correction and retest following each correction.
This section is intended to provide a quick reference when you are at the machine. It includes typical beginner issues and the order of most probable fixes. Apply when stitches suddenly change or when a new fabric is used that has a different quality.
| Problem | Check First | Next Step |
|---|---|---|
| Bird nesting under fabric | Upper threading path and presser foot position while threading | Clean tension discs and increase upper tension only after rethreading. |
| Needle thread breaks | Needle size, burrs, thread quality, and too-tight tension | Replace the needle, reduce the tension, and slow down. |
| Bobbin thread tangles | Bobbin direction, bobbin size, and lint under needle plate | Reinsert the bobbin and clean the bobbin case. |
| Seam puckers | Tension is too high, the stitch is too short, or the fabric is being pulled. | Lower tension slightly and lengthen the stitch. |
| Skipped stitches | Needle type and needle insertion | Replace with the correct needle for the fabric. |
| Loose decorative stitches | Stabilizer and stitch width settings | Add stabilizer and adjust upper tension slightly. |
The most significant correction in this case is to distinguish between tension and needle problems. A skipped stitch is typically due to a failure to form or catch the loop, so the first remedy is to use a new and correct needle. When using a broken needle, if you pull tight, you may simply be causing more thread breakage.
Another great practice is to clean the bobbin area after linty projects. Some flannels, fleece, batting, and cottons shed fibers, which can cause a snag in the thread. The tension system operates in a consistent manner, and small tension changes do not become a big problem if a quick cleaning routine is followed.
Common Mistakes Beginners Make with Sewing Machine Tension
Beginner tension problems often come from over-adjusting. The stitch looks wrong, the dial is turned several numbers at once, and the next test looks even worse. Small, measured changes are safer because they show you exactly how the machine responds.
Beginners can also build better sewing habits by following our complete guide on how to learn sewing.
- Threading the machine with the presser foot down keeps the tension discs closed.
- Changing bobbin tension before confirming the upper thread path.
- Testing on a different fabric than the final project.
- Using an old, bent, or incorrect needle and assuming the tension is the problem.
- Pulling the fabric from behind the presser foot can distort stitches and create puckers.
- Using poor-quality thread that sheds lint, breaks easily, or feeds unevenly.
- Forgetting to clean lint from the bobbin area and feed dogs.
Avoiding these mistakes will solve many stitch issues before you ever need a major adjustment. A well-threaded machine with the right needle and clean bobbin area usually needs only minor tension changes between common projects.
Maintenance Tips That Keep Tension Consistent
Good tension begins with good machine maintenance. Lint, thread fragments, and dust may accumulate around the bobbin case, tension path, and feed dogs. With increasing buildup, the thread may feed unevenly, causing symptoms of a tension fault. Frequent cleaning ensures smooth and predictable stitch formation.
Follow the oiling, service interval, and parts that should not be adjusted at home instructions in the machine manual. For some modern machines, lubrication is only possible for the technician. If you sew every day, quilt often, or use linty fabrics, you should clean more often than someone who just sews occasionally.
Understanding the role of different sewing machine parts also helps you identify areas that require regular cleaning and maintenance.
| Maintenance Task | How Often | Why It Helps Tension |
|---|---|---|
| Brush lint from the bobbin area | After every few projects or after lint-heavy fabric | Keeps bobbin thread feeding smoothly. |
| Change needle | Every 6-8 hours of sewing or after heavy fabric | Prevents skipped stitches and thread shredding. |
| Use a quality thread | Every project | Reduces lint, breakage, and inconsistent feed. |
| Check bobbin winding | Every bobbin change | Prevents uneven lower thread delivery. |
| Professional service | About yearly for regular users | Keeps timing, tension, and internal systems aligned. |
A maintenance routine will also make it easier to identify if there is something unusual going on. When the machine is clean, the needle is fresh, and the thread is good, it’s easy to troubleshoot the tension problems. The basics can be removed in a hurry, and attention can be paid to the setting that requires attention.
If you have an older machine or a machine that has been stored for a long time, then professional service may be the first choice. Dried oil, timing drift, and worn parts can cause a false tension problem. If so, making a dial adjustment might not resolve the mechanical problem.
Conclusion: The Best Way to Fix Sewing Machine Tension
The most effective method of adjusting sewing machine tension is to begin with a clean, well-threaded machine, test the machine on matching scrap fabric, and make small adjustments to the upper tension. Never assume the bobbin screw is the problem without eliminating other causes of threading, needle, lint, and fabric/thread mismatch.
After grasping the concepts of loops, puckers, skipped stitches, and visible bobbin thread, tension is not so daunting. The balanced stitch is just a stitch that’s made by two threads coming together at the right time, and with a little test and adjust, a beginner can make better seams on almost any project.
Frequently Asked Questions
What number should my sewing machine tension be on?
Most machines start well around the middle of the upper tension dial, often 4 or 5 on a 0-9 dial. However, the correct number depends on your fabric, thread, needle, and stitch type, so always test before sewing the final seam.
Why is my sewing machine making loops underneath?
Loops underneath usually mean the upper thread is not under proper tension. Rethread the machine with the presser foot raised, make sure the thread is seated in the tension discs, clean the thread path, and then increase the upper tension slightly if needed.
Why is my bobbin thread showing on top?
Bobbin thread on the top side usually means the upper tension is too tight or the bobbin thread is feeding too loosely. Check that the bobbin is inserted correctly, then lower the upper tension in small steps and test again.
Should beginners adjust bobbin tension?
Beginners should usually avoid bobbin tension adjustments unless the manual instructs them to or all other checks have failed. Most everyday sewing problems are fixed through rethreading, cleaning, needle replacement, and upper tension changes.
Can the wrong needle cause tension problems?
Yes. A bent, dull, or incorrect needle can cause skipped stitches, thread shredding, loops, and uneven seams that look like tension problems. Replacing the needle is one of the fastest troubleshooting steps.
Does fabric weight change tension settings?
Yes. Lightweight fabrics may need gentler tension to avoid puckering, while thick fabrics may need a stronger needle, longer stitch length, and careful tension testing. Always test on the same fabric layers you plan to sew.
How do I know if my stitch tension is balanced?
The stitch is balanced when the top and bobbin threads interlock inside the fabric layers. You should not see bobbin thread pulled to the top, and the underside should not have loops, nests, or loose strands.
Why does my thread break after I tighten the tension?
Thread breakage after tightening usually means the upper tension is too high, the needle has a burr, the thread is poor quality, or the needle size is too small for the thread. Replace the needle, reduce tension, and test with quality thread.
Do computerized sewing machines adjust tension automatically?
Some computerized machines offer automatic or recommended tension settings, but they still require correct threading, a clean bobbin area, and the right needle. Automatic settings cannot compensate for a missed thread guide or damaged needle.
Can cleaning the machine fix tension issues?
Yes. Lint in the bobbin area or thread path can interfere with smooth thread movement. Cleaning the machine often fixes uneven stitches, bobbin tangles, and tension problems that appear suddenly.



9 Comments