Free Wallet Sewing Pattern: (Step-by-Step Tutorial for Beginners)
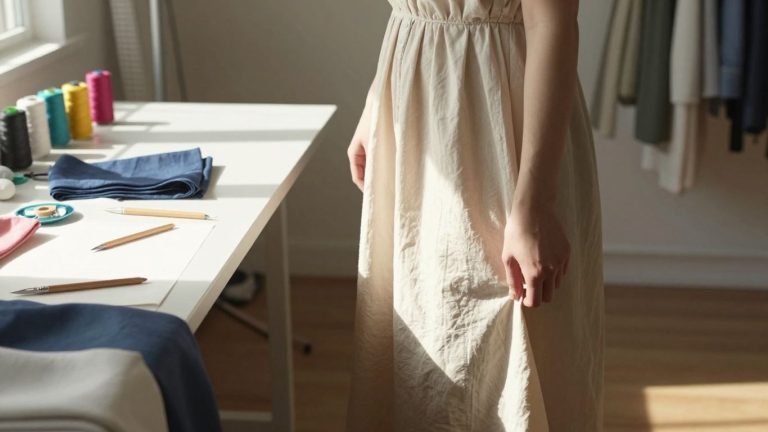
I’ve always loved making things myself, and sewing is one of my favorite pastimes. Recently, I decided to try my hand at making a wallet. It seemed like a good project, something I could use every day. I found a fantastic Free Wallet Sewing Pattern online, and I thought I’d share my experience and the steps involved.
It’s a great way to make something practical and personal, and honestly, it’s not as hard as you might think, even if you’re just starting with sewing.
Key Takeaways
- Sewing your own wallet is a rewarding project that lets you create a custom accessory.
- Gathering the right materials, like fabric, interfacing, and basic sewing tools, is the first step.
- Understanding the Free Wallet Sewing Pattern pieces and how to cut your fabric accurately is important.
- Following the step-by-step instructions carefully will help you assemble the wallet body, add pockets, and finish it nicely.
- This project is beginner-friendly and can be completed in a reasonable amount of time, giving you a functional wallet you’ll be proud of.
Why Sew Your Own Wallet?
Why pay for a wallet when you can make one yourself? For sure, I know, buying it is the simple thing to do. However, there’s something about building with your own hands, using the product every single day, that brings a special kind of satisfaction.
One of those beginner sewing projects, a wallet or make your own wallets, is very easy to work on and totally satisfying! It’s also a great way to use up scraps from your fabric stash.
Just imagine, you chose the exact fabric, the colors, the style, everything! You can customize it to be absolutely to your liking, which could easily be a spot for only a couple of cards or just an area for cash and loose change. Besides, it would be a perfect starting point for some simple handmade wallet instructions. These wallet tutorial projects are simple enough that you don’t need a lot of fancy equipment to get started.
Here’s why I think sewing your own wallet is a great idea:
- You can control how it looks: Customization. Goodbye to the days of settling for a design you only sort of liked.
- Budget Friendly: Making your own is often cheaper than buying new, especially if you have fabric.
- Skill Building: This project is a great way to get started with basic sewing skills that you can use for other beginner sewing projects, such as a wallet.
- Gift: A handmade wallet is a personal gift, one that shows you care.
Wallet making is not just a craft, but a useful skill to have that can help you embrace your personal style while keeping your cards and cash organized. This is a little project to get the satisfaction of accomplishment.
This homemade card holder tutorial is easy, so that a beginner can easily make it. I will take you through every step of the process to make learning how to sew a wallet enjoyable. Well, what great way to begin with your sewing life, and you will have something useful, and you can be proud of it.
Even a basic bifold wallet pattern can be simple enough for a beginner to follow. Related: You might also like the ¡Sew Simple Wallet! tutorial here. It’s a great way to get started, and you might even find yourself wanting to make more, perhaps even a matching bag like the ones you can learn about in this guide on sewing a fabric bag.
One of those beginner sewing projects, like this wallet, is very easy and totally satisfying! It’s also a great way to use up scraps. If you enjoy DIY projects, you might also like this tutorial on how to sew an apron or even try a bigger project like how to make a simple tote bag at home.
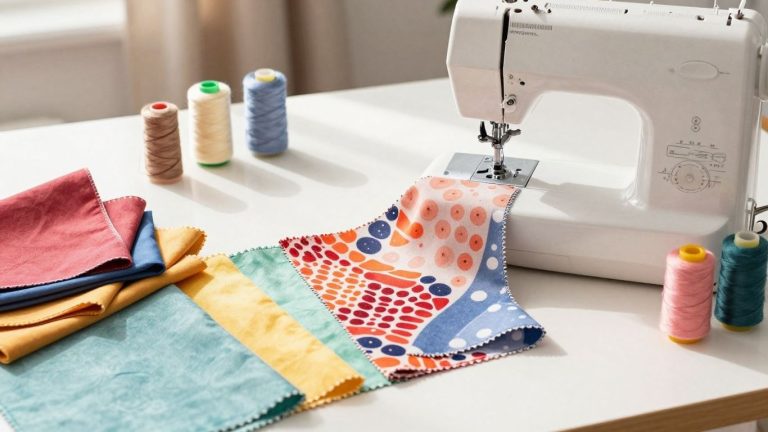
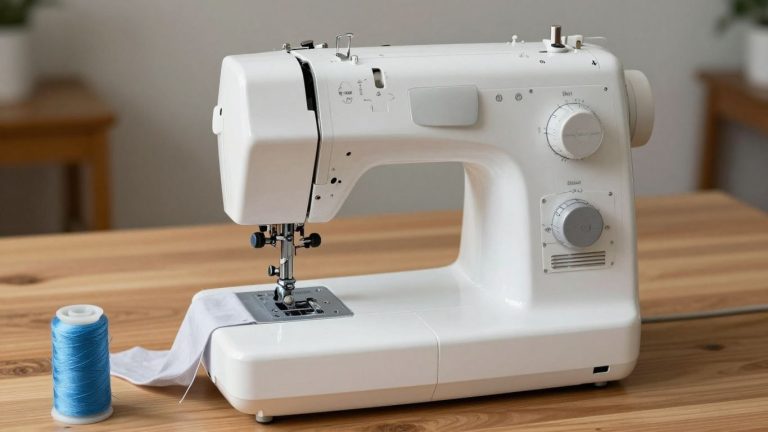
What You’ll Need: Materials and Tools
Starting a new sewing project always feels like opening a new chapter. Wallet sewing is no different. Before I get to the step-by-step part, here’s a straight look at what I gather before sitting down to sew a wallet.
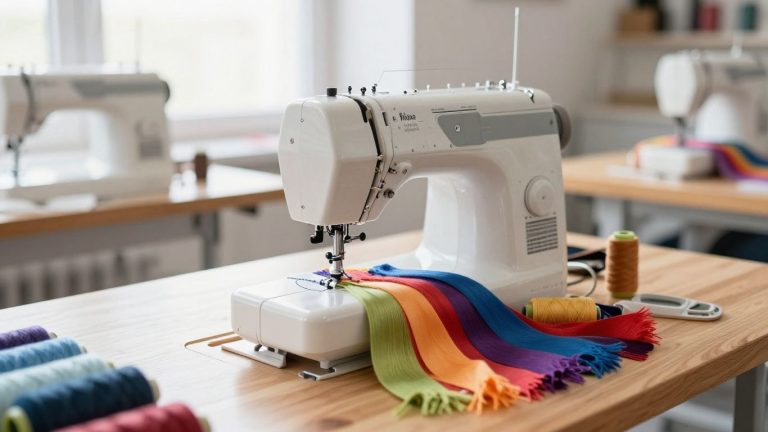
Fabric Choices
The thing I’ve seen with wallet projects is that the fabric you choose really dictates how it goes. The sturdiest fabric is best for wallets, so it should not be too flimsy. The following is a simple list I have used and had some luck with:
- Cotton for Quilting (sews like a dream and has very lovely prints)
- Denim (is sturdy and retains shape well)
- Canvas or duck cloth
- Corduroy
- AS FOR A CHALLENGE: faux leather or suede
For any regular wallet, a yard just puts you in too much name, and not enough game — often less than a half yard is what you need. Leftover material is used for smaller wallets, card sleeves, and so forth. When in doubt, it never hurts to pick up an extra bolt or two when you spot a good sale or clearance rack.
Even leftover fabric works great. For beginners, using proper tools is important, so you can check this list of sewing kits for beginners to make sure you’re fully equipped.
Interfacing and Lining
A wallet that just feels floppy isn’t going to last long. This is where interfacing steps in. I’ll always add a layer to reinforce my outer fabric and sometimes the lining, too.
| Interfacing Type | Recommended Use |
| Fusible | Easy—just iron on |
| Sew-in | Trickier for beginners, skip if unsure |
I will do something smooth and sturdy for linings; normal cotton or polyester blends are satisfactory. Choose a thicker interfacing if you prefer more structure.
A sound wallet begins with a quality fabric and just a bit of reinforcement. If they are thin, simply interfacing them twice still gives you an absolutely great finish.
Essential Sewing Tools
No matter how basic or fancy the wallet, these are always close at hand:
- Sewing Machine (easy to use, good way to learn at first would be a cheap mechanical sewing machine with around 10-30 utility stitches, an interface that is as simple and intuitive as possible: the fabric should flow well through the machine without to may struggling)
- Scissors, felt or fabric scissors (make sure to never cut on paper with these)
- I use pins or clips (I prefer both, depending on the thickness of the fabric)
- Sewing machine & sewing tools (to create seams and other stitches)
- Seam ripper (not the most glamorous, but you’re going to need it!)
- Measuring tape or clear ruler
- Fabric marking pen or chalk.
Additional components like snaps, zippers, or hooks may be required hardware, depending on the wallet pattern. If you are a beginner, try patterns that have a low number of extras. That makes it simple, so you can concentrate on sewing clean.
Honestly, gathering your tools upfront saves a ton of headache later. I had to learn that lesson after searching for a missing seam ripper when I should have searched once.
If you’re unsure how to set up your machine, this guide on how to thread a sewing machine will save you a lot of frustration.
Understanding the Free Wallet Sewing Pattern
Pattern Pieces Explained
Okay, now we need to go into the actual pieces when it comes to pattern making. With most free wallet sewing patterns, you will receive a cut-out set of shapes that you need to trace or cut onto your fabric. Imagine they were puzzle pieces, but for sewing. Every component has a special role in constructing your wallet.
One may be for the bill compartment, another one for the card slots, and maybe one small coin pocket. Seeing them all together before you dive in with scissors is so useful. Typically, I write on them with a pencil or use a temporary marker to avoid mixing them up. Having a little cheat sheet right there.
Cutting Your Fabric
This is where the magic begins to happen. Once you have your pattern pieces, the next step is to cut them out of the fabric that you are using. If the pattern is calling out a grainline, follow that because it determines in which direction your threads are woven through and how your finished wallet will hang and wear over time.
My method is to always trim a little outside the lines and then go around again, cutting down to size. Better to have a bit too much than too little, right? This step is easy for a straight, simple DIY card holder pattern, but when you are working with complex items such as a printable sewing template (with many folds), precision is the name of the game. Keep in mind: a clean cut means easier sewing down the road.
If you are cutting when dieting and downloading a printable wallet pattern for free, then make sure that you have printed it out at the right size. The way printer sizing can screw up the entire project. A simple measurement against a ruler printed on the pattern will take a lot of worries away.
Here’s a quick rundown of what you might find:
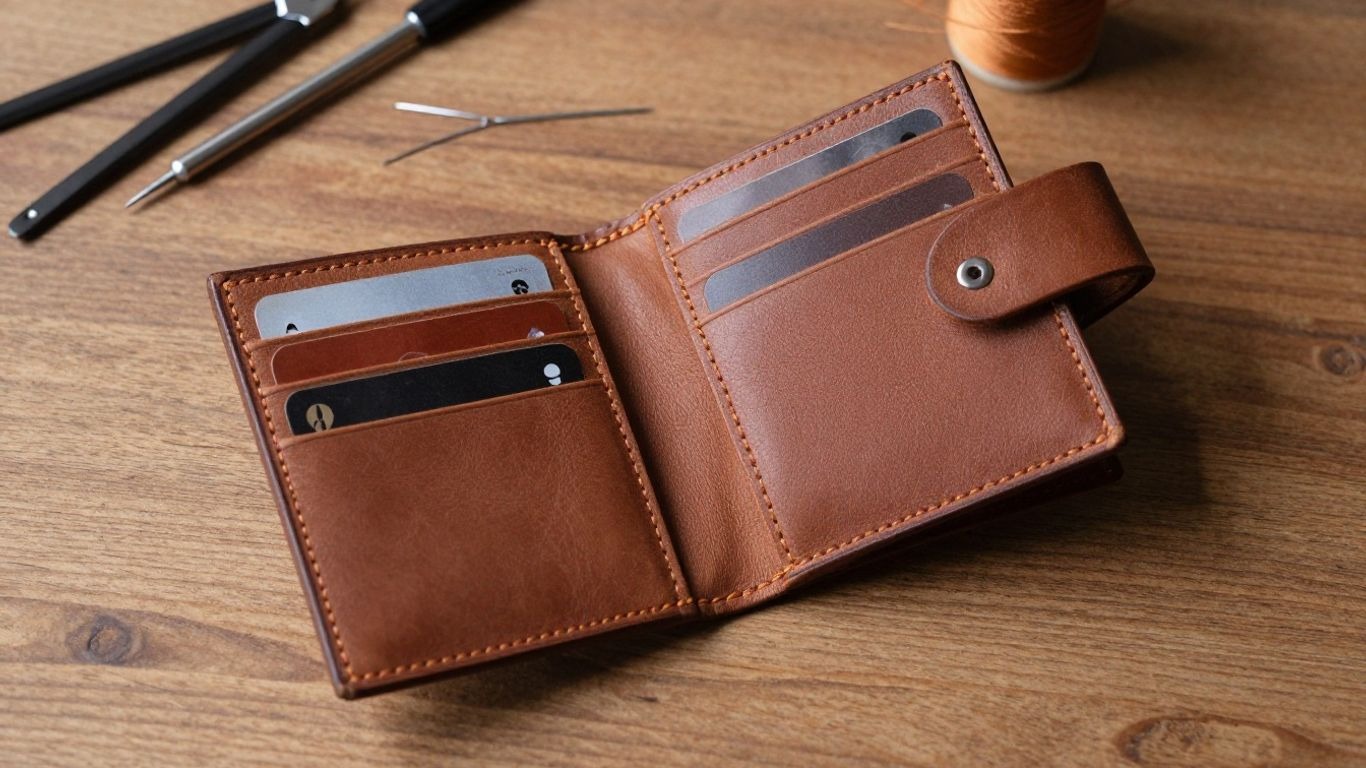
- The Wallet Body: This is the largest component of the wallet and oftentimes lies at the very foundation.
- Card Slots: Smaller rectangles, they are folded to make pockets.
- Lining Pieces: Same as ExternalBODY but in reverse
- Pocket Pieces: An extra zippered small compartment, or a bigger secondary pocket for keeping notes.
When you sew a simple wallet pattern, cutting these pieces out accurately is half the battle. It really streamlines the actual assembly. Printable wallet sewing template. If you source a printable wallet sewing template, ensure that there’s extensive information showing which is each piece, how many of each piece are cut, and you’ll need these numbers to hand. It’s all about preparation!
Accuracy matters especially when working on detailed sewing projects. If you plan to upgrade your skills later, you might even explore machines like those mentioned in this best quilting sewing machine guide.
Step-by-Step Sewing Instructions
Alright, let’s get down to the actual sewing part. This is where all that cutting and prep work pays off. Don’t worry if you’re new to this; these steps are designed to be clear and manageable, making this one of those great beginner sewing projects.
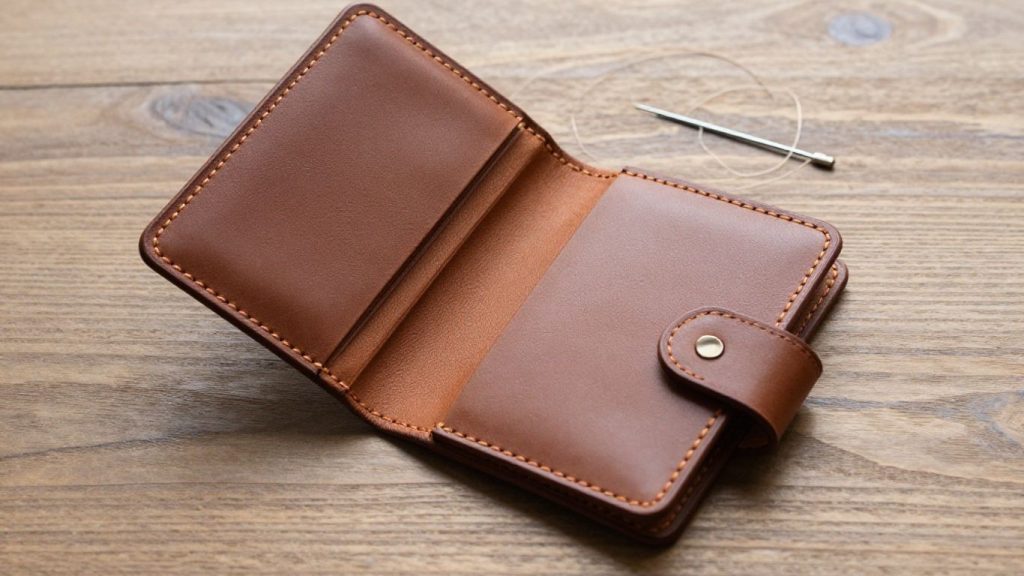
Assembling the Wallet Body
To do that, first, I set my two main wallet pieces, right sides together. Sewing it down along the long edge, and leaving both ends open. I then go ahead and do the same for the lining pieces. Press these seams open to get a nice, flat seam.
Next, the main wallet piece and lining pieces are placed right sides together, stitched around three of the raw edges with an opening left on one side for turning. Notice the super opening – this is the deal we need to flip (Cinderella) the whole thing inside/out.
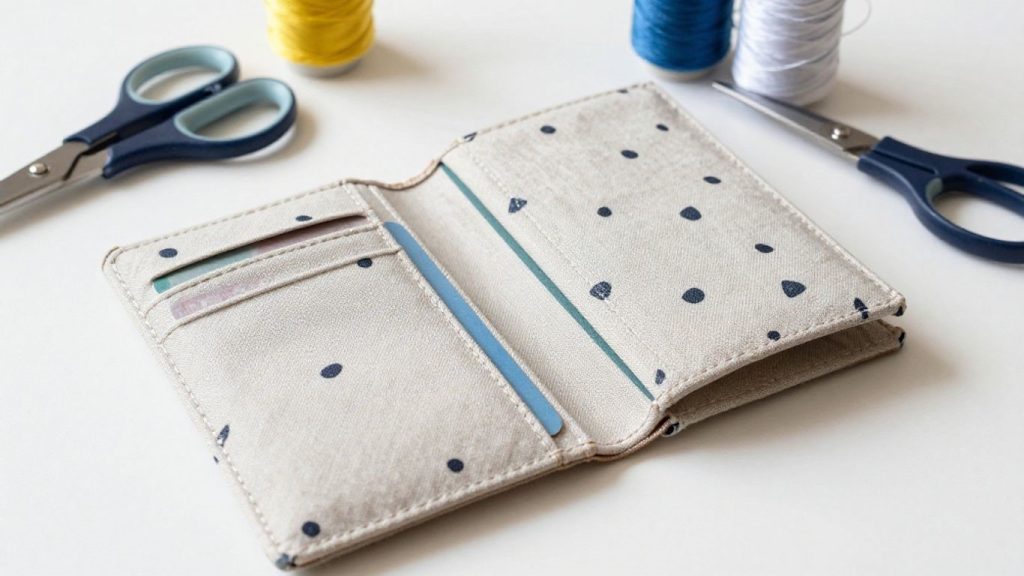
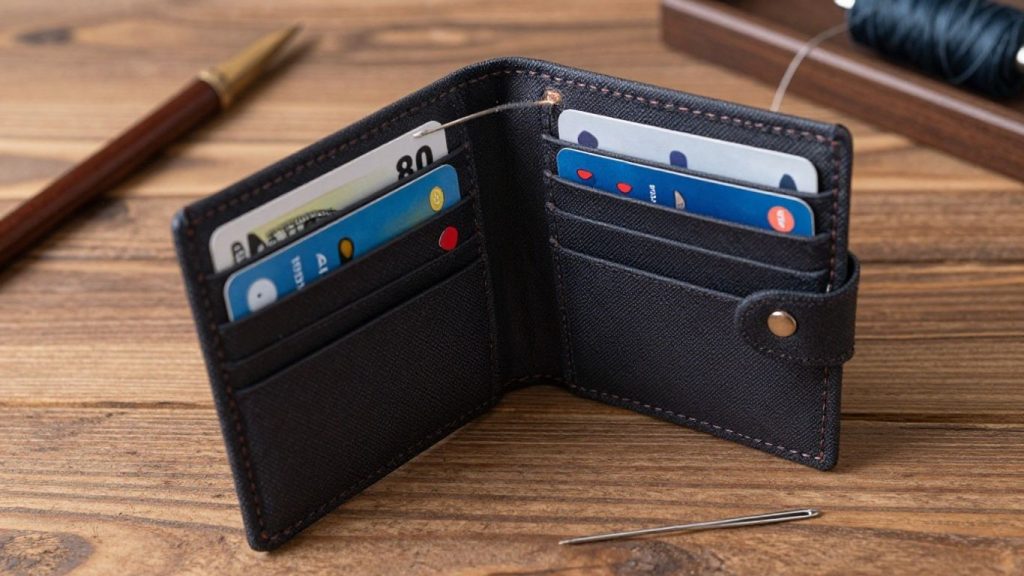
Adding Card Slots and Pockets
Now for the inside. My process starts with card slots, as opposed to an app prototype, usually. The top edge of each small pocket piece is folded twice and pressed, then stitched along the fold to create a clean hem.
I slice the larger inside pocket piece and then fold it in half, pressing at the center, so I know where to put my string. Place my smaller hemmed pockets down on this larger piece (spaced evenly) and run a stitch along the bottom.
After those are secured, I sew this entire pocket assembly to one of the main wallet pieces (the part that will be interior). I typically either baste it in place or do a quick stitch around the sides and bottom (being careful not to sew through to the outside of the wallet).
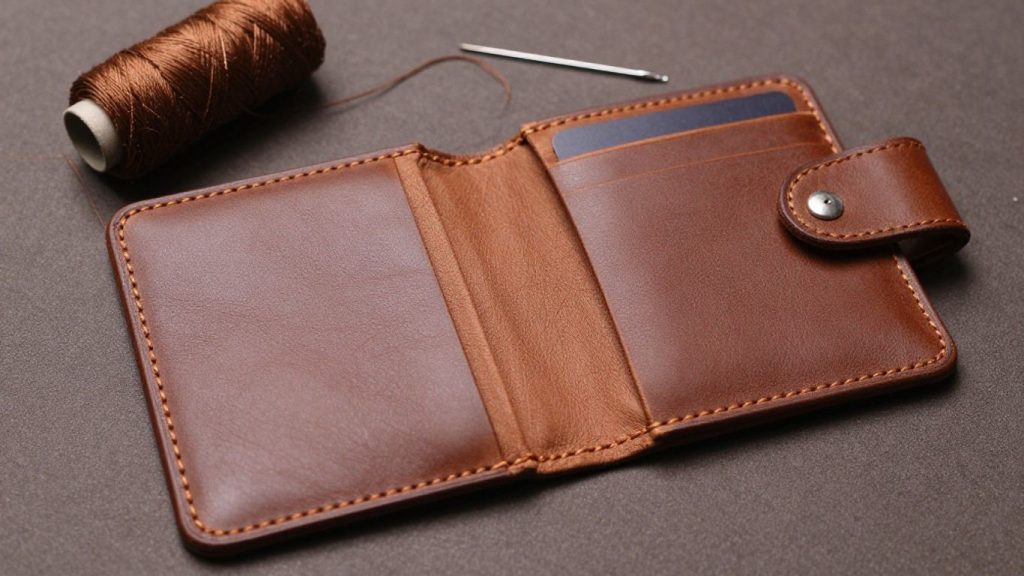
Finishing Touches and Topstitching
Once pockets are installed, I just flip the whole wallet out through that opening I left in the top. I always loved this moment! I gently push the corners to ensure they are nice and sharp. Closing that up, good and clean, hidden stitches, I just hand stitch it closed. The final step is topstitching. My personal preference is to sew around the perimeter of the wallet, 1/8 inch from the seam.
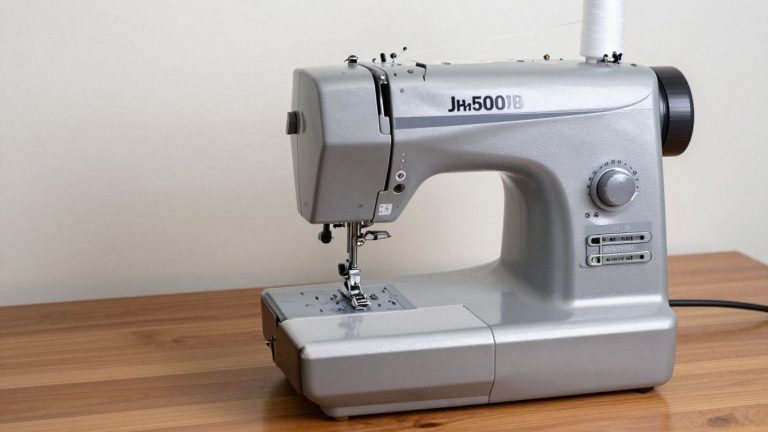
This not only gives it a professional look but also helps keep everything flat and secure. If you’re using a sturdy machine like the Janome HD1000, it will handle this topstitching with ease. I also topstitch around the top edge of the inside pocket to give it a finished look. And there you have it – a handmade wallet ready to be used.
Remember to take your time with the topstitching. A steady hand and a consistent seam allowance make a big difference in the final appearance of your wallet. It’s these little details that really make a handmade item shine.
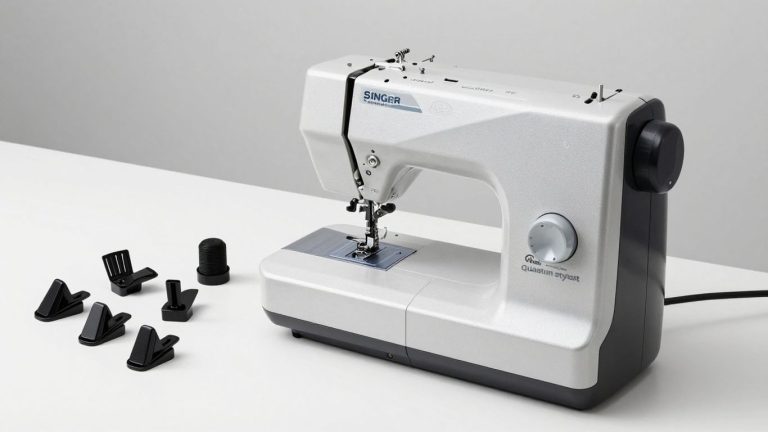
A good sewing machine makes a big difference here. For example, machines reviewed like the SINGER 4452 Heavy Duty Sewing Machine are known for handling thick layers easily.
Happy Sewing!
So there you have it! I hope you find this tutorial makes sewing an easy wallet understandable. It’s strange to think that you can create so much usefulness out of a small amount of fabric and thread. Whether you made a basic card holder or something more elaborate, you now have a new accessory in your life, for which the credit is yours entirely.
So why not give another pattern a go next time, with maybe more pockets or other closures? You will only get better with practice, and soon enough, you will be churning out wallets for all of your friends. Happy stitching!
Once you finish, you might feel confident enough to try bigger projects. Maybe even combine your skills into home decor ideas like these small apartment ideas where handmade items really shine.
Frequently Asked Questions
Why should I consider making my own wallet instead of buying one?
Honestly, it’s way more rewarding to create something with my own hands! Plus, I get to pick the exact fabric I love, and I end up with a unique wallet that perfectly fits my style. It’s also a fantastic way to save money and use up fabric scraps I already have.
What kind of fabric works best for sewing a wallet?
I’ve found that sturdy fabrics like cotton canvas, denim, or even faux leather or cork work really well. These materials hold their shape nicely and are durable enough for everyday use. It’s also good to use a lining fabric that’s smooth, like quilting cotton, and maybe some interfacing to give the wallet extra body.
Is this wallet pattern really suitable for beginners?
Yes, absolutely! I designed this pattern with beginners in mind. While it might seem like there are a lot of steps, I’ve broken everything down into clear, easy-to-follow instructions. If you take your time and go step-by-step, you’ll have a great-looking wallet in no time.
How long does it usually take to sew this wallet?
For someone who’s just starting, I’d say you can probably finish this wallet in about two hours. If you’ve sewn before, it might even be quicker! The detailed instructions help speed things along once you get the hang of it.
What if I don’t have a sewing machine?
While a sewing machine makes things much faster and neater, I suppose you could hand-sew this wallet. It would take considerably longer, and you’d need to be careful to make your stitches as even as possible. However, for most of the wallet patterns I’ve seen, a machine is usually recommended.
Can I add more card slots or pockets to this wallet?
You definitely can! Once you’ve made the basic wallet, you’ll get a better feel for how it’s constructed. You could easily adapt the pattern to add more card slots or even a small zippered pocket if you’re feeling adventurous. It’s all about making it work for you!