How to Sew Chiffon: A Beginner’s Step-by-Step Guide
Learning how to sew chiffon becomes much easier when you understand why this sheer fabric slips, frays, and puckers under a regular sewing setup. Chiffon is lightweight and delicate, so the best results come from sharp needles, fine thread, careful cutting, and slow machine control.
This beginner-friendly guide explains how to prepare chiffon, stabilize it, sew clean seams, finish raw edges, and avoid the most common mistakes. By testing your settings first and using gentle handling from start to finish, you can create elegant blouses, dresses, scarves, overlays, and special-occasion garments with a smooth professional finish.
Key Takeaways
- Use a fresh Microtex or sharp needle in size 60/8, 65/9, or 70/10 to reduce snags and tiny pulls in the fabric.
- Cut chiffon in a single layer whenever possible and stabilize it with tissue paper, pattern weights, or a washable stabilizer.
- Use fine polyester thread and a short-to-medium straight stitch, then test tension on scraps before sewing the garment.
- French seams, narrow hems, rolled hems, and hand finishes work best because chiffon is sheer and raw edges can show through.
- Press with low heat and a press cloth, and avoid dragging the iron because many chiffon fabrics are heat-sensitive.
Why Is Chiffon Tricky to Sew?
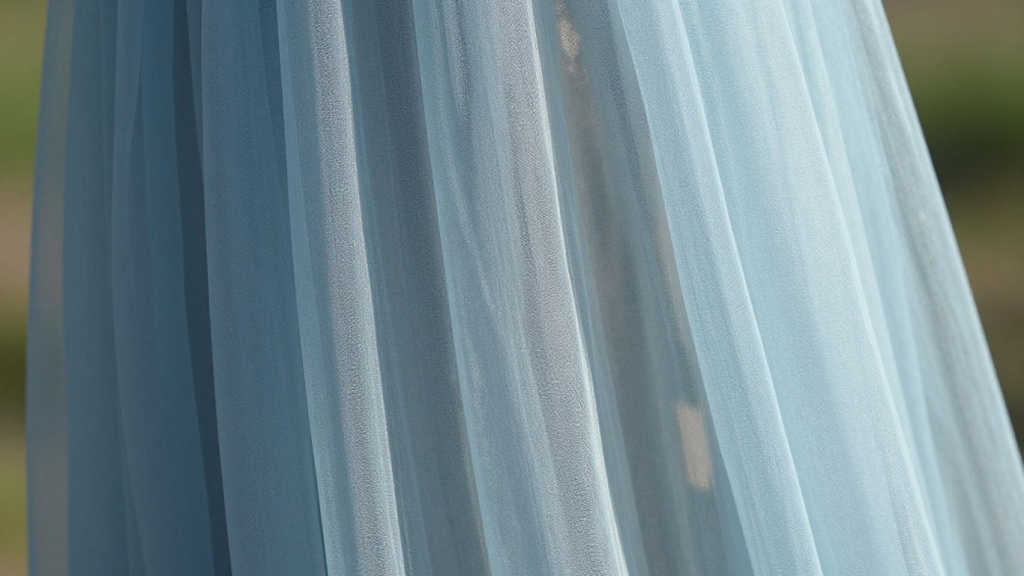
Chiffon is challenging for beginners because it is thin, sheer, and slippery. Fabric may shift while cutting, stretch slightly as it passes through the machine, and sink into the needle plate if the needle opening is too large. That’s why many chiffon projects seem slightly uneven when handled like cotton or linen.
The second problem is fraying. Chiffon edges tend to fray easily, particularly from frequent handling, pinning, and/or ripping out stitches. The fabric is clear, which means that there are also more visible bulky seam allowances and messy finishes.
The positive is that chiffon isn’t impossible to sew. After slowing down, stabilizing the fabric, selecting the right needle, and testing the seam finish, the process becomes more predictable. For beginners, it’s best to work on simple projects like scarves, overlays, loose blouses, or lined skirts before moving on to fitted pieces with lots of curves.
If you’re new to garment construction, learning how to learn sewing first can make delicate fabrics much easier to handle.
Know Your Chiffon Before You Start
Not every chiffon is created equal. Polyester chiffon is widely available, less expensive, and generally easier to work with, while silk chiffon is more delicate, luxurious, and typically more easily pressed and cleaned. Some chiffon is crepe, some is smooth, and some chiffon is pleated, printed, or has a metallic finish, which alters the way it should be cut and sewn.
Always check the fibre content and care label before sewing. This is important as a number of synthetic chiffons are sensitive to high heat, and silk chiffon can water-spot or lose its surface finish if treated aggressively. If in doubt, test press, wash, stabilizer, starch, and fray control products on an inconspicuous scrap before it is applied to the actual garment pieces.
- Polyester chiffon: usually durable and affordable, but sensitive to high heat.
- Silk chiffon: soft and elegant, but more delicate and often better suited to careful hand finishing.
- Printed chiffon: needs careful layout so motifs remain balanced.
- Pleated chiffon should be handled with extra care so the pleats do not flatten during pressing.
- Chiffon with embellishment: may require hand sewing in beaded or metallic areas.
Essential Tools and Materials for Sewing Chiffon
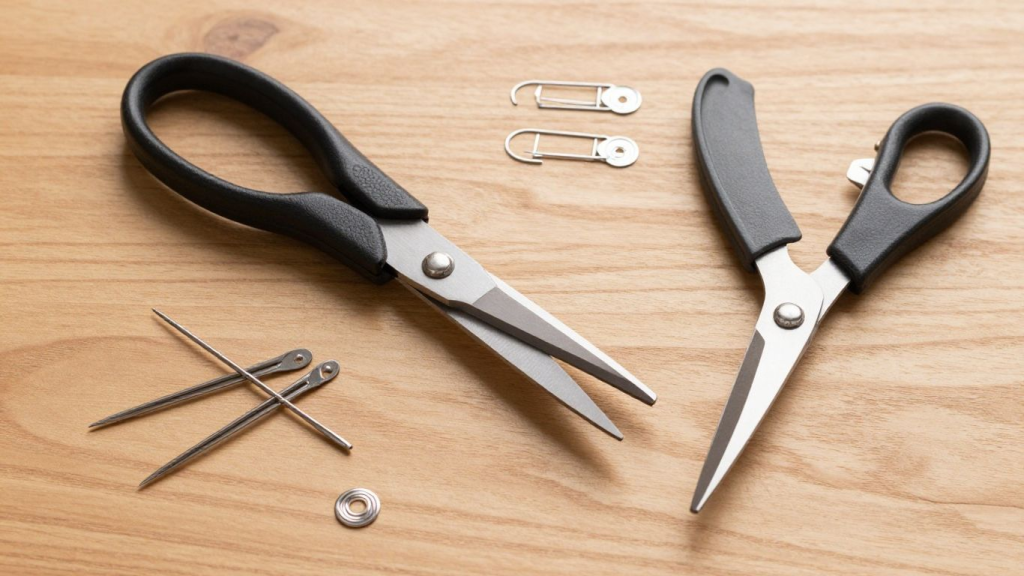
Most chiffon problems are avoided by the right setup. New needle, new thread, sharp cutting tools, and a steady work surface will help you achieve cleaner seams and fewer snags. Don’t use dull scissors, rough pins, or heavy thread, as each can cause the fabric to be distorted or damaged.
Maintain a clean, level work surface for optimum control. Chiffon may easily get caught on rough wood, chipped nails, jewelry, or burrs on old pins. Wash and dry hands before handling light-colored chiffon; avoid handling food, lotion, or steam-heavy pressing until the reaction is tested.
Before you look at the table below, consider the setup in simple steps: select a fine, sharp needle, use lightweight thread, support the fabric with tissue or stabilizer, and if you have an extra straight-stitch foot or a small needle plate opening on your machine, use it. It is more important that these four decisions are made to make chiffon sewing better than any complicated machine adjustment.
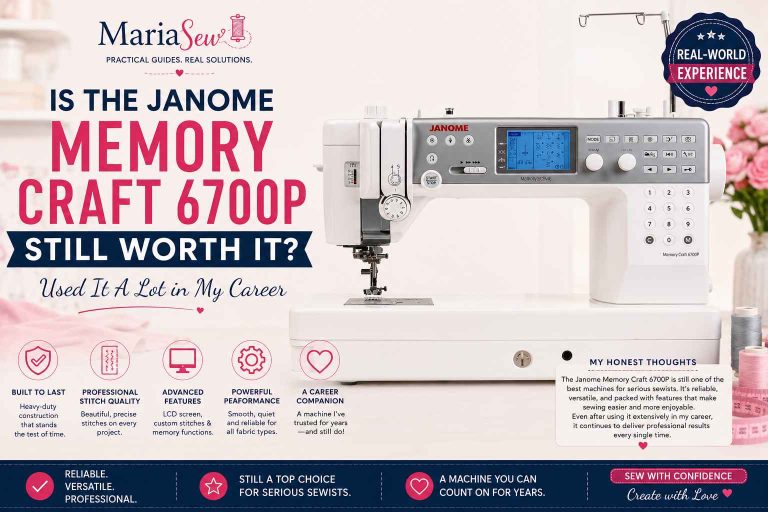
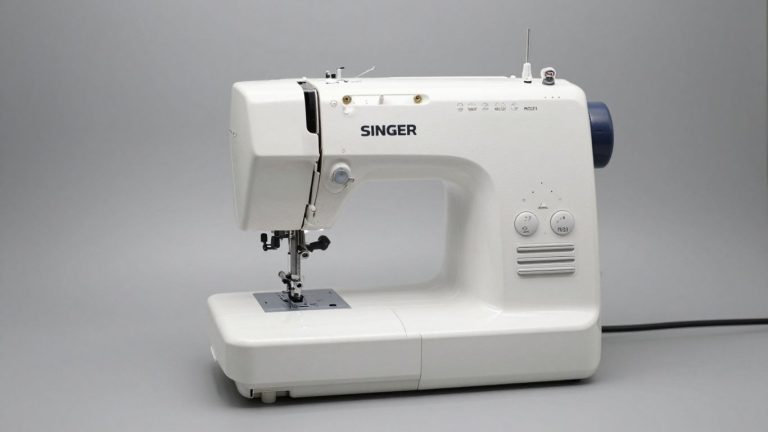
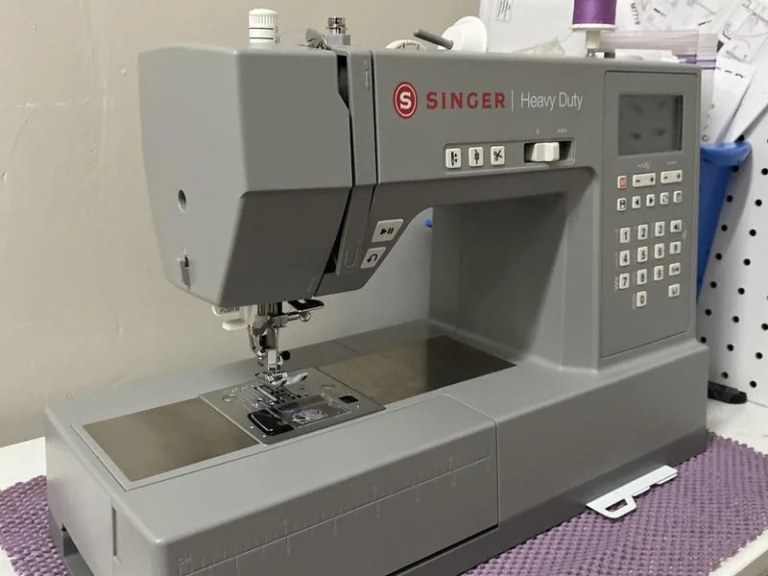
Understanding the parts of a sewing machine can also help you adjust your machine correctly for delicate fabrics. It is more important that these four decisions are made to make chiffon sewing better than any complicated machine adjustment.
| Tool or Setting | Best Choice for Chiffon | Why It Helps |
|---|---|---|
| Needle | Microtex/sharp needle, size 60/8, 65/9, or 70/10 | Pierces cleanly without dragging delicate fibers into the needle plate. |
| Thread | Fine all-purpose or lightweight polyester thread | Keeps seams strong without adding bulk or visible ridges. |
| Pins or clips | Fine silk pins, appliqué pins, or smooth clips | Holds fabric with less risk of holes, snags, or distortion. |
| Stabilizer | Tissue paper, water-soluble stabilizer, or wash-away tape | Adds temporary body so chiffon feeds more evenly. |
| Presser foot | Straight-stitch foot, roller foot, or standard foot after testing | Helps control fabric movement and reduces bunching. |
| Pressing tools | Press cloth, low heat, and light pressure | Protects sheer and synthetic fibers from shine, melting, or marks. |
How to Prepare Chiffon Before Sewing
Preparation is the most important part of sewing chiffon. When the fabric is stretched, shifted, or cut unevenly, the sewing stage becomes difficult. Spend some time before the first seam, as the garment will look more professional if it is cut and stabilized properly.
Always read the care label first. Pre-washing is only helpful if the fabric is washable and you will wash the completed garment in the same manner. Do not assume that all chiffon fabrics can be washed in the washing machine; many chiffon fabrics, particularly silk or embellished chiffon, may require dry cleaning or very careful hand washing.
Use these simple preparation steps before cutting your pattern pieces:
1. Clear a large flat cutting surface so the fabric does not hang off the table and stretch under its own weight.
2. Press the fabric lightly with a press cloth and low heat if the care label allows it.
3. Place tissue paper or a lightweight stabilizer underneath the chiffon to reduce sliding.
4. Cut in a single layer whenever possible, especially for curved or bias-cut pieces.
5. Use pattern weights instead of heavy pinning, then mark notches with tailor’s tacks or tiny snips inside the seam allowance.
After cutting, move the pieces as little as possible. If the edges begin to fray, do not over-handle them. You can stabilize seam allowances with very light stay-stitching or test a small amount of fray-control product on a scrap first, but avoid anything that leaves dark marks or stiff patches.
Best Sewing Machine Settings for Chiffon
Chiffon requires a controlled machine set-up, not high speed or pressure. The idea is to get the fabric to glide through the machine without puckering and to create small, tight stitches. Begin with a moderate amount of tension and only make small changes when testing on a scrap.
Most chiffon seams are done with a straight stitch, but it should not be so small that it pinholes the chiffon. If the seam puckers, lengthen the stitch a bit, loosen the upper thread tension a bit, or put tissue paper under the seam. If the fabric is going into the throat plate, use a straight stitch needle plate (if available).
If you’re unsure whether your machine is suitable for lightweight fabrics, check our guide to the best sewing machines for beginners.
| Machine Area | Recommended Starting Point | Adjustment Tip |
|---|---|---|
| Needle | 60/8 to 70/10 Microtex or sharp needle | Change the needle at the first sign of snagging or skipped stitches. |
| Stitch length | About 2.0 mm to 2.5 mm | Shorten slightly for very fine seams; lengthen if fabric puckers. |
| Thread tension | Middle/default setting first | Lower slightly only if the seam puckers after rethreading and testing. |
| Speed | Slow to medium-slow | Fast sewing can stretch, bunch, or shift chiffon. |
| Presser foot pressure | Light or reduced if adjustable | Reduce pressure if seams become wavy. |
| Needle plate | Straight-stitch plate, if available | The smaller hole helps prevent fabric from being pulled downward. |
Step-by-Step Guide: How to Sew Chiffon
The safest beginner method is to work slowly and test each choice before committing to the final garment. Chiffon rewards patience. A few minutes spent on test seams can prevent hours of unpicking, which is especially important because ripping stitches out of chiffon can leave permanent holes.
1. Thread the machine with a fresh fine needle and lightweight thread, then rethread with the presser foot raised so the thread sits inside the tension discs.
2. Prepare a test sandwich using scraps from the same chiffon and any lining or stabilizer you plan to use.
3. Sew a short test seam at slow speed without pulling the fabric from the front or back.
4. Check both sides of the seam for skipped stitches, puckering, loose loops, or visible thread imbalance.
5. Adjust only one setting at a time, such as stitch length or top tension, then test again.
6. Sew final seams with gentle guidance, keeping the fabric supported on the table so it does not drag.
7. Press each seam lightly with a press cloth before moving to the next construction step.
Best Seam Finishes for Chiffon
Seam finishing is not only about durability, as chiffon is sheer. The finish also impacts the appearance of the garment from the outside. A large seam may be visible through the garment and give an elegant dress, blouse, or scarf a weighty appearance.
French seams are one of the easiest seams to work with, as the raw edges are enclosed in a neat seam. They are good for straight or slightly curved seams, but may be more difficult in tight curves or very small areas. If those details are more practical, then after testing, a narrow serged edge, hand overcast stitch, or bound finish may be more practical.
When deciding on a seam finish, take into account the garment’s transparency, stress points, and care method. Where a garment is fitted, seams must be stronger, and in overlay seams, they may need to be inconspicuous.
If you’re deciding between using a regular sewing machine or a serger for seam finishing, see our comparison of serger vs. sewing machine.
| Seam Finish | Best For | Beginner Notes |
|---|---|---|
| French seam | Sheer blouses, dresses, scarves, and overlays | Clean and enclosed, but requires careful trimming and pressing. |
| Narrow serged seam | Lined garments or less transparent chiffon | Fast and secure, but the thread edge may be visible on sheer fabric. |
| Rolled seam/edge | Scarves, ruffles, and lightweight hems | Works well for edges, but needs testing to avoid stretching. |
| Hand overcast seam | Delicate areas, silk chiffon, or couture finishes | Slower, but gives excellent control on fragile fabric. |
| Bias-bound seam | Decorative or structured chiffon projects | Adds strength, but may be too bulky for very fine chiffon. |
How to Hem Chiffon Without Puckering
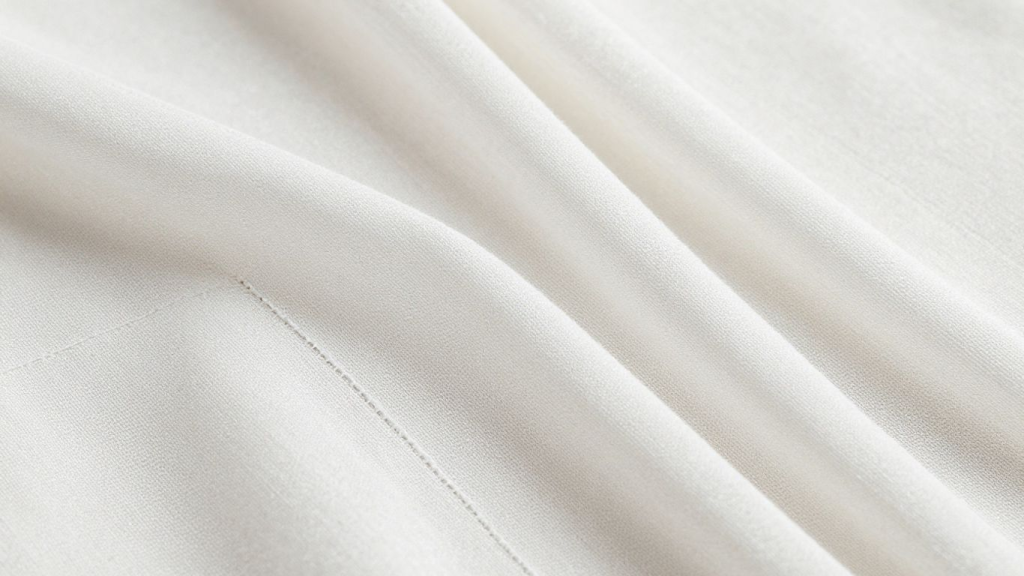
One of the things that makes beginners nervous is hemming chiffon, as the edge is light and unstable. This will vary depending on the project. A rolled hem might be appropriate for a scarf, a narrow machine hem, or a light hand-sewn hem for a lined dress.
If the machine is to be used to create a narrow hem, fold the edge up slightly, stitch close to the fold, carefully trim the allowance, and fold and stitch again. When using a rolled hemmer foot, work out a few samples first, as chiffon can slip out of the foot if fed too fast. If the chiffon is very expensive or delicate, hand rolling can take longer but will provide the most control.
- Use a rolled hem for scarves, veils, ruffles, and lightweight overlays.
- Use a narrow double-fold hem for simple skirts, sleeves, and blouse hems.
- Use a hand-rolled hem for silk chiffon or special occasion garments.
- Avoid heavy folded hems because they can drag the fabric down and change the drape.
- Press gently after hemming, but do not flatten the natural movement of the fabric.
If you’re new to hemming techniques, our guides on how to sew a hem, how to hand sew a hem, and hemming tape explain different methods for achieving clean, professional-looking edges.
Common Chiffon Sewing Problems and Fixes
The most common reason for chiffon misbehaving is due to the choice of needle, fabric support, machine speed, or thread tension. It’s easier for beginners to adjust the tension first, but the ideal way to make the machine setting adjustments is to test the needle, thread, stabilizer, and stitch before making any major changes to the tension.
If the bunches of fabric bunch under the needle, STOP. Avoid pulling the fabric too much. Raise presser foot and needle, carefully remove fabric, cut tangled threads, then test with tissue paper under seam. Chiffon may tear, or the seam may be stretched when pulled.
Before referring to the table, follow these quick troubleshooting steps: Replace the needle, rethread the machine, test a stabilizer, slow down, and support the fabric on the table. If the problem persists, use the table below to determine the most likely solution.
| Problem | Likely Cause | Best Fix |
|---|---|---|
| Fabric bunches under the needle | Needle plate opening is too wide, or fabric lacks support | Use tissue paper, a straight-stitch plate, and a fresh fine needle. |
| Skipped stitches | Dull or wrong needle or poor thread path | Switch to a Microtex needle and rethread with the presser foot raised. |
| Puckered seam | Tension is too tight, the stitch is too short, or the fabric is pulled during sewing. | Test a slightly longer stitch, reduce tension slightly, and avoid pulling. |
| Fraying edges | Chiffon naturally unravels after handling | Use French seams, narrow hems, or tested fray control on seam allowances. |
| Wavy seams | Fabric stretched while feeding. | Reduce presser foot pressure, use a stabilizer, and support the fabric weight. |
| Visible bulky seams | Seam finish is too heavy for sheer fabric | Choose French seams, hand finishes, or a fine narrow hem. |
Common Mistakes to Avoid When Sewing Chiffon
The worst thing you can do is to think of chiffon as a solid woven cloth. It requires a lighter hand, sharper tools, and more testing. Failure to do these steps does not necessarily mean that all projects will be ruined, but it does raise the likelihood of puckering, uneven hems, and construction defects being visible.
Overpressing is another common mistake. Some synthetic chiffons may melt or become shiny when exposed to high temperatures, and silk chiffon can be susceptible to water spotting. Use a press cloth, only lift and place the iron, and test the heat settings on a scrap first.
- Do not use a dull or oversized needle.
- Do not cut multiple layers unless the pattern and fabric are very stable.
- Do not pull the fabric behind the presser foot while sewing.
- Do not skip test seams, especially before hemming.
- Do not use heavy thread or bulky seam finishes on sheer areas.
- Do not press with high heat unless the fabric label clearly allows it.
- Do not rely on pins alone if the fabric shifts; use weights and stabilizer.
Beginner-Friendly Chiffon Projects
If this is your first time sewing chiffon, choose a project with simple shapes and minimal fitting. Straight seams, soft gathers, and loose silhouettes are easier than fitted bodices, sharp curves, or invisible zippers. Starting simple lets you practice handling the fabric without the stress of complex construction.
After gaining confidence, you can practice with beginner-friendly projects like how to sew an apron, how to sew a fabric bag, how to make a simple tote bag at home, or even try a free wallet sewing pattern before moving on to more advanced chiffon garments.
- Lightweight scarf or wrap
- Simple kimono-style cover-up
- Loose blouse with a lined front or camisole underneath
- Overlay skirt with a lining
- Decorative ruffles or sleeve panels
- Simple curtain panel or event backdrop
How to Care for Chiffon After Sewing
The final product should be treated as per the most delicate material used in the project. When using lining, lace, beads, or trims with chiffon, the care method should cover all parts of the garment, not just the chiffon. This is particularly crucial for formal attire and bridal jobs.
Hang or fold chiffon so that it does not crease sharply. Do not stuff it in a closet, and refrain from placing it near rough zippers, hooks, and embellishments that can snag the surface. Steam gently from a distance or steam with a protective cloth and low heat if wrinkles form, after testing.
Final Chiffon Sewing Checklist
Before you start the final seam, run through this quick checklist. It works as a practical quality-control step for beginners and helps prevent the most common chiffon sewing issues.
- Fabric care label checked and tested.
- Fresh Microtex/sharp needle installed.
- Fine thread selected and machine rethreaded correctly.
- Scrap test completed with the same fabric and layers.
- Cut pieces are stabilized and handled gently.
- Seam finish is chosen before construction begins.
- Press cloth ready with low heat setting tested.
- Hem method tested before sewing the final edge.
Conclusion
By prioritizing preparation, stability, and gentle handling, sewing chiffon becomes a much simpler process. The material might be slippery and delicate, but it is manageable with a sharp needle, thin thread, slow stitching, and clean seam finishes. Begin with simple projects, practice all settings on scraps, and don’t rush the cutting or hemming. If you have the patience to work with it, chiffon can be one of the most rewarding fabrics to make soft, elegant, and professional-looking clothes.
Frequently Asked Questions
What is the best needle for sewing chiffon?
A Microtex or sharp needle in size 60/8, 65/9, or 70/10 is usually best. The fine point helps the needle pass cleanly through the fabric without dragging threads or creating snags.
What stitch should I use for chiffon?
A straight stitch is usually best for most seams. Start around 2.0 mm to 2.5 mm and test on scraps. If the fabric puckers, adjust stitch length, tension, or stabilizer before sewing the final seam.
Do I need a special presser foot for chiffon?
You can sew chiffon with a standard foot, but a straight-stitch foot, roller foot, or straight-stitch needle plate can help prevent the fabric from being pulled into the machine.
How do I stop chiffon from fraying?
Use enclosed or narrow seam finishes such as French seams, rolled hems, or carefully tested fray-control products. Avoid over-handling cut edges before sewing.
Should I wash chiffon before sewing?
Only pre-wash chiffon if the care label allows it and if you plan to wash the finished garment. Silk, embellished, or delicate chiffon may require dry cleaning or careful hand washing instead.
Can I iron chiffon?
Yes, but use a low heat setting, a press cloth, and gentle up-and-down pressing. Do not use high heat on synthetic chiffon because it can melt, shine, or distort.
Why does my chiffon bunch under the needle?
Bunching usually happens when the fabric sinks into the needle plate or is not stabilized. Use tissue paper under the seam, a fine sharp needle, and a straight-stitch plate if available.
Is a French seam always required for chiffon?
No, but it is highly recommended for many sheer garments because it encloses raw edges neatly. Lined garments or less visible areas may use other finishes after testing.
Can beginners sew chiffon?
Yes. Beginners should start with a simple project, cut in one layer, use stabilizer, sew slowly, and test every setting on scraps before working on the final fabric.
What is the easiest chiffon project for beginners?
A scarf, wrap, loose overlay, or simple kimono-style cover-up is usually easier than a fitted dress because the seams are simpler and the fabric has more room to move naturally.