
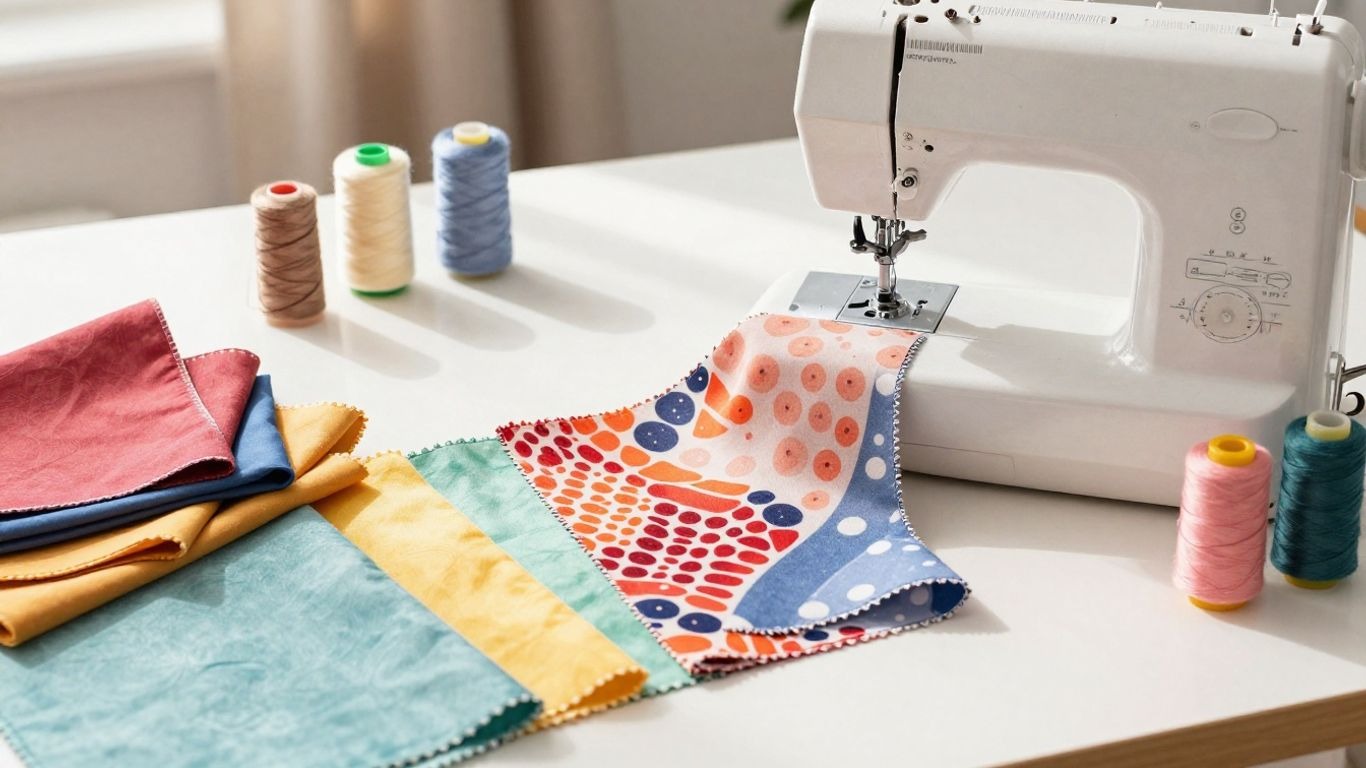
How to Sew Stretch Fabric A Beginner’s Step-by-Step Guide
Learning how to sew stretch fabric is one of the most useful skills for making comfortable T-shirts, leggings, dresses, sportswear, baby clothes, and everyday knit garments at home. Stretch fabrics behave differently from woven fabric because they move, curl, recover, and sometimes distort under the presser foot if the wrong stitch, needle, or handling method is used.
The good news is that beginners do not need an expensive industrial machine to get clean results. With the right needle, a flexible stitch, careful cutting, and a few simple setup changes, you can sew jersey, rib knit, ponte, interlock, spandex blends, and other stretchy materials with confidence.
Key Takeaways
- Use a ballpoint, jersey, or stretch needle instead of a sharp universal needle when sewing most knit fabrics.
- Choose a zigzag, lightning/stretch stitch, triple stretch stitch, serger seam, or coverstitch depending on the seam location and fabric stretch.
- Pre-wash and dry the fabric the same way you will care for the finished garment to reduce surprise shrinkage later.
- Do not pull stretch fabric while sewing; reduce presser foot pressure or use a walking foot if your seams become wavy.
- Test every setting on scraps from the same fabric before sewing the final garment, especially when switching from cotton jersey to spandex blends or rib knits.
- Stabilize shoulders, necklines, hems, and high-stress seams with stay tape, clear elastic, knit interfacing, or wash-away stabilizer when needed.
Quick Answer: What Is the Best Way to Sew Stretch Fabric?
The best way to sew stretch fabric is to use a stretch-friendly needle, polyester thread, and a seam that can move with the garment. For most beginners, a narrow zigzag stitch is the safest starting point because it stretches without breaking and works on many home sewing machines. If your machine has a lightning stitch or dedicated stretch stitch, test it on scraps and compare how much it stretches before snapping.
The most common beginner mistake is treating knit fabric like woven fabric. Stretch fabric should be cut without pulling, pinned sparingly, guided gently, and stitched with enough flexibility for the finished garment to recover after wear. A serger can make seams faster and cleaner, but it is not required for basic knit projects.
Why Is Sewing Stretch Fabric Different?
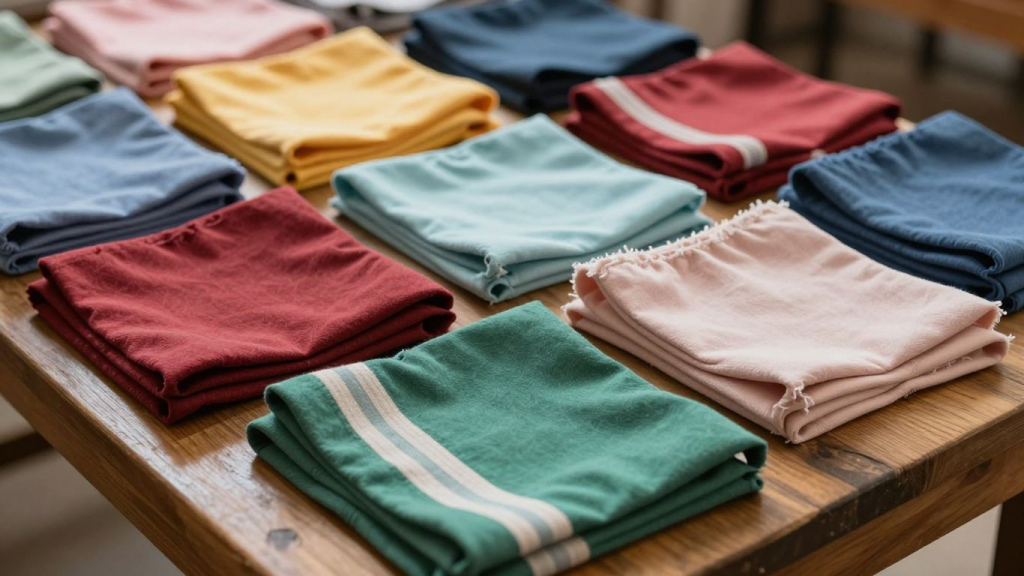
Stretch fabric is usually made from knit loops rather than the fixed over-under structure found in woven fabric. Those loops allow the material to expand and recover, which is why jersey T-shirts, leggings, rib cuffs, and athletic fabrics feel comfortable on the body. That same movement can create problems during sewing if the fabric is pulled, if the stitch has no elasticity, or if the needle damages the knit loops.
A woven fabric can often be sewn with a straight stitch because the seam itself does not need to stretch much. A knit seam usually needs some movement, especially around shoulders, waistbands, sleeves, hems, and body-hugging areas. If you use a standard straight stitch on a seam that must stretch, the thread can snap the first time the garment is pulled over the body.
If you are still learning the basics of machine setup and handling, our guide on how to learn sewing can help beginners build confidence before working with advanced fabrics.
The goal is not to force the fabric to behave like quilting cotton. The goal is to control the feed, support the edges, and choose a stitch that matches the stretch level of the fabric. Once you understand this difference, sewing knits becomes much easier and far less intimidating.
Types of Stretch Fabric Beginners Should Know
Not all stretch fabrics behave the same way. A stable ponte knit is much easier to sew than thin rayon jersey, while swimwear fabric needs more recovery and a more flexible seam. Identifying the fabric type before you sew helps you choose the correct needle, stitch length, stabilizer, and finishing method.
Stretch also comes in two main categories: two-way stretch and four-way stretch. Two-way stretch usually moves across the width of the fabric, while four-way stretch moves both horizontally and vertically. Garments such as leggings, dancewear, activewear, and swimwear often require four-way stretch and stronger recovery, so they need more careful testing than a relaxed knit top.
| Fabric Type | Stretch Level | Best Beginner Use | Sewing Tip |
|---|---|---|---|
| Cotton jersey | Light to moderate | T-shirts, baby clothes, casual tops | Use a ballpoint or jersey needle and a narrow zigzag stitch. |
| Interlock knit | Moderate and stable | Beginner tops, dresses, loungewear | Good first knit because it curls less than single jersey. |
| Rib knit | High crosswise stretch | Cuffs, neckbands, waistbands | Do not stretch while cutting unless the pattern requires negative ease. |
| Ponte knit | Stable, medium stretch | Skirts, dresses, structured pants | Use a stretch needle if skipped stitches appear. |
| Spandex/Lycra blends | High four-way stretch | Activewear, leggings, swimwear | Use a stretch needle and test seam recovery carefully. |
| Sweater knit | Varies, often bulky | Cardigans, pullovers | Use a walking foot and stabilize shoulders to prevent drooping. |
This table gives a practical starting point, but the best setup still depends on the exact fabric in your hand. Two fabrics with the same name can behave differently because of fiber content, knit density, weight, and spandex percentage. That is why a small test seam is more reliable than guessing based only on the fabric label.
For a beginner-friendly project, choose a medium-weight cotton jersey, interlock knit, or ponte knit before trying slippery rayon jersey or highly elastic activewear. Stable knits are easier to cut, easier to guide, and less likely to curl at the edges. Once you can sew clean seams on stable knits, you can move into more advanced stretch fabrics with fewer problems.
Essential Tools and Materials for Sewing Stretch Fabric
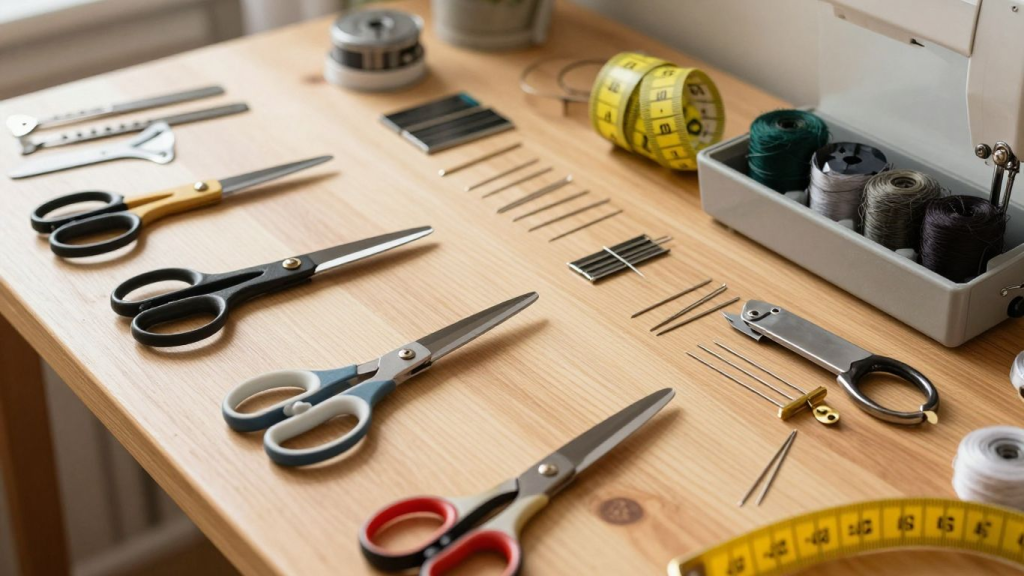
You do not need a long list of expensive tools to sew stretch fabric, but a few correct choices make a major difference. The most important tools are the needle, thread, stitch type, cutting method, and fabric-control accessories. A walking foot, roller foot, pattern weights, stretch pins, clips, and stabilizer can all help, but they should support good technique rather than replace it.
The original draft correctly mentioned ballpoint needles, presser foot pressure, stretch stitches, pre-washing, and walking feet. The optimized version adds more precise guidance because not every knit needs the same needle or setting. For example, a jersey needle is often ideal for cotton knits, while a stretch needle is usually better for spandex blends or fabrics that skip stitches easily.
A sewing machine with the right accessories can make stretch projects much easier. Beginners who want to improve their setup can explore options like sewing machine parts and accessories that improve fabric handling, stitch quality, and overall sewing performance.
Choosing the Right Needle
The needle is the first thing to check when sewing stretch fabric. A ballpoint or jersey needle has a rounded tip that slides between knit loops instead of cutting through them. This helps prevent snags, tiny holes, and weakened seams, especially on T-shirt knits and interlock fabrics.
For very elastic fabrics, swimwear, activewear, or Lycra blends, a dedicated stretch needle is often the better choice. Stretch needles are designed to reduce skipped stitches by helping the thread form a reliable loop for the hook to catch. If your fabric is skipping stitches even after rethreading, change to a fresh stretch needle before changing tension settings.
Beginners can also compare different machine options through guides like best sewing machines for beginners before upgrading their setup.
Selecting the Appropriate Thread
Polyester thread is the best all-purpose thread for most stretch fabric projects because it has strength and a small amount of give. Cotton thread can break more easily under stress, especially on seams that stretch during wear. A smooth, good-quality polyester thread also reduces lint and friction in the machine.
Specialty stretch threads can be useful in certain cases, but they are not required for every beginner project. Woolly nylon or textured nylon is commonly used in serger loopers for soft, stretchy finishes, but it is not usually the first choice for the needle thread on a regular sewing machine. Keep your thread choice simple until you understand how your machine handles knits.
Needle, Thread, and Setting Guide for Stretch Fabric
Use the following table as a starting point when setting up your sewing machine. These settings are not universal rules because every machine and fabric behaves differently, but they provide a safe baseline for beginner projects. Always test on a scrap folded the same way as the final seam.
| Item | Recommended Starting Point | Why It Helps |
|---|---|---|
| Needle type | Ballpoint/jersey for cotton knits; stretch needle for spandex blends | Prevents skipped stitches, snags, and small holes in knit loops. |
| Thread | Good-quality polyester thread | Adds durability and slight give without breaking easily. |
| Stitch | Narrow zigzag or lightning/stretch stitch | Allows the seam to stretch with the garment. |
| Stitch length | 2.5-3.0 mm for many knits | Reduces perforation and keeps seams flexible. |
| Stitch width | 0.5-1.5 mm for a narrow zigzag | Adds stretch while keeping the seam neat. |
| Presser foot pressure | Reduce slightly if available | Helps prevent wavy, stretched-out seams. |
| Foot option | Walking foot or roller foot when layers shift | Feeds top and bottom layers more evenly. |
| Tension | Start at normal, then adjust only after testing | Avoids over-correcting problems caused by needle or threading. |
The table should be treated as a troubleshooting map rather than a fixed formula. If your stitches look balanced and the seam stretches without breaking, you do not need to keep adjusting the machine. Over-adjusting tension can create new problems that were not there at the beginning.
When a seam looks wrong, make only one change at a time. Replace the needle, rethread the machine with the presser foot raised, test a different stitch, or reduce presser foot pressure before changing multiple settings at once. This makes it much easier to identify the real cause of skipped stitches, puckering, or wavy seams.
For beginners, the most reliable setup is a fresh stretch or ballpoint needle, polyester thread, and a narrow zigzag stitch. Once that works, you can experiment with twin needles, coverstitch hems, decorative stretch stitches, and serger finishes for more polished results.
Preparing Your Stretch Fabric Before Sewing
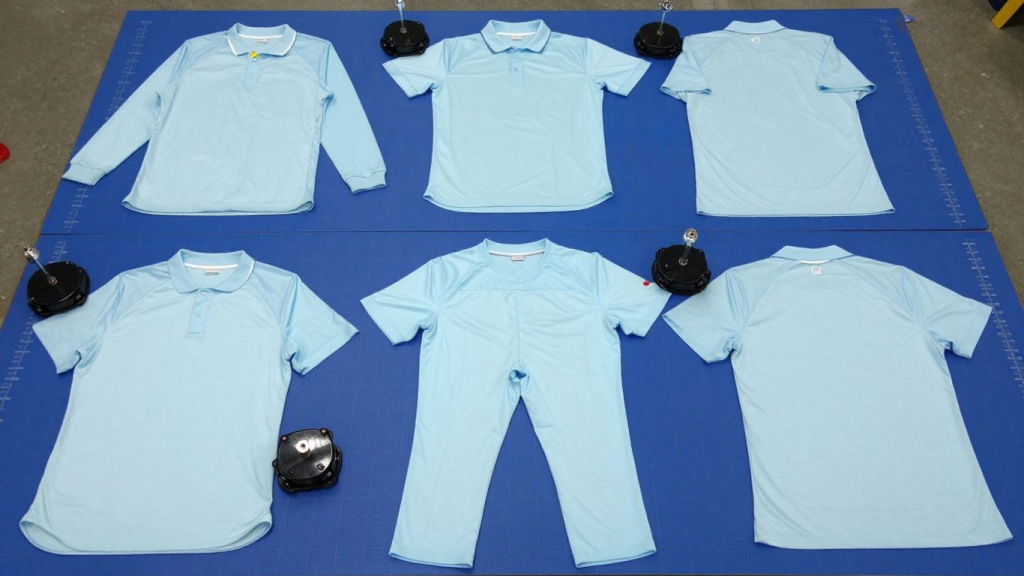
Good stretch-fabric sewing starts before the machine is even turned on. Knit fabric can shrink, curl, twist, or stretch out of shape during cutting if it is handled roughly. Preparing the fabric carefully gives you cleaner seams and helps the final garment keep its intended size.
Pre-washing, drying, pressing, checking grain direction, and cutting all matter accurately. If you skip preparation, a garment can fit well during construction but become too short, twisted, or uneven after the first wash. This is especially common with cotton jersey, rib knit, rayon jersey, and blends that contain spandex.
Pre-Washing and Drying
Wash and dry stretch fabric the same way you plan to care for the finished garment. If the final T-shirt will go through a warm wash and low dryer cycle, treat the fabric that way before cutting. This helps account for shrinkage and removes finishing chemicals that can affect drape.
Avoid overheating delicate or synthetic knits unless the fabric care label allows it. Some spandex blends can lose recovery when exposed to high heat. When in doubt, wash cool or warm, tumble low or air dry, and document the care method so the finished garment is maintained consistently.
Cutting Stretch Fabric Accurately
Lay the fabric fully on the cutting table so no part hangs off the edge. Hanging fabric stretches under its own weight and can distort the pattern pieces before you cut. Pattern weights and a rotary cutter are often better than many pins because they hold the fabric flat without lifting or pulling it.
Pay attention to the direction of greatest stretch. Most patterns for knit garments are designed so the strongest stretch goes around the body, not up and down the body. If you cut pieces off-grain or against the stretch direction, the garment may twist, feel tight, or recover poorly after wear.
- Pre-wash and dry the fabric before cutting.
- Let the fabric relax flat on the table before placing pattern pieces.
- Keep the selvage or fold aligned so the grain does not twist.
- Use pattern weights, clips, or fine ballpoint pins instead of pulling the fabric tight.
- Cut slowly with sharp shears or a rotary cutter to avoid jagged edges.
- Mark notches gently with clips, chalk, or washable markers rather than deep snips on delicate knits.
Step-by-Step Guide: How to Sew Stretch Fabric
This step-by-step process is designed for beginners using a standard home sewing machine. A serger can speed up construction and finish seams neatly, but the same preparation principles still apply. The key is to test first, sew slowly, and avoid stretching the fabric while it moves under the needle.
Before sewing your actual garment, make a test sample using the same number of fabric layers as your real seam. A single-layer test will not always reveal the same problems that appear when sewing a shoulder seam, hem, neckline, or waistband. Testing saves time because it prevents seam ripping on delicate knits.
Learn more in our comparison of serger vs sewing machine.
Step 1: Choose the Right Stitch
Select a stitch that can stretch. A narrow zigzag is the most beginner-friendly option because nearly every machine has it, and it provides enough flexibility for casual knit garments. A lightning stitch is also excellent because it looks more like a straight seam while still allowing movement.
Avoid a standard straight stitch on seams that need to stretch. It may look clean at first, but it can pop when the garment is pulled over the shoulders, hips, or knees. Straight stitches can be used in limited areas that do not stretch, such as topstitching a stable pocket edge, but they should not be the default seam choice for knit construction.
Step 2: Test on Scraps Before Sewing the Garment
Fold a scrap exactly like the real seam and sew a short line. Then gently stretch the test seam. If the thread snaps, the stitch is not flexible enough, or the tension is too tight. If the seam waves, reduce presser foot pressure, lengthen the stitch slightly, support the fabric better, or try a walking foot.
Use a contrasting thread for the test if you need to diagnose stitch balance. Once the seam looks clean and stretches without breaking, switch back to matching thread and begin the garment. This small step prevents most beginner mistakes before they reach the final project.
Step 3: Guide the Fabric Without Pulling
Let the feed dogs move the fabric through the machine. Your hands should guide the fabric direction, not drag it forward or stretch it behind the presser foot. Pulling creates wavy seams, uneven hems, skipped stitches, and distorted garment pieces.
Support the fabric on the table so the weight of the garment does not pull downward while you sew. This is especially important for maxi dresses, sweater knits, and larger pieces. If needed, roll extra fabric loosely to the side and keep the seam area flat near the needle.
Step 4: Finish Seams and Hems Properly
Knit fabric usually does not fray like woven fabric, but finishing seams can still make the garment look cleaner and feel better against the skin. You can leave some knit seams unfinished, trim them neatly, sew a zigzag near the edge, use a serger, or press them to one side, depending on the project.
For hems, use a twin needle, narrow zigzag, coverstitch, or a stretch stitch. Stabilizing the hem with wash-away tape or lightweight knit interfacing can prevent tunneling and rippling. Press the hem gently instead of sliding the iron back and forth, because dragging heat across knit fabric can stretch it out.
Best Stitches for Stretch Fabric
Choosing the best stitch for stretch fabric depends on the garment, fabric recovery, and available machine features. A basic zigzag is often enough for T-shirts and beginner knits, while a lightning stitch or serger seam creates a cleaner, more flexible finish. High-stretch garments require extra testing because the seam must move without breaking.
| Stitch Type | Best For | Strength | Stretch Level | Beginner Notes |
|---|---|---|---|---|
| Narrow zigzag | T-shirts, jersey seams, casual knits | Good | Moderate | Best first choice on most home machines. |
| Lightning/stretch stitch | Garment seams that need flexibility | Very good | Moderate to high | Looks neater than zigzag but can be harder to unpick. |
| Triple stretch stitch | High-stress seams, some activewear | Very strong | Moderate | Durable but dense; may wave on thin knits. |
| Serger/overlock | Side seams, shoulder seams, knit construction | Strong and clean | High | Fast and professional, but not required for beginners. |
| Twin needle | Hems and decorative topstitching | Moderate | Moderate | Looks ready-to-wear but can tunnel without a stabilizer. |
| Coverstitch | Professional hems and activewear finishes | Strong | High | Best finish for hems if you own a coverstitch machine. |
For most beginner projects, start with a narrow zigzag or lightning stitch. These options provide enough stretch for casual garments while remaining manageable on a standard machine. If your machine has several stretch stitches, test them side by side and choose the one that stretches without distorting the fabric.
A serger creates fast, flexible seams and trims the edge at the same time, but it does not replace careful fitting or accurate cutting. A coverstitch machine produces professional hems, but beginners can still achieve neat hems with a twin needle, zigzag, or stretch stitch. The best choice is the stitch that fits your equipment, fabric, and project needs.
When in doubt, sew a sample and stretch it firmly. A seam that looks perfect but breaks during the stretch test is not functional for a knit garment. A slightly visible zigzag is better than a beautiful straight seam that fails during wear.
How to Stop Wavy Seams on Stretch Fabric
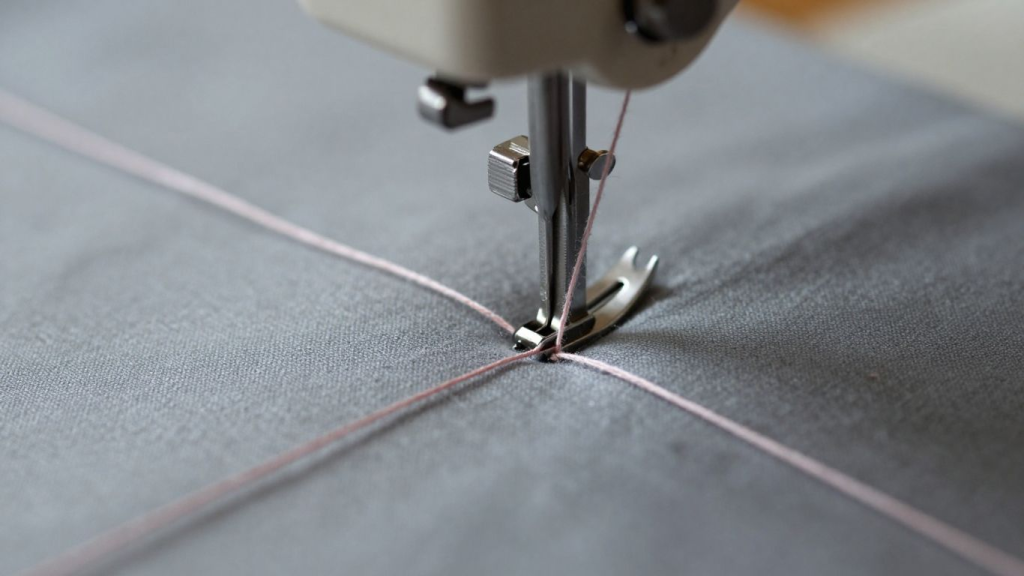
Wavy seams happen when the fabric is stretched while sewing or when the machine feeds the top and bottom layers unevenly. This is one of the most common beginner problems with knits. The solution is usually not aggressive tension adjustment; it is better fabric control.
Start by reducing presser foot pressure if your machine allows it. Then support the fabric on the table, avoid pulling behind the foot, and use a walking foot if layers shift. A slightly longer stitch can also reduce distortion because it puts fewer needle holes into the fabric.
| Problem | Likely Cause | Best Fix |
|---|---|---|
| Wavy side seams | Fabric stretched while sewing, or foot pressure was too high | Reduce presser foot pressure, stop pulling, and use a walking foot. |
| Skipped stitches | Wrong needle, dull needle, or fabric too elastic for the needle type | Use a fresh stretch needle and rethread the machine. |
| Seam snaps when worn | Straight stitch or stitch too narrow/tight | Use zigzag, lightning stitch, serger seam, or coverstitch. |
| Edges curl badly | Single jersey naturally rolling at raw edges | Use starch, clips, wash-away tape, or press gently before sewing. |
| Twin needle tunneling | Upper tension is too tight, or the fabric is unsupported | Use stabilizer, reduce tension slightly, or try a wider twin needle. |
| Fabric pushed into needle plate | Thin knit is being forced downward. | Use a straight-stitch plate if suitable, tissue paper, or wash-away stabilizer. |
This table is most useful when you diagnose one symptom at a time. Many sewists immediately adjust thread tension when the real issue is a dull needle, an unsuitable stitch, or fabric being stretched by hand. Work through the simplest fixes first before changing deeper machine settings.
Wavy seams can often be improved with steam and gentle pressing after sewing, but pressing should not be used to hide a major handling problem. If a test seam waves badly, fix the setup before sewing the garment. A stable test seam gives you a much cleaner finished result.
Some lightweight knits curl or ripple simply because of their structure. In those cases, stabilizers and careful cutting are just as important as machine settings. Wash-away tape, knit stay tape, or a strip of tissue paper can make difficult edges much easier to sew.
Fabric-Specific Sewing Settings
A single setting will not work perfectly for every stretch fabric. Thin jersey, rib knit, ponte, and activewear each need slightly different handling. The following fabric-specific guide helps beginners choose a safer starting point before testing on scraps.
| Fabric | Needle | Stitch | Handling Tip |
|---|---|---|---|
| Cotton jersey | Ballpoint/jersey 75/11 or 80/12 | Narrow zigzag or lightning stitch | Prevent curling with gentle pressing or clips. |
| Rayon jersey | Stretch 75/11 | Narrow zigzag | Support is fully on the table because it can grow while sewing. |
| Rib knit | Stretch or ballpoint 75/11 | Zigzag or serger seam | Do not overstretch unless attaching bands. |
| Ponte knit | Ballpoint 80/12 or 90/14 | Lightning stitch or narrow zigzag | Stable enough for beginners and structured garments. |
| Swimwear / Activewear | Stretch 75/11 or 90/14 depending on weight | Zigzag, serger, or coverstitch | Use polyester thread and test high-stretch recovery. |
| Sweater knit | Ballpoint 80/12 or 90/14 | Zigzag or serger | Stabilize shoulders and avoid hanging pieces before sewing. |
These recommendations are designed as starting points, not fixed instructions. Needle size depends on fabric weight, thread weight, and how your machine forms stitches. If a 75/11 stretch needle skips on a thick ponte knit, move up to an 80/12 or 90/14 and test again.
For high-stretch garments like leggings and swimwear, the seam must recover after being stretched. A seam that stretches but stays distorted is not strong enough for long-term wear. Always stretch your sample both gently and firmly before committing to the final stitch.
For stable knits like ponte, you can often use neater stitches and more structured finishing methods. For drapey jersey, focus on preventing growth, curling, and wavy hems. Matching the method to the fabric is what turns a beginner knit project into a clean, wearable garment.
How to Hem Stretch Fabric
Hemming stretch fabric is often harder than sewing the main seams because the hem edge can curl, stretch, or tunnel. The best method depends on the look you want and the equipment you own. A coverstitch gives the most ready-to-wear finish, but a twin needle or zigzag hem can still look clean on a standard machine.
Before hemming, let the garment hang for a few hours if the fabric is very drapey. This helps reveal any growth before you fold the hem. Press the hem allowance gently, use clips or wash-away tape, and test the hem stitch on a scrap with the same fold thickness.
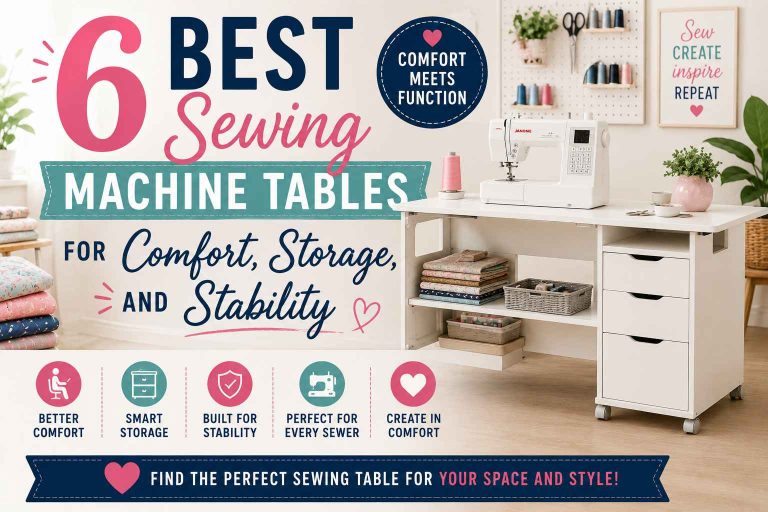
You can explore ideas through our guide on best sewing machine tables.
- Use a twin needle for a professional-looking double row of topstitching on T-shirts and casual knits.
- Use a narrow zigzag if the hem needs to stretch, but you want a simple, beginner-friendly finish.
- Use wash-away hem tape to control curling and prevent rippling on lightweight jersey.
- Use a coverstitch machine for the cleanest activewear and ready-to-wear style hems.
- Press with a cloth and avoid dragging the iron, especially on spandex blends.
Common Mistakes to Avoid When Sewing Knits
Most stretch fabric mistakes come from using woven-fabric habits on knit material. Pins, straight stitches, sharp needles, heavy pressing, and pulling can all create problems. Once you know what to avoid, sewing stretch fabric becomes much more predictable.
- Using a standard straight stitch on seams that need to stretch.
- Sewing with a dull or sharp needle that damages knit loops.
- Skipping the test seam before sewing the final garment.
- Pulling the fabric behind the presser foot to force it through faster.
- Ignoring presser foot pressure when seams become wavy.
- Cutting the fabric while it hangs off the table edge.
- Using too much heat on spandex or delicate synthetic knits.
- Assuming every stretch fabric needs the same needle, stitch, and tension.
Using the correct machine, needle, and settings prevents many beginner issues. If you are choosing equipment for different sewing projects, comparing models and features through resources like best sewing machines for beginners can help you find a suitable option for your needs.
The fastest way to improve is to build a small sample library. Keep notes showing the fabric type, needle, stitch, length, width, tension, and result. Over time, these notes become your personal knit sewing guide and reduce the guesswork on future projects.
Beginner-Friendly Stretch Fabric Projects
The best beginner projects use stable knits and simple seams. A relaxed T-shirt, simple skirt, baby leggings, knit headband, pajama pants, or basic tank top will teach you how stretch fabric feeds through the machine without overwhelming you with difficult fitting details.
Avoid starting with slippery rayon jersey, swimwear, lined activewear, or very fitted leggings if you have never sewn knits before. Those projects are absolutely achievable later, but they require better control of stretch percentage, recovery, elastic application, and seam finishing.
Beginners can try projects such as how to make a simple tote bag at home to improve cutting, stitching, and finishing skills.
| Skill Level | Project Idea | Recommended Fabric | Why It Works |
|---|---|---|---|
| Beginner | Knit headband or neck gaiter | Cotton jersey or interlock | Small project with simple seams and quick results. |
| Beginner | Relaxed T-shirt | Cotton jersey | Teaches shoulder seams, side seams, sleeves, and hems. |
| Beginner | Simple knit skirt | Ponte or interlock | Stable fabric makes fitting and hemming easier. |
| Improver | Leggings | Cotton spandex or athletic knit | Teaches high-stretch seams and waistband control. |
| Improver | Sweatshirt | French terry or sweatshirt fleece | Teaches ribbing, cuffs, bands, and thicker knit handling. |
This project progression helps beginners build confidence in a logical order. Smaller projects teach seam stretch and edge control without using much fabric. Once those skills feel comfortable, garments with sleeves, neckbands, waistbands, and fitted seams become easier.
Choose a pattern designed specifically for knit fabric. Woven patterns and knit patterns are drafted differently, especially around ease, recovery, and body movement. Using a woven pattern with stretch fabric can lead to fit issues even if the sewing itself is technically correct.
When selecting your first pattern, look for clear instructions, a simple neckline, few pieces, and fabric recommendations that match the knit you bought. A good beginner pattern is more valuable than a complicated design that requires advanced techniques too early.
Final Fitting and Care Tips
After sewing the main seams, try the garment on before finishing hems and bands. Stretch garments can change shape as seams are added, so an early fitting gives you a chance to adjust side seams, sleeve length, neckline fit, or hem depth. Make small changes rather than pulling the fabric tighter while sewing.
Care is also part of the sewing process. Many handmade knit garments last longer when washed inside out, dried on low heat, and stored folded instead of hanging. Heavy knits and sweater knits can grow on hangers, especially at the shoulders, so folding helps preserve the garment shape.
Proper care also helps handmade garments last longer. Learning correct washing methods for different fabrics is important, especially for delicate materials. For additional fabric care guidance, check out how to wash a wool blanket to understand how different fabrics respond to washing and drying.
Conclusion
Sewing stretch fabric becomes much easier when you understand that knits need flexible stitches, gentle handling, and careful preparation. A standard sewing machine can handle many stretch fabric projects as long as you use the right needle, polyester thread, and a stitch that moves with the garment. Start with stable knits, test every setting, and avoid pulling the fabric while sewing.
The more you practice, the more natural knit sewing becomes. Once you master a narrow zigzag, stretch needle, clean cutting, and basic hemming, you can confidently move into T-shirts, dresses, leggings, activewear, and comfortable handmade wardrobe staples. The key is patience, testing, and matching your technique to the fabric in front of you.
Frequently Asked Questions
Do I need a serger to sew stretch fabric?
No, you do not need a serger to sew stretch fabric. A standard sewing machine with a zigzag or stretch stitch can make durable knit seams. A serger is helpful for speed and professional finishing, but it is optional for beginners.
What is the best stitch for stretch fabric?
A narrow zigzag stitch is the best beginner-friendly stitch for most stretch fabrics. If your machine has a lightning stitch or dedicated stretch stitch, test it as well because it can create a neater seam with good flexibility.
Can I use a straight stitch on knit fabric?
A standard straight stitch is not recommended for seams that need to stretch because the thread can snap. It may be acceptable for low-stretch areas or temporary basting, but zigzag, stretch stitch, serger, or coverstitch options are safer for wearable garments.
Which needle should I use for jersey fabric?
Use a ballpoint or jersey needle for most cotton jersey and interlock knits. Use a stretch needle for high-stretch fabrics, spandex blends, swimwear, activewear, or any knit that causes skipped stitches.
Why are my knit seams wavy?
Wavy seams usually happen when the fabric is stretched while sewing or when the presser foot pressure is too high. Reduce pressure if possible, avoid pulling, support the fabric on the table, and try a walking foot if the layers shift.
How do I stop stretch fabric from curling?
Curling is common with single jersey knits. You can control it with gentle pressing, starch spray, clips, wash-away tape, or lightweight stabilizer. Avoid stretching the edge while trying to flatten it.
Can I use regular thread for stretch fabric?
Yes, regular polyester thread works well for many stretch fabric projects. Avoid cotton thread for high-stress stretch seams because it has less give and may break more easily.
Should I change the sewing machine tension for knits?
Start with normal tension and test first. Many tension-looking problems are actually caused by the wrong needle, poor threading, pulling the fabric, or using a stitch that does not stretch enough.
How do I hem stretch fabric without ripples?
Use a twin needle, narrow zigzag, coverstitch, or stretch stitch, and stabilize the hem with wash-away tape or knit interfacing if needed. Press gently and avoid stretching the hem edge while sewing.
What is the easiest stretch fabric for beginners?
Interlock knit, cotton jersey, and ponte knit are usually easier for beginners than thin rayon jersey or slippery activewear fabric. Stable knits curl less, shift less, and are more forgiving during cutting and sewing.

2 Comments