15 Free Apron Sewing Patterns for Beginners and Beyond (2026)
Looking for free apron sewing patterns that are actually useful, easy to follow, and suited to your skill level? These 15 apron projects cover quick half aprons, full bib styles, cross-back designs, sturdy utility aprons, and children’s versions, with links to the original pattern makers.
I explain what each design is best for, which construction details deserve attention, and how to choose fabrics, pockets, ties, and sizes before you cut. Whether you are sewing your first kitchen apron or making a practical handmade gift, you can find a project here that fits both your work and your sewing confidence.
Quick Answer: Which Free Apron Pattern Should You Sew First?
For a first project, I would start with the DIY Tea Towel Apron from Heather Handmade or SewCanShe’s 1 Yard Magic Apron. Both avoid complicated garment fitting while teaching useful skills. If neck ties bother you, the Tessuti cross-back apron is a different silhouette; if you need more sizing options, Helen’s Closet offers the Sam Apron, a free PDF for newsletter subscribers. The best choice depends on coverage, tools you want to carry, and whether you prefer a simple online tutorial or a printable pattern.
Key Takeaways
I narrow down apron projects by fit, purpose, fabric, and how clearly the original designer explains construction. These are the decisions that save the most time once the sewing begins.
- For the simplest sewing session, start with a tea-towel, rectangular half apron, or one-yard bib design.
- Choose cross-back straps for an alternative to a neck loop, and check finished measurements before assuming the fit.
- Pick washable, stable woven fabric for a first apron; use canvas or denim only when your machine can sew the resulting layers.
- Look at the actual pattern access method: free web instructions, a no-cost download, and a free-by-email PDF are not identical.
- Test stitch quality on scraps, press before sewing, and reinforce pocket corners and high-stress tie points.
One practical rule applies across all fifteen choices: use the individual designer’s cutting layout and seam allowance, not a generic number borrowed from another apron.
Before You Choose a Free Apron Sewing Pattern
A free apron can be a full-size printable PDF, a dimension-based tutorial, or an illustrated web guide. That distinction matters because a tutorial may be entirely free to read while an optional ad-free PDF is sold separately. Some no-cost files also require a free email signup or checkout. I have linked to the original publisher for every project below so you can confirm the current download terms and measurements before starting.
I also check whether the design is truly meant for adult, child, or adjustable sizing, and whether its fabric layout fits the yardage I already own. A beautiful sample photo does not prove an apron will cover your clothing properly or tie comfortably. Compare the finished width, length, strap style, pocket placement, and level of detail before making the first cut. For a full construction walkthrough, my how-to-sew-an-apron guide covers the basic process.
How I Choose, Make, and Evaluate Apron Projects at MariaSew
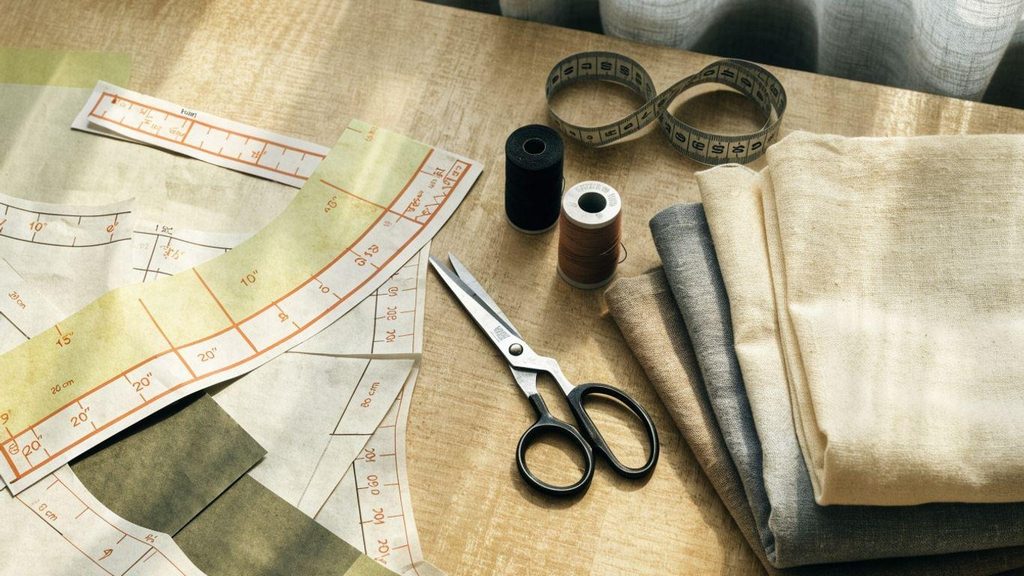
I start by asking what I will actually do in the apron. For a kitchen project, I care about easy washing, full coverage, and ties that stay out of the way; for sewing or gardening, I think about pocket access and movement. I read the pattern maker’s instructions first, compare the finished measurements with the intended wearer, and set out the same fabric weight and number of layers that the design calls for. I do not treat a pretty photograph or a claim that a pattern is beginner-friendly as a substitute for checking the construction.
Before I sew a finished apron, I make a few test seams on fabric scraps, check the needle and thread, and press the pieces so my hems stay even. I test pocket positions against real use and pay attention to whether ties rub at the neck or pull at the waist. I also separate my own sewing guidance from the individual publishers’ pattern instructions: the fifteen designs here come from their original sources, and the designer’s PDF or tutorial remains the authority for that specific cut. My sewing machine basics guide explains the setup I use before starting a project.
15 Free Apron Sewing Patterns, Grouped by Style
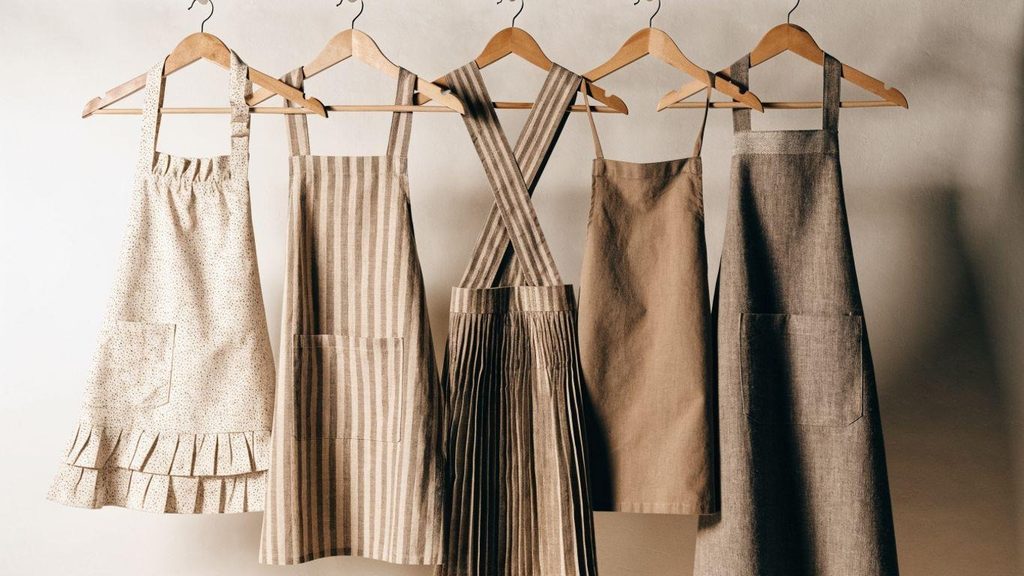
I have organized the patterns from straightforward beginner projects to more detailed apron shapes and small-size designs. Each pattern links to the original tutorial or free download page, with the main fit and construction trade-off explained alongside it. All links were checked for this guide; access terms may change later.
Easy Apron Patterns for Complete Beginners
These are the designs I recommend when straight seams, a manageable cutting plan, and a useful finished apron matter more than complicated detailing. Start with the simpler shapes, then add full coverage when you are comfortable finishing ties and curved edges.
1. DIY Tea Towel Half Apron, Heather Handmade
This fast half-apron tutorial starts with a finished tea towel and a length of ribbon instead of requiring a full printed pattern. It is a friendly place to practice pleats and a waistband seam because the towel already has finished edges. I would choose a sturdy, washable tea towel without a strongly directional print, since the tutorial turns the towel sideways.
The trade-off is coverage: it protects the front of your waist and legs but not your chest. I would check the ribbon length on the wearer, secure its ends, and sew slowly over any thicker folded sections. Heather Handmade provides the free tea-towel apron tutorial directly on the page, so there is no printable template to piece together.
2. One-Yard Magic Full Apron, SewCanShe
SewCanShe’s one-yard design is a practical starting point when you want the coverage of a bib apron without a long materials list. Its free article includes a cutting template and step-by-step photos, making it easier to follow the shape than to draft one from memory. I like this choice for a first full apron because it focuses attention on neat cutting, edge finishing, and straps.
The one-yard fabric claim applies to the pattern’s specified layout and fabric width, not every custom size or print direction. I would print or trace the template as the publisher directs and confirm the tie lengths before sewing them down. The 1 Yard Magic apron instructions are free on the webpage; the optional compiled PDF is a separate offering.
3. Full-Coverage Unisex BBQ Apron, SewCanShe
If you want more front coverage, this classic BBQ design uses a double-layer construction and a useful hanging loop. The publisher lists a finished apron of approximately 32 inches long by 30 inches wide, excluding the ties, so it is easier to judge whether it will suit your wearer. Its pieced front also gives beginners a manageable way to combine coordinating fabrics.
There are more seams than in a plain rectangle, which makes accurate pressing and a consistent seam allowance important. I would arrange the fabric strips before sewing and keep the neck and waist ties free of the final perimeter seam. The free full-coverage apron tutorial includes instructions and a template; a separately formatted PDF is optional rather than required.
4. Reversible Adjustable Apron, AppleGreen Cottage
AppleGreen Cottage’s reversible apron offers two looks in one practical project, with adult and child sizes, an adjustable neckband, and divided pockets on both sides. It has more pieces than a tea-towel or one-yard apron, but the sewing steps are clearly explained and teach useful skills such as aligning two fabric layers and finishing straps neatly. I would choose it as a confident beginner’s next project when a little more construction feels manageable.
The designer lists finished adult dimensions of about 27 by 30 inches and child dimensions of about 19 by 22 inches; compare those with the intended wearer before cutting. I would also plan the two fabric sides together, so pocket positions and washing requirements match. The free reversible apron pattern and tutorial includes instructions on the page, with the free pattern accessed by email signup and a separately priced optional printable tutorial.
Free Half Apron Patterns for Cooking and Gardening
Half aprons leave the upper body free and are often easier to store and sew. The three options below show how pocket design and gathered fabric can change the job a waist apron does.
5. Modern Half Apron With Patch Pockets, SewCanShe
This is a useful choice when you want a waist apron with room for small kitchen essentials rather than a simple strip of fabric. The SewCanShe tutorial, designed by Crafty Staci, includes long ties and substantial patch pockets. Because the body is mainly rectangular, I would use it to practice accurate pocket placement and topstitching before moving on to shaped bib patterns.
I would mark both pockets while the fabric is flat and reinforce their upper corners so repeated use does not loosen the stitches. A practical pocket should hold what you carry without pulling the waistband forward, so test it with a phone, towel, or recipe card before final placement.
6. Gathered Half Apron in Adult and Child Sizes, Sweet Red Poppy
A gathered half apron adds a softer shape and works nicely for gifts or coordinating adult-and-child projects. Sweet Red Poppy provides an actual free apron pattern rather than a generic style suggestion, with printable pieces and construction guidance. I would choose this after practicing a plain waistband, because distributing gathers evenly is the step that makes the finished skirt sit neatly.
Before sewing the final waistband seam, I would divide the skirt and band into matching quarter marks and spread fullness between them. If you are making a matching pair, use the separate size instructions rather than scaling adult pieces by eye.
7. Pocket Gardening Half Apron, Sew Simple Home
For gardening, harvesting, or crafting, pockets often matter more than decorative trim. Sew Simple Home’s pocket apron has a light waist shape and a large storage pocket suitable for small tools, gloves, or gathered produce. It can also work around the kitchen, and the project gives beginners practice sewing a usable pocket and binding an edge.
I would make sure the pocket is not overloaded with sharp or heavy tools and choose a fabric sturdy enough for the intended contents. Check the waistband fit while standing and bending, since a garden apron must move with you.
Free Cross-Back and Adjustable Apron Patterns
Cross-back and adjustable patterns are worth considering when neck comfort and fit are priorities. They are not automatically easier to sew, so pay close attention to strap routing and the actual size system.
8. Tessuti Japanese Cross-Back Apron
The Tessuti Apron has a loose, Japanese-inspired shape with straps that cross behind the body instead of tying at the neck. It is a useful option if you prefer an apron you can slip over your head, and its easy silhouette suits relaxed cooking, craft work, and layering. I would assess its finished width and length carefully, since a single-size pattern still needs to suit a real body.
Fabric drape changes the look of this design, so linen and stable linen blends are good starting points if the pattern recommends them. I would pin the straps first and confirm how the apron hangs before trimming seams or finishing edges.
9. Linen Cross-Back Farmhouse Apron, Farmhouse on Boone
Farmhouse on Boone’s cross-back apron uses a simple, practical shape with a relaxed farmhouse feel. The original tutorial includes video guidance, which can be especially helpful for seeing how the straps meet and how the fabric falls when worn. I would choose it for someone comfortable making long seams who now wants to practice shaping an apron without relying on a conventional neck tie.
I would use the original cutting dimensions, check that the straps are oriented correctly, and test the apron over the clothes the wearer usually wears while cooking. Soft linen is attractive, but careful pressing is important to keep the hem clean as it shifts under the machine.
10. Sam Apron, Helen’s Closet Patterns
The Sam Apron is one of the most adaptable free choices in this list. Helen’s Closet publishes sizes 0 to 34, height-based cut lines, pockets, towel loops, and two strap configurations: cross-back and a classic halter-style alternative. Those options make it particularly useful when standard one-size aprons do not fit well, or when you want to sew the same design for people with different proportions.
More features mean more decisions, so I would select the view, size, and pocket positions before cutting and not change all of them halfway through the project. Cotton twill, linen, denim, and other stable woven fabrics are among the designer’s recommendations.
Full-Coverage, Utility, and Patchwork Apron Projects
A utility apron asks more from its fabric and stitching: stronger pockets, heavier seams, or a shaped front. These projects suit sewists ready to move beyond the simplest straight-edge construction.
11. Classic Chef Canvas Apron, Sew4Home
For a hard-wearing apron with a structured look, Sew4Home’s classic chef canvas design puts durability and practical pockets ahead of decorative gathers. It is a stronger project for cooks, makers, and people who prefer tougher woven material. I would use this type of apron when a light quilting-cotton layer feels too flimsy for repeated daily wear, provided my machine can handle the thicker construction points.
Canvas, pockets, and straps can create bulky intersections, so I would test the exact stack on scrap material and change to an appropriate needle if needed. Keep the pocket corners reinforced and press where the fabric care instructions allow; do not expect a domestic machine to pierce every heavy seam without adjustment.
12. Split-Leg Utility Apron, WeAllSew
The split-leg design from WeAllSew adds movement to a durable utility apron, which makes it a useful project for workshop or outdoor activities where bending and stepping are common. The split front and additional pocket layout create a different sewing challenge from a standard kitchen bib apron. I would recommend it for an improving sewist who wants to practice a more functional, detailed construction rather than the very fastest apron.
I would confirm the split alignment on the wearer and use sturdy fabric without making the finished apron unnecessarily heavy. Test the bulk at strap attachments and keep each leg section sitting freely when walking.
13. Mile-a-Minute Jelly Roll Apron,
If your sewing room has precut strips, the Mile-a-Minute apron turns them into a colorful, full-size project instead of leaving them in a drawer. SewCanShe describes a design using 2½-inch strips and a backing layer, with optional pockets. It is an enjoyable next step after a plain apron because you can practice accurate seam joining and pressing on many smaller pieces before shaping the apron.
I would choose strips with compatible care requirements and press every joined seam consistently so the front lies flat against the backing. Keep in mind that the strip fabric is not the entire supply list: the original tutorial also calls for backing and pocket material.
Free Children’s Apron Sewing Patterns
A well-sized child’s apron is more useful than a miniature adult one. I look for age-appropriate ties, clear pattern dimensions, and washable fabric before making one as a gift.
14. Child’s Gathered Apron With Pocket, Polka Dot Chair
Polka Dot Chair’s child’s apron includes an illustrated construction tutorial and video, making it a friendly project for a handmade gift. The designer provides separate cutting measurements for sizes approximately 4–7 and 8–12, rather than asking you to shrink adult pieces without guidance. Its gathered skirt, small pocket, and decorative trim give a beginner a chance to learn one new detail at a time.
I would compare the apron length with the child’s actual height and keep the neck or waist ties from creating a tripping or snagging hazard. Avoid loose trims or accessories that are unsuitable for the wearer’s age, and supervise children in cooking areas.
15. Upcycled Dish-Towel Kids’ BBQ Apron, Polka Dot Chair
This playful kids’ apron uses an existing dish towel for the main body, so it is a practical option when you want to sew without buying large cuts of fabric. The tutorial demonstrates how to shape a child-sized apron and finish its edges with bias tape. I like it as a first upcycling project because the towel saves some hemming while still teaching careful measuring and edge binding.
I would choose a clean, stable woven towel and check the child’s fit before stitching long ties into place. Keep ribbons and ties appropriate for the wearer’s age and avoid using the apron near grills or other hot equipment without close adult supervision.
The Features That Matter in a Good Apron Pattern
Aprons look simple, but fit and small construction details determine whether you actually reach for the finished one. I check each feature separately rather than judging the project by its sample fabric alone.
Coverage and Finished Length
A bib apron protects more of your upper clothing than a waist-only version, while longer designs can cover the lap during seated crafts. I check finished dimensions against the wearer’s torso and usual work posture, not just the picture.
Neck Loop, Cross-Back Straps, and Waist Ties
A neck loop concentrates some weight at the neckline, whereas cross-back straps may redistribute it. Fit is individual, so I test the movement and length of straps before permanent stitching and avoid loose ends near equipment.
Pockets, Loops, and Tool Access
Pockets should be where your hands naturally reach and should hold what you actually carry. I reinforce stress points, check that pocket openings stay accessible, and avoid overloaded sections that pull the apron forward.
Fabric Weight, Drape, and Washability
Light cotton is easy to sew but may offer less protection from frequent mess, while twill or canvas lasts well in higher-wear uses. I match the fabric to the intended wash routine and confirm my machine can sew the resulting seam thickness.
Seam Allowance and Edge Finishing
Free patterns do not all use the same seam allowance or edge finish. I follow the designer’s stated measurements, press each hem, and choose binding or turned seams based on the particular fabric and project instructions.
Pattern Format and Size Inclusivity
A downloadable PDF, on-page diagram, and print-free cut list require different preparation. I look for clear test squares, printing instructions, finished measurements, and multiple size options when fit matters.
Apron Pattern Features and Specifications at a Glance
Before choosing a tutorial, I compare the construction features most likely to affect comfort and usefulness. A pattern can be free and beautifully photographed but still be the wrong option if it is too short, asks for unmanageable fabric bulk, or uses ties that will not adjust to the intended wearer.
The guide below is a checklist, not a universal specification sheet. Exact dimensions, seam allowances, yardage, and pattern formats belong to the individual designer’s published instructions. Use these questions to narrow the fifteen patterns, then confirm the final figures on the linked source page.
| Feature / Specification | What to Check Before Cutting |
|---|---|
| Apron coverage | Bib, waist-only, cross-back, or split-leg; finished front width and length. |
| Size and adjustment | Adult vs child sizes; fit range; neck, shoulder, and waist-strap options. |
| Fabric requirements | Recommended woven fabric, width, yardage, shrinkage, and seam bulk. |
| Pockets and loops | Number, dimensions, placement, and reinforcement of storage points. |
| Construction complexity | Gathering, binding, lining, curved edges, layers, or hardware. |
| Pattern availability | Free web tutorial, $0 digital checkout, or free PDF after signup. |
| Printing and assembly | A4/Letter/A0 options, scale-check square, and pattern tiling where applicable. |
When two patterns look equally appealing, I choose the one whose directions make the fit and assembly easiest to verify. Clear cutting instructions and a realistic fabric choice prevent more beginner frustration than extra decorative details ever solve.
Which Fabric Is Best for Sewing an Apron?
The best apron fabric depends on how often it will be washed, how much protection it needs to provide, and how easily your machine feeds it. For first projects, I prefer a stable woven cloth over a stretchy knit because it is easier to measure, press, and hem.
Quilting Cotton and Cotton Poplin
These stable cottons are approachable for beginners and come in a broad range of prints. They suit lighter kitchen and gift aprons, although a single layer may not provide the same heft as canvas or a lined project.
Linen and Cotton-Linen Blends
Linen gives cross-back and relaxed bib aprons a soft drape, with a lived-in look that suits casual daily use. Prewash when appropriate and press thoughtfully because some linen creases and can shift while cutting.
Cotton Twill and Canvas
Twill and canvas are good candidates for hardworking aprons with pockets, but the heavier cloth can become bulky where straps, hems, and pocket corners meet. Test the fabric layers with an appropriate needle before committing to the final construction.
Denim and Upcycled Towels
Denim offers a durable look, especially for workshop aprons, while a tea towel can simplify a small waist-apron project. Wash and examine reused fabric before cutting and do not assume every recycled piece is suitable for the same pattern.
Always follow the original designer’s fabric recommendation when the pattern relies on a particular drape or thickness. An ordinary fabric apron is not heat-proof personal protective equipment and should never be relied on for protection from flames, boiling liquids, or workshop hazards.
What You Need Before You Start Sewing an Apron
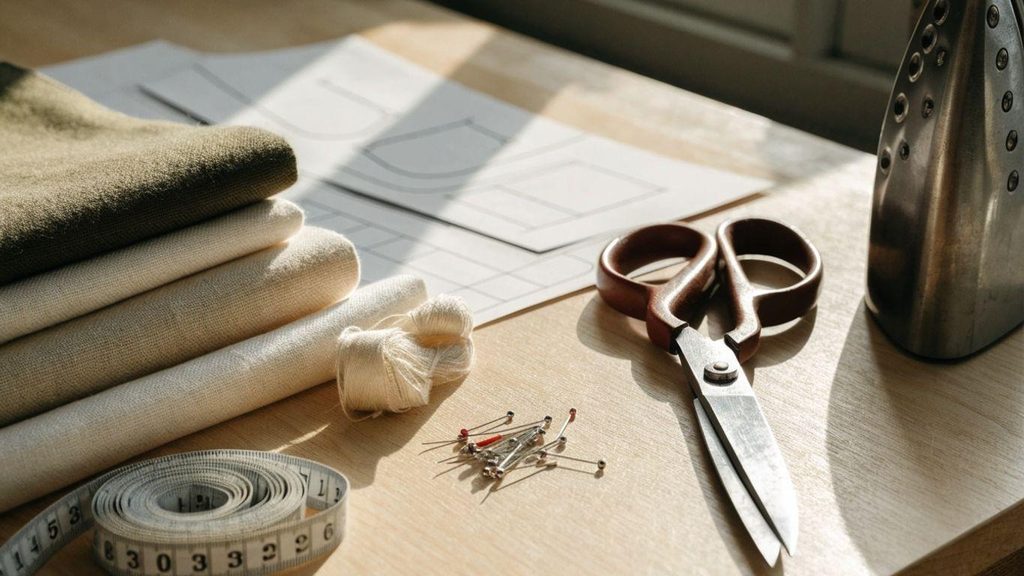
You do not need a large sewing setup for most of these patterns. I gather only the materials required by the chosen designer and check that the machine is threaded correctly before preparing final pieces. This keeps a beginner project focused on accuracy rather than shopping for unnecessary accessories.
- Fabric in the specified width and yardage, plus any required lining, binding, or interfacing.
- Good-quality matching thread, correct machine needle, compatible bobbin, and the machine manual.
- Sharp fabric shears or a rotary cutter, measuring tape, ruler, and fabric-safe marking tool.
- Pins or sewing clips, seam ripper, iron, and a suitable pressing surface.
- Printed or saved pattern instructions, including size charts and seam allowance notes.
I usually prepare a spare bobbin before cutting; my how-to-wind-a-bobbin guide and how-to-insert-a-bobbin guide explain the checks that help avoid threading mistakes halfway through a seam.
How to Sew an Apron: My Beginner-Friendly Workflow
Individual apron tutorials may change the order of operations, especially when pockets are sewn before joining lined pieces or when the apron has a cross-back construction. This is the general workflow I use to stay organized; follow the original pattern’s sequence for exact cut pieces and seam allowances.
- Choose the right size and view. Review finished measurements, strap style, pockets, and the pattern’s fabric recommendations.
- Prepare the fabric. Follow care instructions for prewashing, dry fully if washed, and press before laying out the pieces.
- Lay out and cut accurately. Respect grain lines, directional prints, and the exact seam allowance included in the pattern.
- Prepare separate parts. Stitch and press pockets, tabs, straps, ties, and any lining or facings in the order stated by the designer.
- Assemble the main body. Keep raw edges aligned, secure straps correctly, and sew without pulling fabric through the feed dogs.
- Press, finish, and reinforce. Turn or bind edges as instructed, topstitch evenly, and secure pocket corners and tie attachment points.
- Try on and inspect. Confirm coverage, comfort, strap length, loose threads, and safe movement before the apron goes into regular use.
If your stitch starts looping or puckering, stop and check threading, the needle, and fabric handling before adjusting tension. I cover that troubleshooting order in my sewing machine tension guide and the broader 15 beginner sewing techniques guide.
How to Customize a Free Apron Pattern Without Ruining the Fit
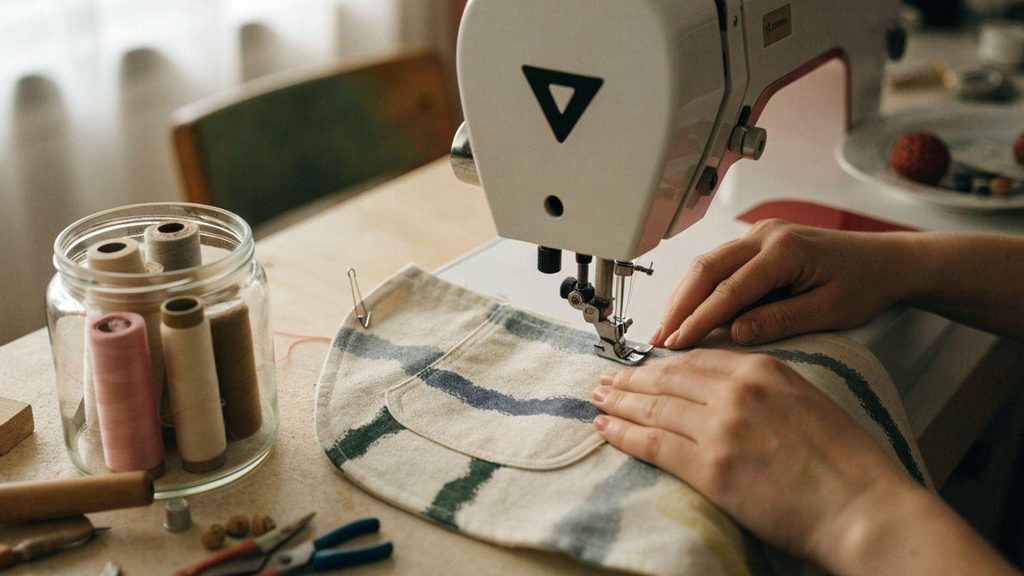
Once the standard pattern fits, small customizations can make it more useful. I add practical changes one at a time and check that the design’s overall balance remains intact. The safest beginner changes are often decorative topstitching, a carefully positioned patch pocket, or a fabric contrast rather than major alterations to curved pieces.
Add a Pocket That Fits Your Tools
Place a paper pocket template on the apron while it is worn, then check hand access before cutting the real fabric. Keep its opening clear of waist ties and reinforce upper corners so the pocket can stand up to everyday use.
Change Tie Lengths and Strap Placement
Make a temporary fitting first, especially on a cross-back design where a few inches can change the hang of the whole apron. If shortening a tie, preserve adequate length for secure fastening and finish both raw ends.
Use Contrast Fabric or Bias Binding
Contrast pockets, facings, and binding can personalize a simple pattern without altering its shape. Match washing instructions where possible and avoid adding bulky trim to seams that already have several layers.
Make a Coordinating Adult-and-Child Set
Choose patterns with independently verified adult and child sizing rather than relying on blanket scale percentages. Coordinating prints and pocket shapes can make a matching set feel connected without forcing identical construction details.
Common Apron Sewing Mistakes to Avoid
Most apron errors are preventable, and they often happen before the machine starts. I check the pattern, fabric layout, and strap positions twice rather than discovering a problem after topstitching the final edge.
- Assuming every free pattern includes a free PDF. Some provide only free web instructions, a $0 checkout, or an email-gated file.
- Ignoring fabric direction or grain. Printed motifs, stripes, and shaped pieces may need a layout different from the quickest cutting arrangement.
- Using the wrong seam allowance. Switching between pattern sources without checking can change fit and finished dimensions.
- Skipping a strap fitting. Neck loops, waist ties, and cross-back straps can feel different once the apron carries pockets or tools.
- Sewing thick layers too quickly. Denim and canvas intersections may require suitable needles, slower stitching, and a seam-height aid.
- Forgetting pressing and pocket reinforcement. Unpressed seams and weak pocket corners can make even a neat apron look unfinished.
- Overcomplicating a first project. Learn straight seams and hems first; add gathers, binding, or multiple pockets as skills develop.
When something does go wrong, I correct one problem at a time instead of changing the fabric, needle, stitch length, and tension together. My sewing-machine troubleshooting guide covers that process in more detail.
Final Verdict: Which Free Apron Pattern Is Worth Making?
For a quick first success, I would choose the tea-towel half apron or the one-yard full apron. If comfort and adjustability matter more, the Tessuti cross-back design and Helen’s Closet Sam Apron deserve closer attention; for practical storage, try the modern half apron or a utility design. The right answer is not the pattern with the most features. It is the one whose size, fabric requirements, and instructions suit how you will actually use the finished apron.
Once you have picked a pattern, save its original instructions, confirm the size and fabric width, and begin with a scrap-fabric stitch test. If you want a fuller explanation of the sewing process, follow my step-by-step apron sewing tutorial. I would rather finish one comfortable, well-made apron you wear every week than a more complicated one that never leaves the hook.
Frequently Asked Questions
What is the easiest free apron sewing pattern for beginners?
A tea-towel half apron or a straightforward one-yard apron is a good place to start because there are fewer shaped pieces and fitting decisions. Choose a tutorial with clear written and visual instructions rather than relying on the shortest advertised sewing time.
Can I sew an apron without printing a PDF?
Yes. Some tutorials give a cut list using rectangles or use an existing tea towel as the body. Others supply printable templates for curved apron shapes. Check whether the source uses measurements, a free paper pattern, or an optional paid PDF.
How much fabric do I need for a free apron pattern?
The quantity depends on the wearer, fabric width, style, pocket layout, and whether the apron is lined. Some patterns in this guide use one yard, but do not apply that figure to a cross-back utility apron or a coordinated set without checking its cutting layout.
What is the best fabric for a beginner kitchen apron?
A stable woven cotton is generally the easiest to cut, press, and sew. Choose canvas, twill, denim, or linen only when the pattern recommends their weight and your machine can sew the necessary layers.
Is a cross-back apron better than a neck-tie apron?
Not universally. Cross-back straps may feel more comfortable for someone who dislikes neck pressure, but the fit depends on body proportions and strap length. A traditional bib apron can be quicker to make and easier to adjust for some wearers.
Can I make a child’s apron from an adult apron pattern?
It is safer and more reliable to use a pattern with child-size measurements. Shrinking a full adult pattern can leave straps, pocket placement, and length out of proportion. Supervise younger wearers and avoid unsafe ties or loose accessories.
Are the apron patterns in this article really free?
The linked original publisher pages provide a no-cost pattern or a free step-by-step tutorial, with different access methods. Some offer optional paid PDFs; the Sam Apron requires a newsletter signup, and Tessuti lists a $0 downloadable choice. Always check the live terms before beginning.
Should I prewash fabric before sewing an apron?
For washable natural-fiber fabric, prewashing according to its care instructions is often sensible because it can shrink or release dye. Follow the chosen pattern and fabric-care guidance, especially when working with interfacing, coatings, or special finishes.
How can I sew apron pockets that will last?
Press the pocket opening, align placement carefully, stitch evenly, and reinforce the upper corners. Match the pocket size to what you will carry and avoid loading thin fabric with heavy tools.
Do I need a special sewing machine for canvas or denim aprons?
Not always. Many domestic machines can sew moderate weights with the correct needle, thread, suitable technique, and manageable layers, but capability varies. Test the thickest seam intersection and do not force a machine that is struggling.
What should I make after finishing my first apron?
A tote bag, napkins, fabric baskets, or another useful household item will build on straight stitching, hems, and topstitching. My easy sewing projects for beginners guide offers a natural next step.