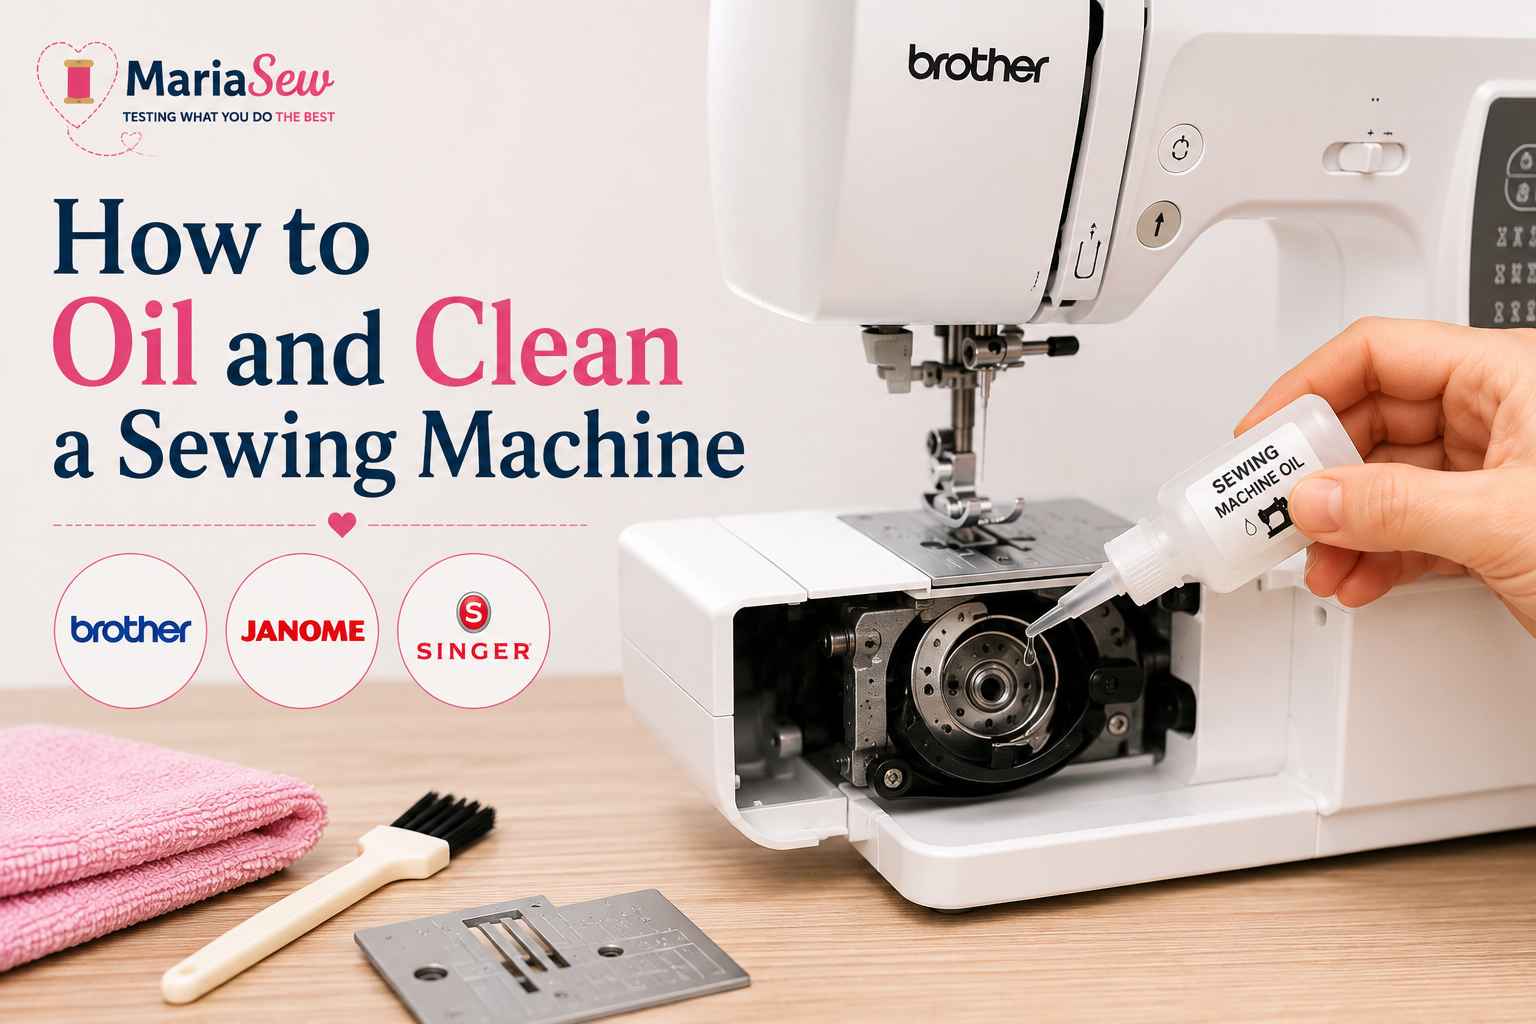
How to Oil and Clean a Sewing Machine- Brother Janome Singer
I’ve seen more sewing machines damaged by well-meaning oiling than by simply going too long without it. A few drops in the wrong spot, or oil dripped onto a machine that was never meant to be user-lubricated in the first place, can cause more harm than a squeaky hook ever would. Oiling a sewing machine isn’t complicated, but it does reward patience: check the manual before you do anything else, clean the machine before you lubricate it, and stop the moment something doesn’t look or sound right.
This guide walks through exactly how I approach oiling, safely, sparingly, and only where the manufacturer says it’s actually needed, along with model-specific notes for Singer, Brother, Janome, and vintage machines, and a clear sense of when the right move is to put the oil down and call a technician instead.
Key Takeaways
- Always refer to the owner’s manual before adding oil.
- Unplug the machine and remove loose working parts.
- Remove lint and thread before lubricating.
- Apply light sewing-machine oil; do not use household alternatives.
- Test on scrap fabric before using on regular fabric.
What Is Sewing Machine Oil?
Sewing machine oil is a light, clear, highly refined lubricant made specifically for the small, precise moving parts inside a sewing machine, the hook, race, and other metal-on-metal contact points that need to move smoothly at high speed. It’s thinner and more refined than household oils like motor oil or cooking oil, which can leave residue, attract dust, or gum up over time instead of flowing cleanly through tight mechanical spaces.
In my experience, the difference matters more than people expect. Household oils are formulated for entirely different jobs, they’re often too thick, too fragrant, or chemically different in ways that can damage delicate machine parts or even stain fabric if any residue transfers during sewing.
Genuine sewing machine oil is designed to do one job well: reduce friction at the exact points a manufacturer identifies as safe to lubricate, without leaving anything behind that could interfere with stitch quality.
Why Does a Sewing Machine Need Oil?
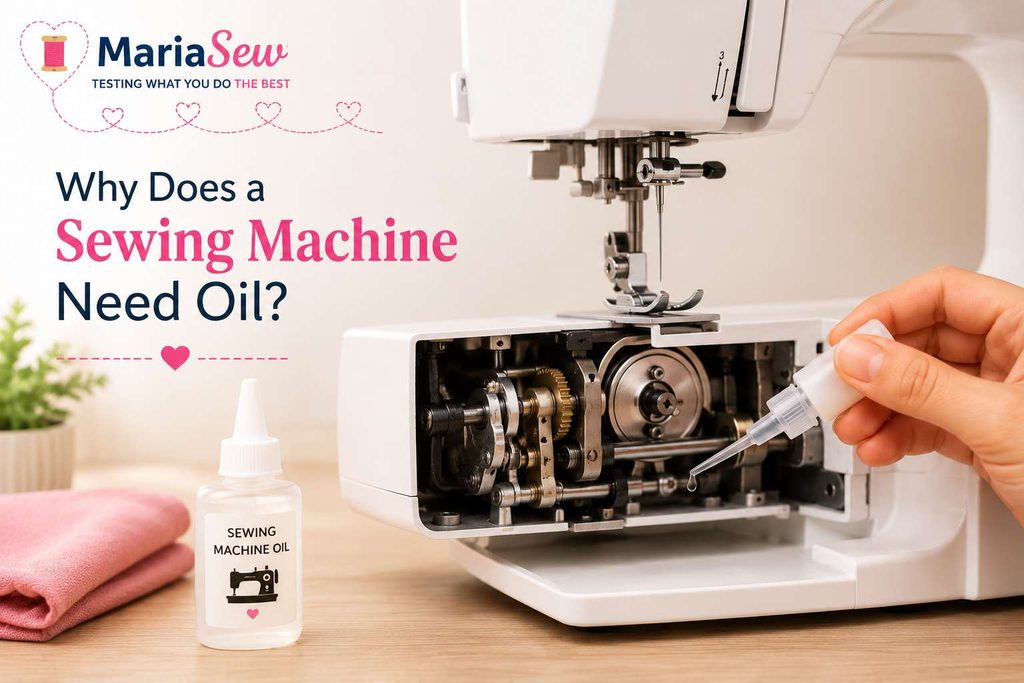
A sewing machine has moving parts which operate at high speed. If the manual specifies lubrication, a few drops of the proper oil can help minimize friction between appropriate metal surfaces and prevent unnecessary wear. The purpose is to lubricate the machine at specific points sufficiently to ensure smooth operation, not to flood the machine.
Oil is not a magic bullet for all sewing issues. Noise and resistance can also be caused by thread buildup, lint, bent needle, poor threading or incorrect tension. I consider oiling to be one of the regular maintenance procedures, along with the sewing machine cleaning guide, and not a solution to all performance issues.
However, some newer machines are sealed or can only be lubricated by a service professional. I never assume that an expensive or noisy machine requires oil, which is why I never use it. Where the manual indicates that the machine is oil-free, or that there are no user-accessible oil points, I stop and arrange servicing.
Choosing the Right Sewing Machine Oil
The safest choice is a light, clear oil made specifically for sewing machines, and I always check the sewing machine owner’s manual. Motor oil, cooking oil, penetrating sprays and household lubricants can leave residue or act differently than the oil designed for use on delicate machine mechanisms. Extra oil is not as significant as the right oil, since excess oil can get into areas where it is not beneficial.
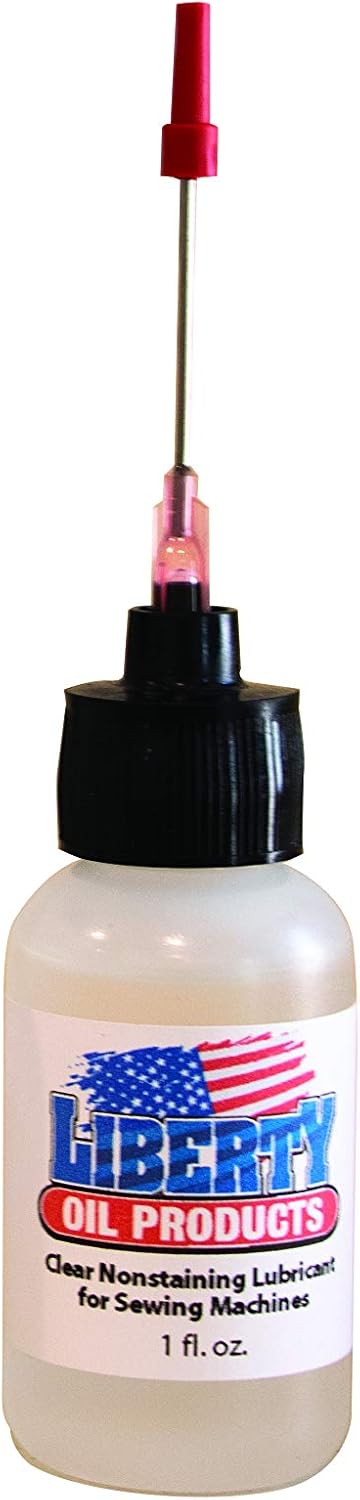
I also consider the amount. Typically, the amount of useable is measured in drops, not in spoons, and the number of drops depends on the machine. The narrow tip oiler is easier to apply in a controlled manner and will prevent me from “flooding” a hook area or other small mechanism.
Before I start, I have the oil, a soft brush, a clean cloth and the manual within reach. The sewing machine oil guide will help you understand the difference between the proper oil and those that can gum up or ruin a sewing machine. When I can’t find a point with certainty, I leave it dry and consult a competent technician.
Clean the machine before adding oil
Oil belongs on a clean mechanism, not on a layer of dust. Cleaning first lets you see the actual moving parts and prevents debris from mixing with the lubricant. Work from accessible areas, use a gentle brush, and avoid forcing lint farther into the machine.
Removing lint from the bobbin area
Remove the bobbin case or bobbin holder only as far as the manual allows. Brush lint away from the hook, race, and surrounding cavity, using strokes that pull debris outward. A folded corner of a dry cloth can pick up loose fibers near the rim. Do not scrape polished surfaces with a needle or sharp metal tool.
Cleaning the feed dogs and needle plate
Brush along the grooves of the feed dogs, where fabric fibers often collect. Wipe the underside and edges of the needle plate before replacing it, checking for burrs or damage while it is accessible. If the plate is difficult to remove or the screws resist, stop rather than stripping them.
Brushing dust from the upper mechanisms
Use the brush around the thread path, take-up lever, needle bar area, and any accessible openings identified in the manual. Keep the brush dry and work gently. Canned air may drive lint deeper into the machine, so the cleaning and oiling tutorial is a useful reference for taking a more controlled approach.
Why oil should never be applied over built-up debris
Dust and thread fragments can absorb oil and form a rough residue that interferes with movement. A dirty bobbin area may also make a machine appear dry when the real issue is packed lint. Finish cleaning, inspect the surfaces, and wipe away loose particles before opening the oil bottle.
How to Oil a Sewing Machine Stey By Step
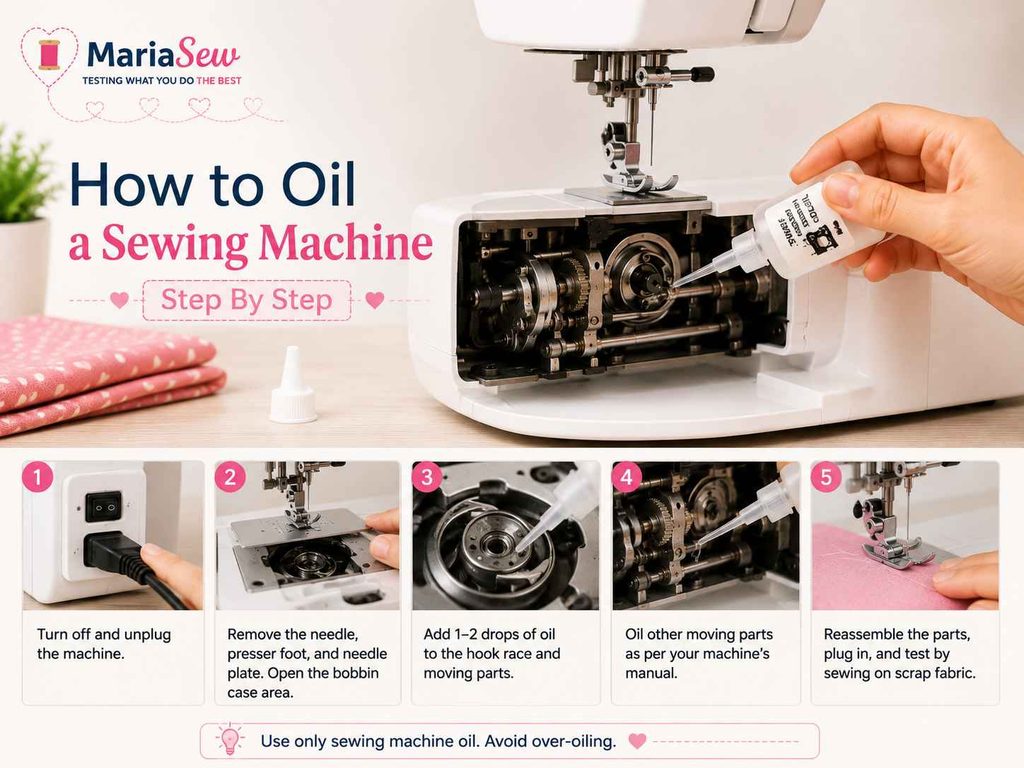
The fundamental process is systematic and not complex. I unplug the machine, take out the parts that hinder access, clean carefully and oil only as directed in the manual. The following steps are a practical guide; instructions for a specific model always take precedence.
I am working over a clear surface so that the screws, the bobbin and the presser foot are not lost. I also take a quick photo of the part before I take it off, which makes it easier to put back together.
Step 1: Turn Off and Unplug the Machine
Before touching the needle area or opening a cover, I turn off and unplug the machine. If it has a foot controller, I’ll set that aside too. This eliminates the chance of accidental ignition with my fingers next to moving parts.
Step 2: Remove Needle, Presser Foot and Bobbin
I take the needle, presser foot, thread, and bobbin out of the way when I am cleaning or checking the machine so they will not snag. The little bits are stored in a small dish or container. A new needle can be added to the machine later, once it has been reassembled.
Step 3: Clean the Sewing Machine
Before adding oil, I remove lint from the feed dogs, bobbin area, needle plate and other areas that are accessible. Generally, a clean, dry brush is better under control than pushing debris further in the mechanism. The trick is that it is very easy: before oiling, clean it, so the oil is not mixed with dust and thread fibers.
I pay special attention around the hook and bobbin area and clean as allowed in the manual. I do not use a scraper on sensitive surfaces or spray cleaner into the machine. Professional cleaning is safer than vigorous poking if the compacted lint is hard to reach.
Step 4: Find the Oiling Points
I compare the exposed machine to the diagrams in the manual and only check for lubrication points. Understanding the major sewing machine parts makes it much easier to identify what you’re actually looking at. Access can be through the needle plate, face plate, or other removable cover, depending on the design
Step 5: Use Sewing Machine Oil
I place the oiler tip over the point indicated and drop in the number of drops as stated in the manual. I hold the tip close without touching sensitive parts, then clean up any oil that accumulates outside of the desired area. Too much oil is not good, oil should only be applied to the required areas and excess oil will stain fabric and draw in dirt.
Step 6: Move the Handwheel
Still unplugged, I rotate the handwheel slowly in the direction indicated in the manual. This allows the lubricant to flow through the working movement without the motor operating. If the wheel feels tight, catches or changes its sound, I stop immediately.
Step 7: Reassemble the machine
I put the covers, needle plate, bobbin, presser foot and needle back on in the reverse order that I took them off. I always make sure that all the screws are tight and that there is no loose thread, brush fiber or cloth inside before I connect power. The needle should be positioned properly, so that the flat side is facing the right direction of the machine.
Step 8: Test the Sewing Machine.
I reconnect the machine and test it slowly on a piece of fabric, if the manual permits, without thread first. Listen for unusual noises and look for visible oil. These simple inspections ensure that I don’t wind up with too much oil or a wrong component in a completed product.
For regular maintenance, I have a short checklist that I use to keep the process the same:
- Check that the manual states that the unit can be oiled by the user.
- Wipe bobbin and feed-dog area.
- Use only the drops indicated.
- Stitch on scraps of fabric and check for oil.
That’s a deliberate sequence that does not become a full repair. If the machine is still noisy, stiff or irregular after cleaning and proper oiling, I stop using the machine and take it in for service instead of adding more oil.
How to oil a Singer Sewing Machine.
I oil a Singer sewing machine by starting with the manual for that specific model and not just the brand name. The machine may have access panels different from those used for the grease.
I disconnect it, take the needle and bobbin out, and wipe down the parts that are accessible before I search for the points listed in the instructions. If you’re also troubleshooting stitch quality, revisit how to thread a sewing machine first, most tension complaints trace back there.
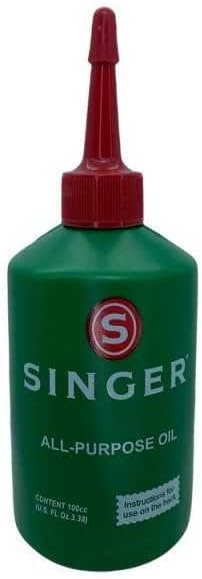
I only use light sewing-machine oil and put a little on it. I don’t add oil just because a surface is open or metallic, but the hook or bobbin area is a special case that needs to be taken care of. Then I hand turn the handwheel, put the removed pieces back and test on a piece of scrap fabric.
Older, mechanical Singer models, like the Singer Heavy Duty 4423, tend to have more visible, accessible oiling points since their construction relies on fewer sealed components. Newer computerized Singer machines, including several in our Singer reviews, are more likely to restrict user oiling entirely, always check your specific model’s manual rather than assuming a mechanical machine’s oiling routine applies across the whole Singer lineup.
When no clear oiling instructions are provided in the manual, I leave the internal lubrication to a qualified service technician. If the machine is still rattling, is not turning easily when the handwheel is turned, or is leaving oil marks, it requires diagnosis, not repeated applications. This is a prudent way to save the machine and the next project.
How to oil a brother sewing machine.
If I have a Brother sewing machine, I adhere to the use and care guidelines provided by the manufacturer as the amount of maintenance allowed may differ. The available instructions refer to oiling particular lubrication points after taking off the access parts, like the needle plate and face plate, and rotating the pulley to spread the oil around. I don’t use those instructions for every machine of the same name, I use them as model-specific instructions.
The guidance also specifies lighter use as opposed to heavier or regular use. It says that for light to moderate use, it involves oiling once a month as per the user’s manual; for heavier use, it advises owners to undergo scheduled maintenance at a Brother Authorized Service Center. It is better to confirm the schedule than to make one up.
This distinction matters more with Brother than it might seem. Computerized models like the Brother CS7000X and Brother HC1850 often have far more limited user-accessible oiling points than older mechanical Brother machines, some newer models restrict oiling entirely and rely on professional servicing instead. Before assuming your machine needs the same treatment as a different Brother model, confirm what your specific manual actually allows
I clean and apply the prescribed amount and then I reassemble the machine and test it slowly. The Brother maintenance instructions will help me review the sequence, but the manual for my model will always be the last word. If I require more assistance, then professional assistance is the logical next course of action.
How to Oil a Janome Sewing Machine
If I am going to oil my Janome sewing machine I first check to make sure my machine requires user oil. Lubrication points may be difficult to access on some machines, and a manual might tell the owner to have a service person do the work inside the machine. I don’t assume permission if a removable bobbin case is present, or a hook is visible.
When the instructions do permit oiling, I clean the hook and the bobbin area thoroughly and only use the recommended sewing-machine oil. I add a little at the designated point and slowly turn the handwheel to spread it out. The handwheel should glide freely and if it does not, it is a good indication to stop and investigate.
This varies noticeably across Janome’s lineup. Mechanical, heavy-duty models like the Janome HD3000 and Janome HD1000 tend to have more traditional, accessible oiling points given their simpler construction. Computerized models like the Janome MC6650 and Janome 8200QCP are more likely to limit or restrict user oiling altogether, don’t assume one Janome model’s maintenance routine applies to another without checking that specific machine’s manual first.
I end by cleaning up the oil with a wipe and then sew on a light colored scrap. This test determines if lubricant has reached the needle path or fabric-contact area. When the machine is still noisy or starts to sew badly, I go back to cleaning and threading checks or arrange the service, rather than adding more oil.
How to Oil a Vintage Sewing Machine
Careful maintenance can pay off with vintage machines, but age is no indicator as to where or how much to oil. Before opening covers I check the model’s manual, service notes or a well documented care guide. Older mechanisms may feature more easily accessible moving parts, but may also include hard debris, soft finishes, or screws that are not meant to be forced.
I unplug the machine, remove lint and old thread, and check for marked or documented oiling points. I apply a light sewing machine oil sparingly, and then turn the handwheel slowly. Never mix oil and grease and never attempt to break up a stubborn deposit without information about the machine’s design for maintenance.
If the machine has been stored for years, it may require a professional inspection before it can be used for sewing again. I listen for rust, seized parts, abnormal play and dark or sticky oil. I
It’s better to clean gently and test patiently rather than attempt to reanimate the whole mechanism in one go. If you’re shopping for a new machine instead of restoring an old one, our best sewing machines for beginners guide is a good next stop.
Build an ongoing sewing machine maintenance routine
When care is tied to real use, rather than an arbitrary date, routine care is easier. Regularly clean lint, check needle and thread path and only oil as specified in the manual. The aim is continuous attention, not repeated disassembly.
How often to oil based on machine use
Try out the manual first, then think about the length of time and how hard you sew. The schedule for light or moderate use might be different from long, fast use. The instructions for Brother maintenance are documented and include the following: Light to moderate users, those who sew 2 to 3 hours per day, should oil as specified in the user manual once a month and heavier users should have their machine serviced by a Brother Authorized Service Center on a regular basis.
Keeping a simple record will help you identify patterns without making maintenance a guess. Record date, cleaned, and if you were told to oil a specific point, do so.
Differences between mechanical and computerized machines
Mechanical machines may have more moving metal parts, but this doesn’t mean that all exposed joints should be oiled. Computerized machines can have electronics, sensors and sealed assemblies that need a more streamlined owner-maintenance plan.
In both cases, do not apply lubricant near electrical parts without specific instructions from the manufacturer.
Combining oiling with cleaning and inspection
Lubricate with a quick inspection of the needle, presser foot, bobbin area, needle plate, feed dogs, power cord and screws. Work is kept on track by a short checklist:
- Remove lint from the bobbin area and feed dogs.
- Inspect the needle for bending, dullness, or damage.
- Check that covers, bobbin parts, and screws are secure.
- Test on scrap fabric before sewing the project.
This sequence makes oiling one part of a wider maintenance habit. If your stitches look uneven rather than your machine simply running stiff, that’s usually a tension issue, not an oiling one, see why is my bobbin thread showing on top for that specific fix.
When to stop DIY maintenance and call a technician
If the handwheel is difficult to turn, the machine jams frequently, oil gets to the electronics, or an approved oiling point cannot be found, stop. Recurring stains, timing issues, noisy gears and other recurring issues also require professional attention. The Brother guidance suggests that for heavy use, maintenance should be scheduled with a Brother Authorized Service Center, in addition to home oiling.
Conclusion
I see oiling as a maintenance job, and I read the manual, clean first, lubricate only points mentioned and test slowly. That procedure allows me to maintain my sewing machine, but not get it confused with repairs, and to have a clear place to stop if my sewing machine says or does something that requires professional help.
Frequently Asked Questions
How many times a month should I oil my sewing machine?
The correct interval is dependent on the model and its usage. I don’t just pick a schedule because it’s based on age, sound, or habit; I follow the owner’s manual.
Is it OK to oil a sewing machine that is not running well?
The problem can be caused by lint, threading, broken needle, tension or mechanical issues. I clean and check the simple causes first, and then oil as directed in the manual.
What oil is best for me?
When the sewing machine manual requires oil, I use light, clear oil that is designed for sewing machines. I don’t use cooking oil, motor oil or general purpose sprays.
Is it possible for an excessive amount of oil to cause harm to a sewing machine?
Yes. Oil can build up on areas that come into contact with fabric and can attract dirt and cause staining. Only use the amount indicated and remove any excess residue.
Do I need to lubricate the bobbin case?
Only when the manual indicates that area is an oiling point. It is not necessary to lubricate a visible bobbin case or hook.
My sewing machine is still noisy even after I put oil in it, why?
Lint, loose parts, incorrect assembly, a damaged needle or internal wear can all cause noise. If cleaning and proper oiling is not successful, I stop and arrange a professional examination.
Can a sewing machine be oiled when it is plugged in?
No. Before dismantling, taking off covers, cleaning and applying oil, I turn it off and unplug it. Only reconnect power when all is secure.



4 Comments