15 Sewing Techniques for Beginners: Easy Skills to Master in 2026
Learning sewing is much easier when I treat it as a series of small skills instead of trying to finish a complicated project on day one. The most useful sewing techniques for beginners are the ones that improve control, accuracy, seam strength, and finishing, including correct threading, straight and zigzag stitching, backstitching, seam allowances, hems, zippers, gathering, darts, buttonholes, and pressing.
I practice each technique first on scrap fabric that behaves like the real project, because a five-minute test can reveal threading, tension, needle, or feeding problems before they affect the finished piece. This guide puts 15 beginner sewing skills in the order I would learn them, with simple instructions, common mistakes, and links to deeper MariaSew tutorials when you are ready for more detail.
Quick Answer: What Sewing Techniques Should Beginners Learn First?
Start with machine setup and straight stitching, then add a zigzag stitch, backstitching, seam allowances, and basting before moving to curves, edge finishes, hems, darts, gathers, zippers, buttons, and buttonholes. Press as you sew instead of leaving all pressing until the end. If a seam looks wrong, rethread the machine with the presser foot raised, check the bobbin and needle, and test again before changing several settings at once.
Key Takeaways
Beginner sewing improves fastest when each skill has one clear purpose. These are the habits I want in place before I worry about speed or complicated patterns.
- Practice on scraps using the same fabric, thread, needle, and layers as your project.
- Let the feed dogs move the fabric while you gently guide it without pushing or pulling.
- Rethread the machine correctly before changing thread tension.
- Follow the seam allowance specified by your pattern or tutorial.
- Remove pins before the needle reaches them to prevent needle damage or breakage.
- Press each important seam during construction for flatter, more precise results.
- Slow down around curves and bulky areas for better control and accuracy.
If you are completely new to sewing, I recommend reading my broader how to learn sewing guide alongside this technique-focused article.
Before You Start: Essential Sewing Tools and Machine Setup
You do not need a huge sewing kit to learn well. I would rather start with a few dependable tools and learn exactly what each one does than buy a crowded box of supplies that makes setup harder.
For most beginner projects I keep fabric shears, a tape measure or seam gauge, pins or fabric clips, a seam ripper, hand-sewing needles, all-purpose polyester thread, an iron, and scrap fabric nearby. If you are buying your first machine, choose one that is easy to thread, stable at slow speed, and supported by a clear manual rather than shopping by stitch count alone.
- Fabric shears. Use them only for fabric so the blades stay sharp and cutting remains accurate.
- Seam ripper. Remove mistakes one or two stitches at a time instead of pulling the fabric aggressively.
- Pins or clips. Hold layers in alignment before sewing and remove pins before they approach the needle.
- Measuring tools. A tape measure, ruler, or seam gauge helps with seam allowances, hems, button placement, and pattern accuracy.
- Iron and pressing cloth. Pressing is part of construction, not just a final cosmetic step.
- Scrap fabric. Use offcuts from the real fabric to test stitching, tension, needle choice, buttonholes, and hems.
If you still need a machine, see my current best sewing machines for beginners. If you are deciding between dials and digital controls, my mechanical vs. computerized sewing machine guide explains the practical differences.
How to Choose the Right Needle and Thread Before Sewing
Needle, thread, and fabric have to work as a system. A universal needle is a common starting point for stable woven fabrics, while knits, denim, leather, microfibers, or very lightweight fabrics often need a needle designed for that material. I check the needle package and the machine manual instead of guessing from appearance alone.
All-purpose polyester thread works for many everyday projects, but decorative or specialty work may need a different thread size or fiber. If stitches skip, thread breaks, or the fabric puckers, I inspect the needle and rethread before I start making several tension adjustments at once.
For troubleshooting stitch balance, use my sewing machine tension guide after you have confirmed the machine is threaded correctly.
How I Test Sewing Machines and Beginner Sewing Techniques
I personally use the sewing machines I recommend and repeat beginner techniques on real fabric before I publish a verdict. I do not judge a machine from its stitch chart alone. I thread it, wind and insert the bobbin, change needles and feet, sew at low and higher speeds, and check how easy it is to recover from common beginner mistakes such as a missed thread guide or uneven fabric feeding.
For technique guides like this one, I test the same core skills across more than one type of machine so the advice is not tied to a single control layout. I use stable woven cotton first, then repeat relevant techniques on lighter fabric, stretch fabric, denim, or layered seams when the skill depends on fabric behavior. I also check both sides of the seam, not just the top, because thread balance and feeding problems often show more clearly underneath.
- Machine setup. I test threading, bobbin loading, needle changes, presser-foot changes, reverse, free arm, and speed control where available.
- Stitch formation. I inspect straight, zigzag, backstitched, and buttonhole samples for balanced thread, skipped stitches, puckering, and consistency.
- Fabric control. I check whether the machine feeds the layers evenly without asking the sewist to pull the fabric.
- Beginner recovery. I deliberately rethread, reseat the bobbin, replace the needle, and retest so the troubleshooting sequence is practical.
- Finished construction. I look at seam alignment, corners, curves, hems, zipper movement, gathers, darts, and pressing after the project is handled normally.
You can read more about my hands-on testing standards on the MariaSew About page.
15 Beginner Sewing Techniques at a Glance
The techniques below are arranged from machine setup and basic control to construction and finishing. You do not need to master all 15 before starting a project, but learning them in roughly this order makes later skills easier because each one builds on an earlier habit.
Before the table, use this simple learning sequence: set up the machine correctly, control one basic stitch, learn how seams are secured and measured, then add shaping, fasteners, and finishing. I would repeat each skill until I can produce two or three consistent samples before moving on.
- Setup first. Correct threading and bobbin placement make every later stitch test more useful.
- Control second. Straight and zigzag stitching teach speed, guiding, and stitch placement.
- Construction third. Backstitching, seam allowance, basting, and pinning create accurate assemblies.
- Shaping and finishing next. Curves, hems, darts, gathering, zippers, and buttonholes add structure and function.
- Press throughout. Pressing supports nearly every stage rather than being a final afterthought.
| Technique | What It Teaches | Beginner Tip |
|---|---|---|
| 1. Thread the machine and bobbin | Correct thread path and bobbin setup | Follow the exact manual and test on scrap |
| 2. Sew a straight stitch | Basic machine control and seam accuracy | Watch the fabric edge, not only the needle |
| 3. Sew a zigzag stitch | Edge finishing, stretch and utility work | Test width and length on the real fabric |
| 4. Backstitch a seam | Secure seam beginnings and ends | Keep the reverse section short |
| 5. Sew a consistent seam allowance | Pattern accuracy and fit | Use the needle-plate guide or seam guide |
| 6. Baste before permanent stitching | Temporary alignment and fitting | Use long stitches and no backstitch where removal is needed |
| 7. Pin and clip fabric safely | Keep layers aligned | Remove pins before the needle reaches them |
| 8. Sew curves and corners | Controlled directional changes | Slow down and pivot with the needle down |
| 9. Finish raw fabric edges | Reduce fraying and improve durability | Match the finish to fabric weight and project |
| 10. Hem fabric neatly | Create a clean finished edge | Measure and press before stitching |
| 11. Sew darts for shaping | Shape garments smoothly | Taper gradually and avoid a bulky dart point |
| 12. Gather fabric evenly | Add controlled fullness | Pull bobbin threads gently and distribute gathers |
| 13. Sew a zipper | Install a functional closure | Use a zipper foot and test the slider before finishing |
| 14. Sew buttons and buttonholes | Add secure garment fasteners | Test the buttonhole on matching scrap layers |
| 15. Press seams professionally | Set seams, folds and shaping | Press and lift instead of dragging the iron |
Use the table as a practice checklist, not as a race. A clean straight seam and a correctly pressed hem are more valuable than rushing through all 15 skills in one afternoon.
15 Sewing Techniques for Beginners, Step by Step
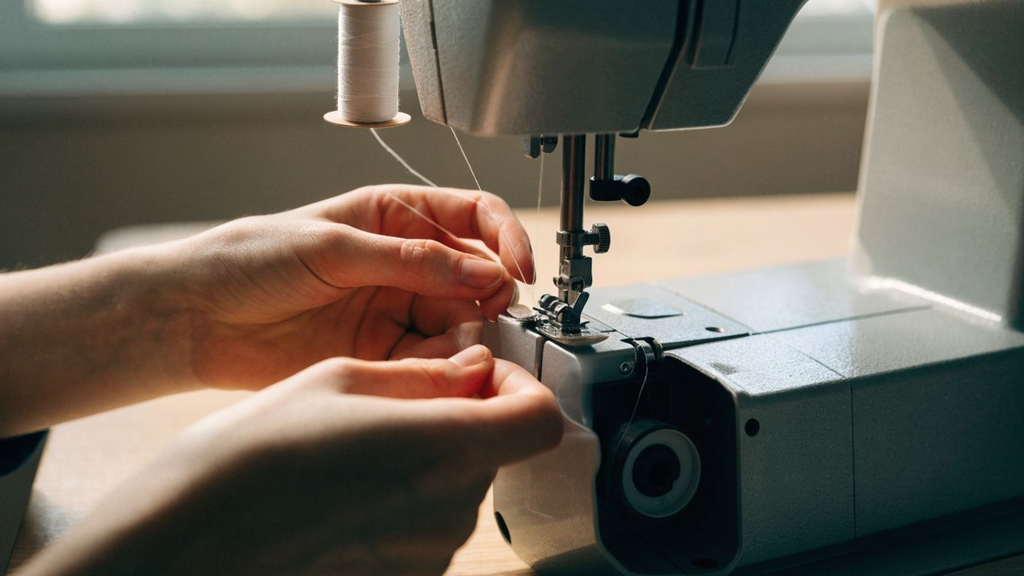
Each technique below starts with the reason I use it, then the practical method and the mistake I want a beginner to avoid. Keep the machine manual nearby because controls, bobbin direction, needle orientation, and buttonhole procedures vary by model.
1. How to Thread a Sewing Machine and Insert the Bobbin
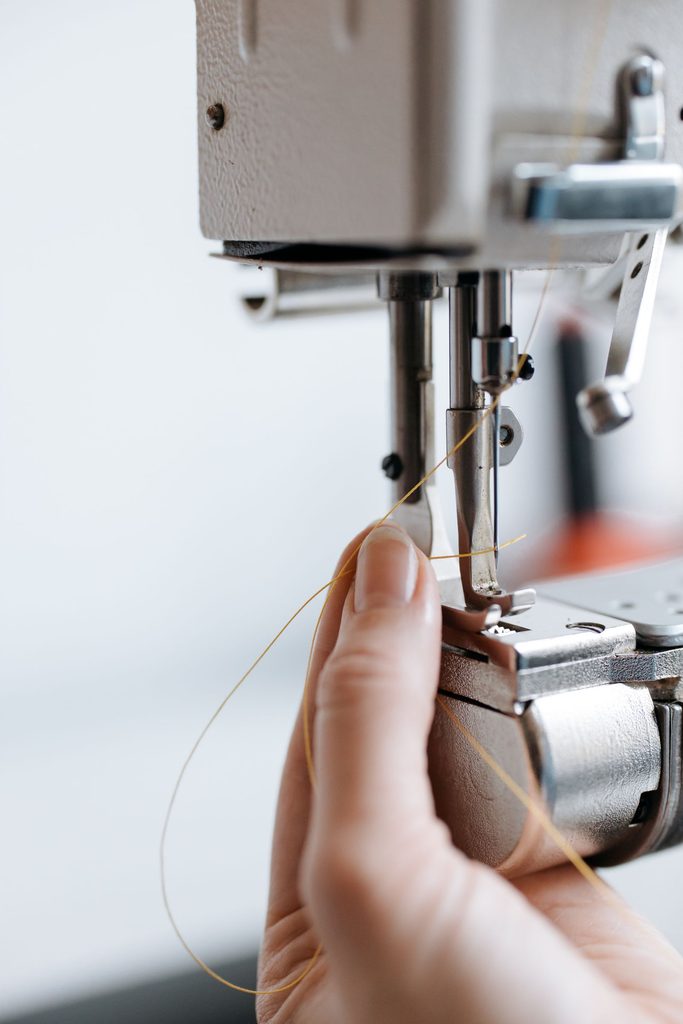
Threading is the first technique I want to become automatic. I raise the presser foot before threading so the upper tension discs are open, bring the needle or take-up lever to the correct position, and follow every guide in the order shown by the machine. The exact path varies by model, so the manual always overrides a generic diagram.
I wind the bobbin evenly, insert it in the direction shown for the machine, and route the bobbin thread through the correct channel or case. Some machines require the bobbin thread to be brought up before sewing, while many modern top-loading machines can begin according to their own quick-set instructions, so I follow the specific manual rather than forcing one method on every machine.
If the first stitches loop, nest, or fail to form, I rethread before changing tension. My full sewing machine threading guide shows the setup in more detail.
2. How to Sew a Straight Stitch
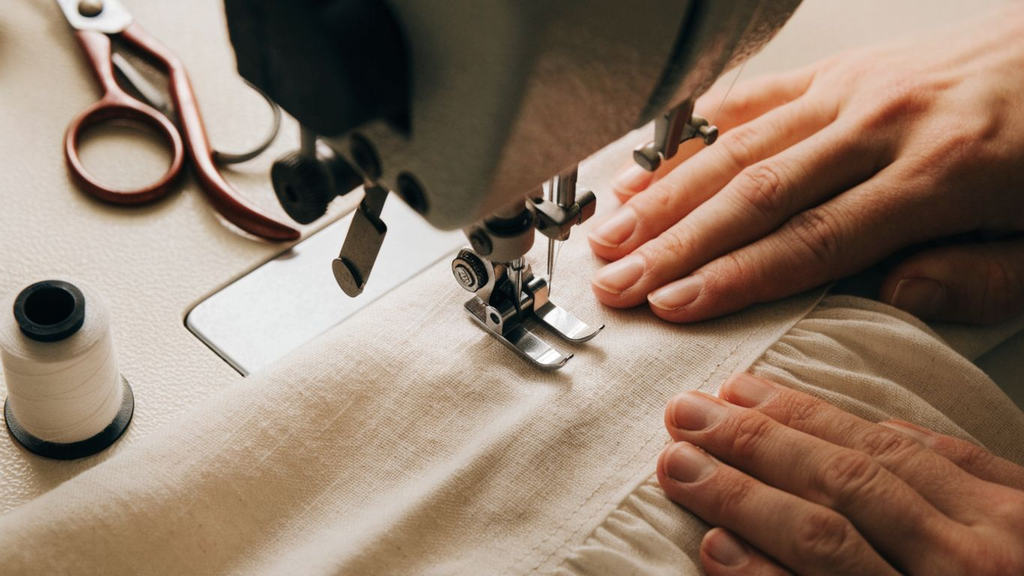
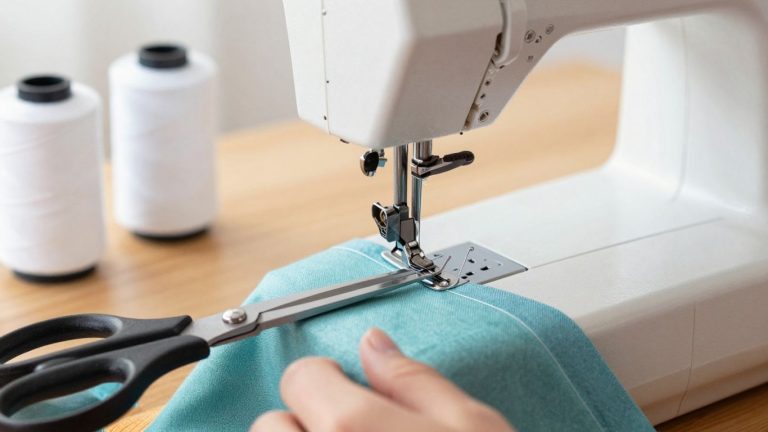
The straight stitch is the foundation for seams, hems, topstitching, basting, and many repairs. I align the fabric edge with a seam guide on the needle plate, lower the presser foot, and begin at a controlled speed so I can see whether the fabric is feeding straight.
As I sew, I let the feed dogs pull the fabric and use my hands only to guide direction. I watch the fabric edge against the guide rather than staring at the needle, because seam accuracy is about maintaining a consistent distance from the edge.
If the line begins to drift, I slow down. On a machine with programmable needle down, I can stop with the needle in the fabric, lift the presser foot, realign, and continue without shifting the stitch position.
3. How to Sew a Zigzag Stitch
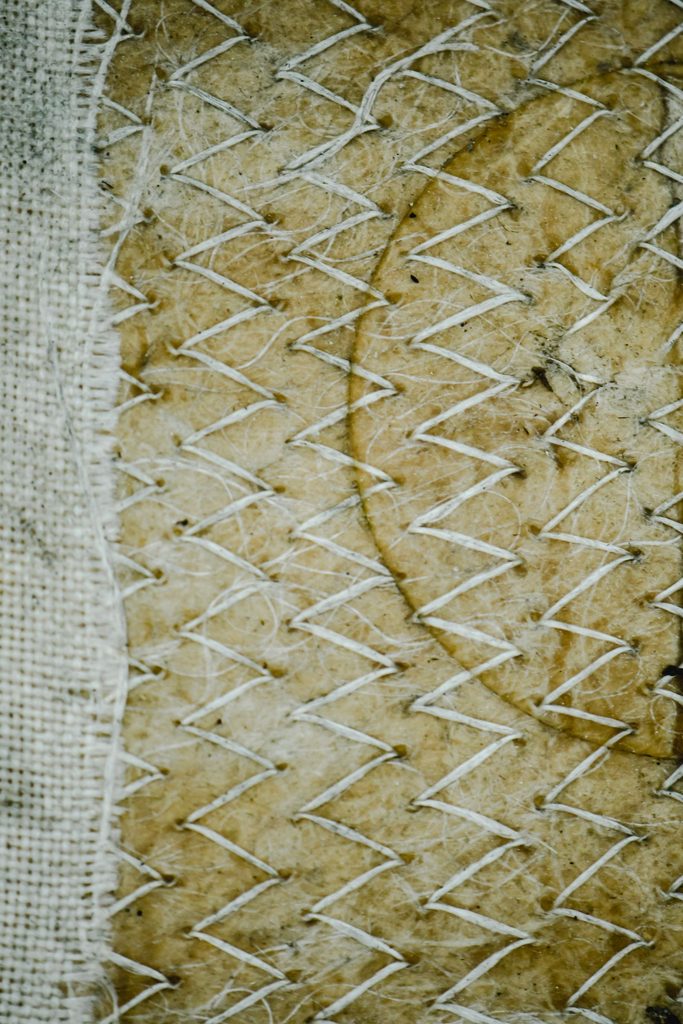
A zigzag stitch moves the needle side to side and is useful for raw-edge finishing, appliqué, bar tacks, elastic, and some stretch applications. I start with the machine manual or project instructions because the correct width and length depend on the fabric and purpose.
For edge finishing, I test the zigzag near the raw edge so the stitch supports the fabric without pulling it into a tunnel. On knits, I make a separate stretch test because a standard zigzag can flex more than a straight stitch, but the best stitch still depends on the fabric and machine.
4. How to Backstitch to Secure a Seam
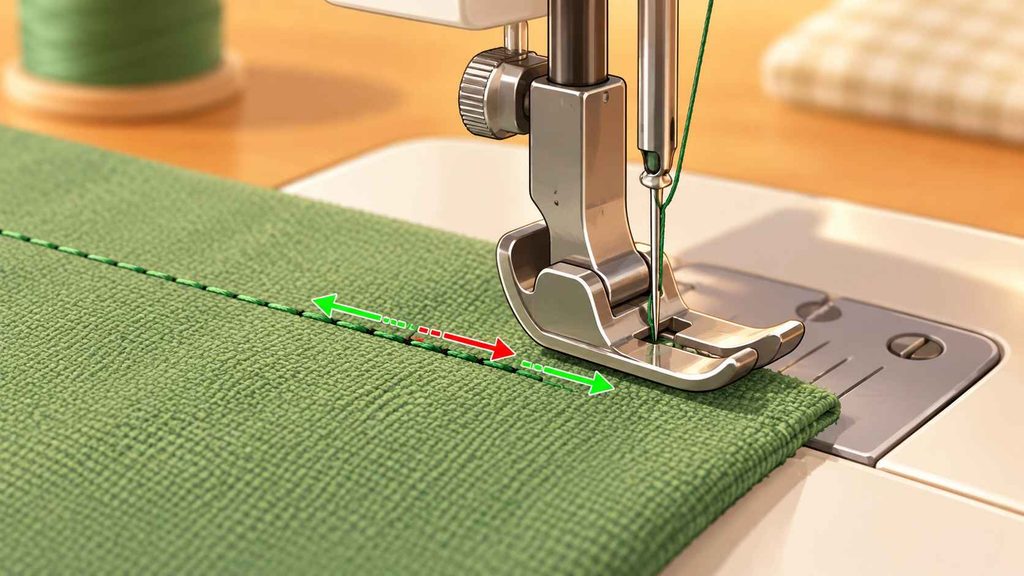
Backstitching secures the beginning and end of many seams. I sew a few stitches forward, reverse over that short section, and then continue in the normal direction. At the end, I repeat the same short overlap when the seam needs to be locked.
I avoid making the reverse section long because too many overlapping stitches create a stiff bump. Darts, gathering rows, and some enclosed construction steps are common examples where I may secure thread another way instead of automatically backstitching.
5. How to Sew a Consistent Seam Allowance
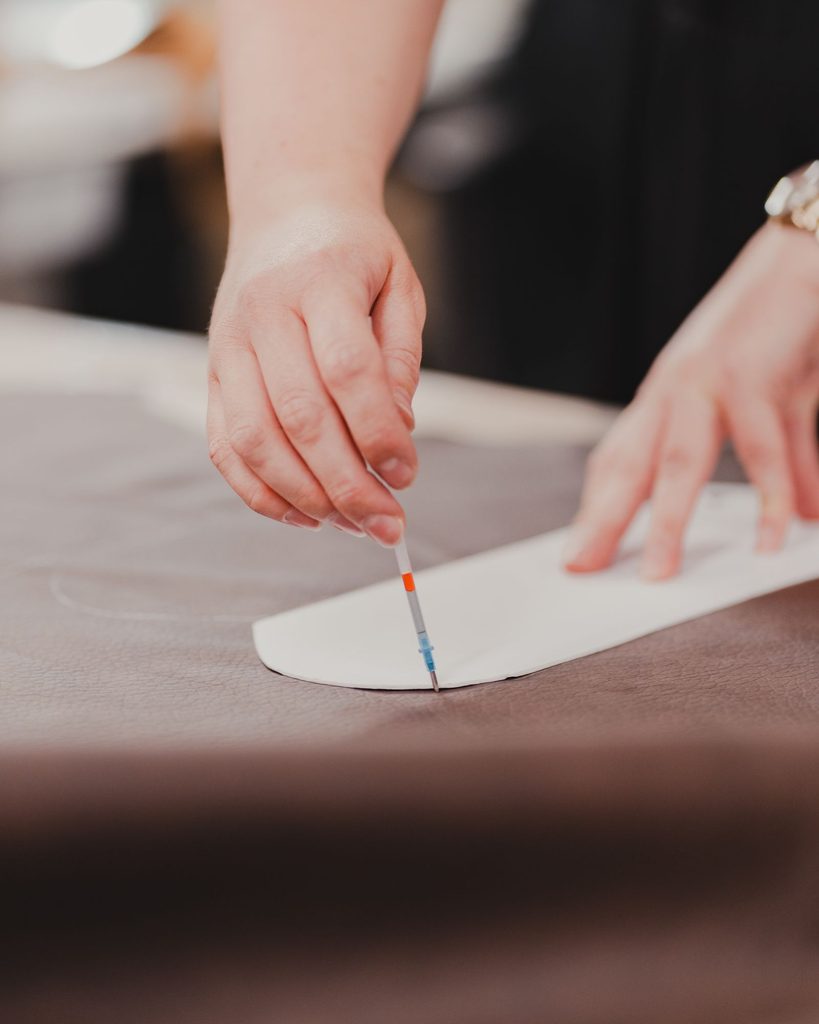
The seam allowance is the fabric between the stitching line and the raw edge. I always check the pattern or tutorial first because garment patterns, quilting, crafts, and commercial patterns can use different allowances.
I align the raw edge with the correct needle-plate marking or an approved seam guide and keep my eyes on that guide as I sew. If the allowance varies, pieces can finish at the wrong size even when the stitch itself looks neat.
6. How to Baste Fabric Before Permanent Stitching
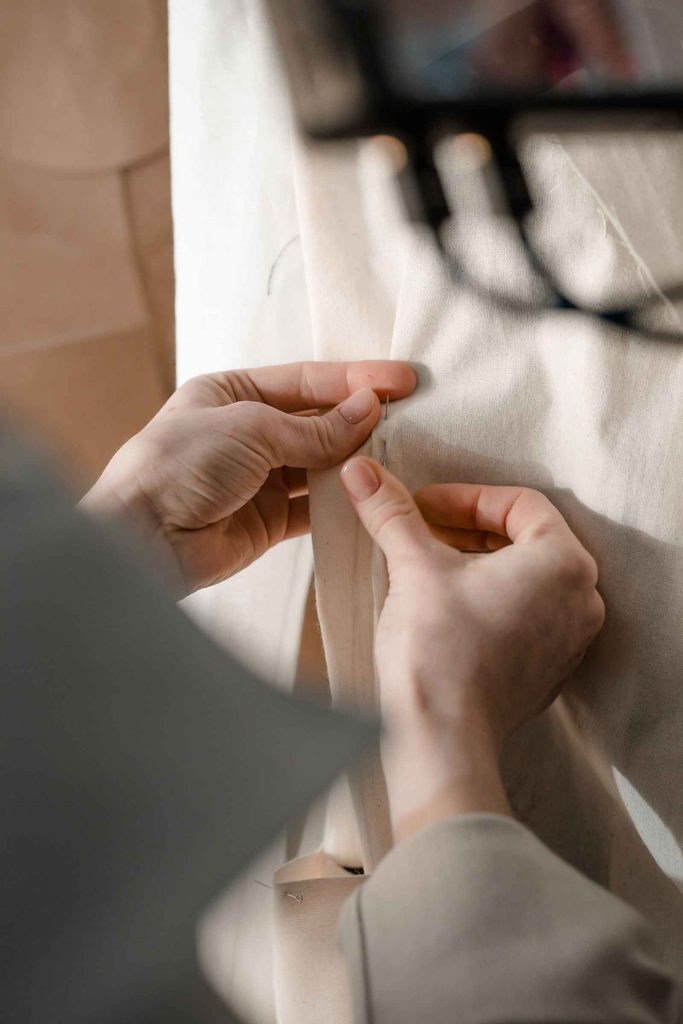
Basting is temporary stitching used to hold layers, test placement, or support a later sewing step. On the machine I use a long straight stitch, usually without backstitching when I plan to remove it, and I leave thread tails long enough to handle easily.
I use basting for zipper placement, fitting checks, slippery layers, pleats, gathers, and areas where pins alone do not give enough control. The temporary seam should stabilize the work without being harder to remove than the permanent seam is to sew.
7. How to Pin and Clip Fabric Safely
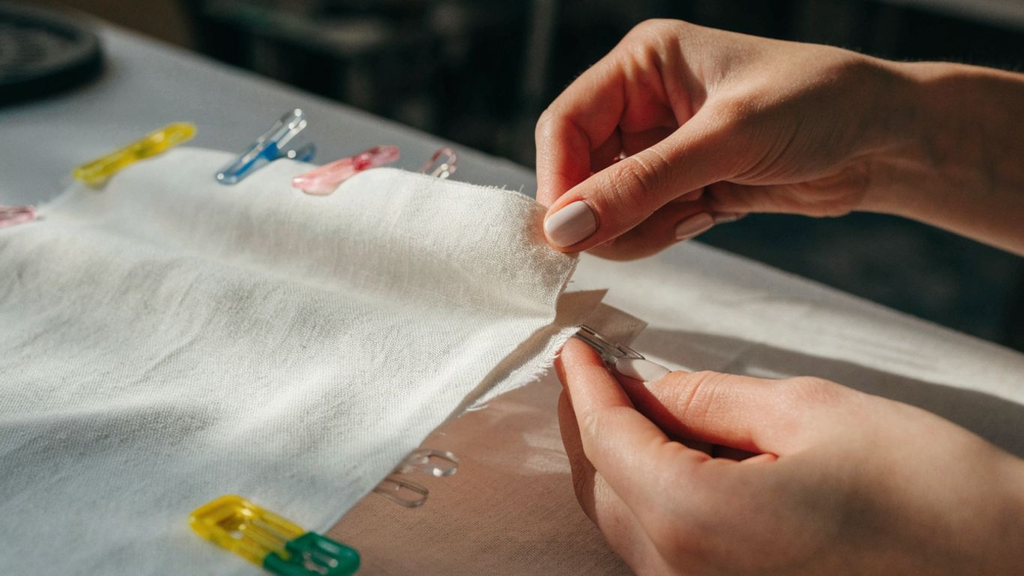
Pins and clips keep fabric layers aligned while I move them to the machine. Pins work well on many woven fabrics, while clips are useful on bulky seams, coated materials, or places where I want to avoid visible pinholes.
I place enough pins or clips to prevent shifting, then remove them as I approach the presser foot. I do not intentionally sew over pins, because a needle strike can bend or break the needle and can send fragments toward the sewist or damage the machine.
8. How to Sew Curves and Corners
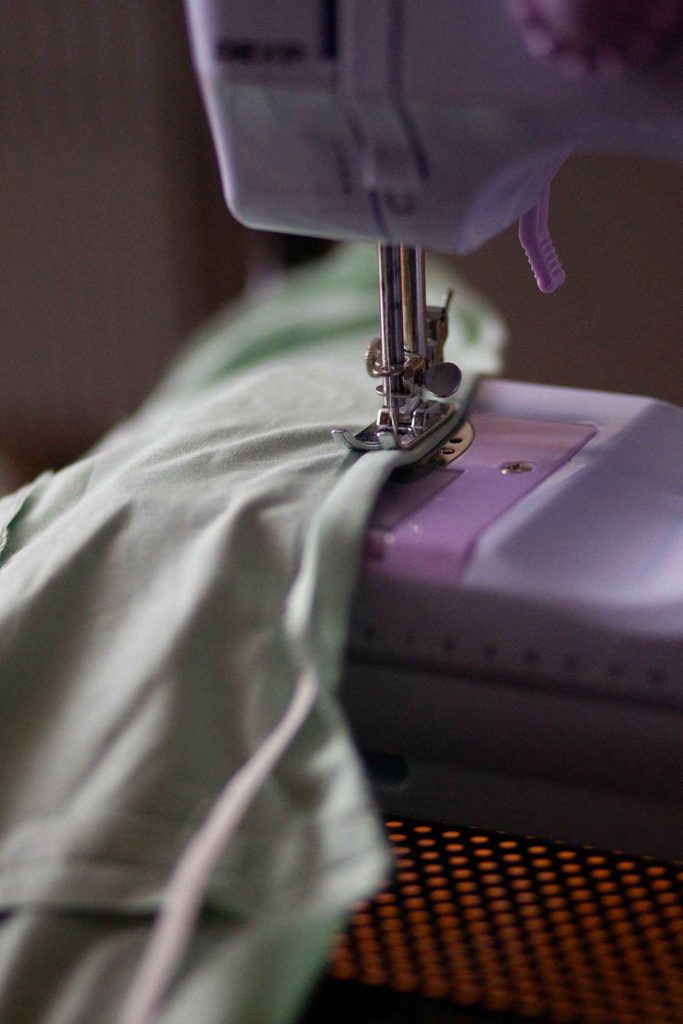
Curves and corners become easier when I reduce speed and think a few stitches ahead. On a curve, I guide gradually and use small pivots only when needed. On a square corner, I stop at the turning point with the needle down, lift the presser foot, rotate the fabric, and continue.
After stitching, seam allowances often need shaping so the finished curve can turn smoothly. I clip into concave curves without cutting the seam, and I notch or trim excess from convex curves where bulk needs to be removed. I do not use the same clipping method blindly on every shape.
9. How to Finish Raw Fabric Edges
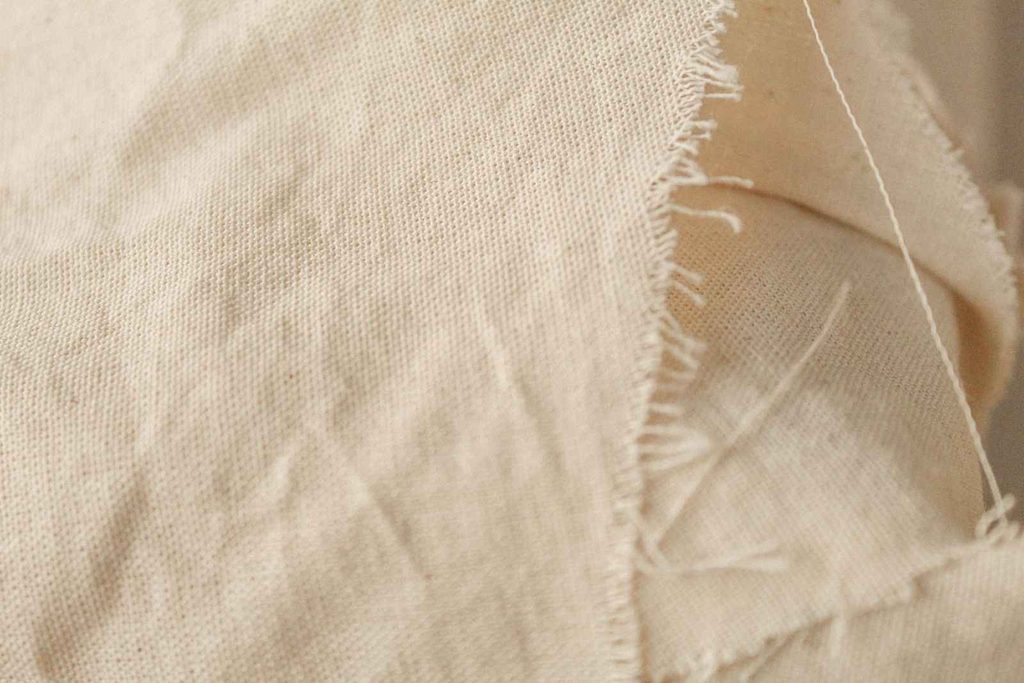
A raw-edge finish helps reduce fraying and makes the inside of a project more durable. Common beginner methods include a zigzag finish, pinking on suitable fabrics, a folded edge, binding, or a serged finish when a serger is available.
I choose the finish by fabric weight, fraying tendency, seam type, visibility, and how much wear the item will receive. A bulky finish can distort lightweight fabric, while a very light finish may not control a loose weave well enough.
10. How to Hem Fabric Neatly
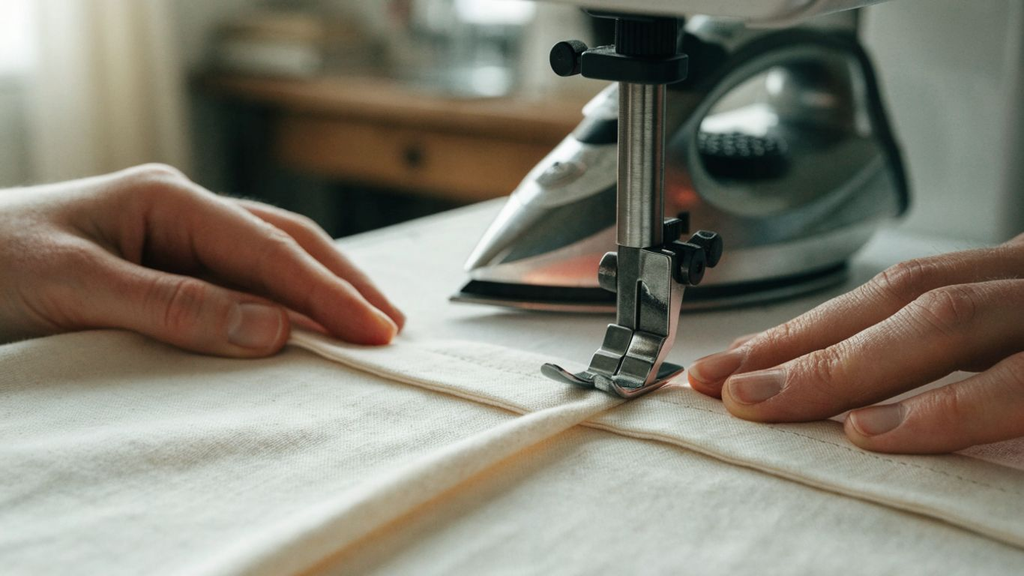
A hem finishes the lower edge of a garment or project. I mark the finished length, measure the fold in several places, and press before stitching. A double-fold hem encloses the raw edge, while other fabrics and designs may use a single fold with edge finishing, a blind hem, facing, binding, or hand sewing.
I support the fabric without stretching it and keep the fold aligned with a guide. If the hem waves, I check whether I stretched the fabric, used an unsuitable stitch or needle, or skipped pressing before I start trying to force the finished edge flat.
For a dedicated walkthrough, use my how to sew a hem tutorial.
11. How to Sew Darts for Shaping
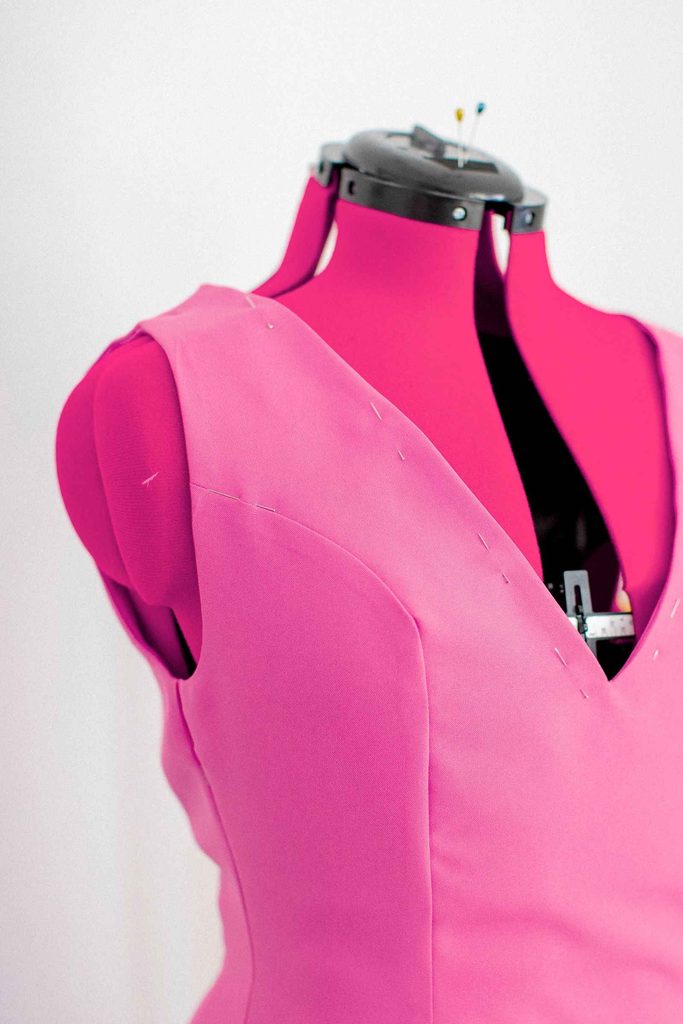
Darts remove a controlled wedge of fabric so a flat pattern can shape around the body. I transfer the dart legs and point accurately, fold the fabric so the marked legs align, and sew from the wider end toward the point in a smooth taper.
At the dart tip, I avoid a sudden angle or a bulky knot. Many garment instructions have me shorten the final stitches and tie thread tails instead of backstitching at the point, which helps the dart lie flatter after pressing.
12. How to Gather Fabric Evenly
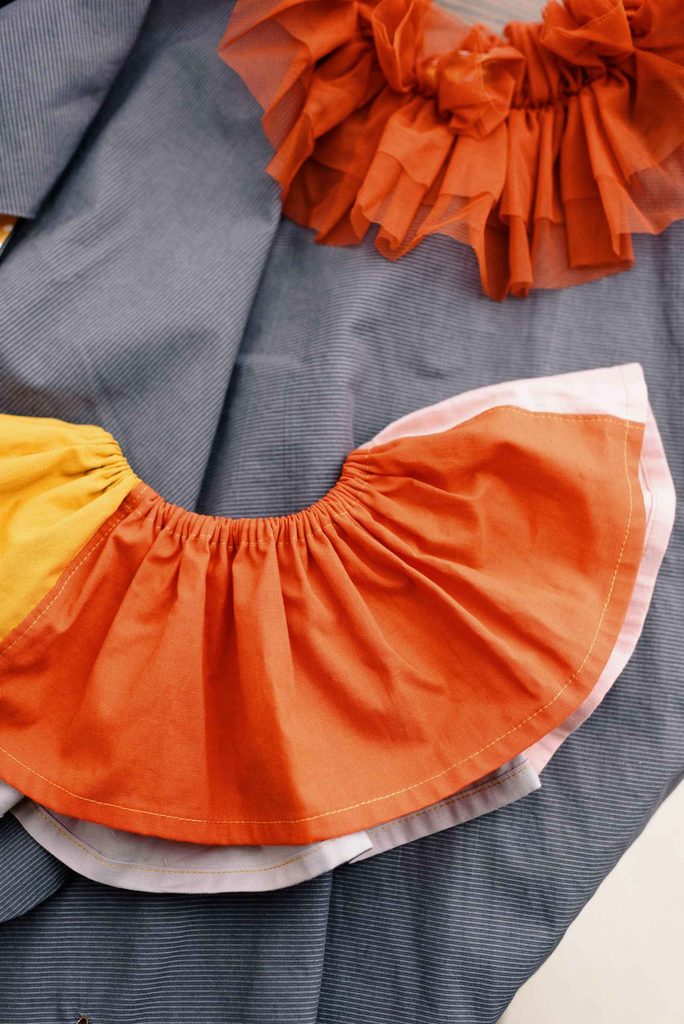
Gathering reduces a longer fabric edge to fit a shorter one, creating controlled fullness in skirts, sleeves, ruffles, and other details. I sew one or two rows of long stitches inside the seam allowance and leave long tails instead of backstitching.
I pull the bobbin threads gently and slide the fabric along them in small sections. Once the gathered edge matches the target length, I distribute the fullness evenly between matching points and secure the piece before sewing the permanent seam.
13. How to Sew a Zipper
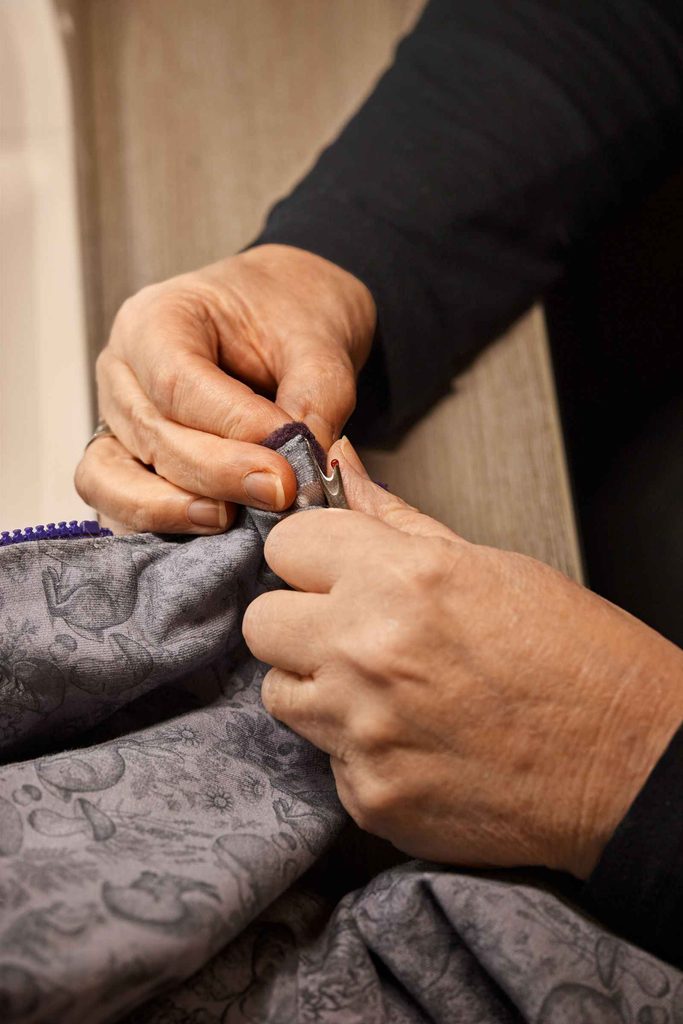
A zipper becomes much easier when I treat alignment as the main task. I mark the opening, prepare the seam according to the pattern, and baste when temporary stitching will help hold the zipper tape in the right position.
I use the correct zipper foot, position the needle so it clears the foot and zipper teeth, and slow down near the slider or stops. Before removing temporary stitches or finishing the garment, I open and close the zipper several times to confirm that fabric, lining, and seam allowances are not caught.
My dedicated zipper sewing guide covers the setup in more detail.
14. How to Sew Buttons and Make Buttonholes
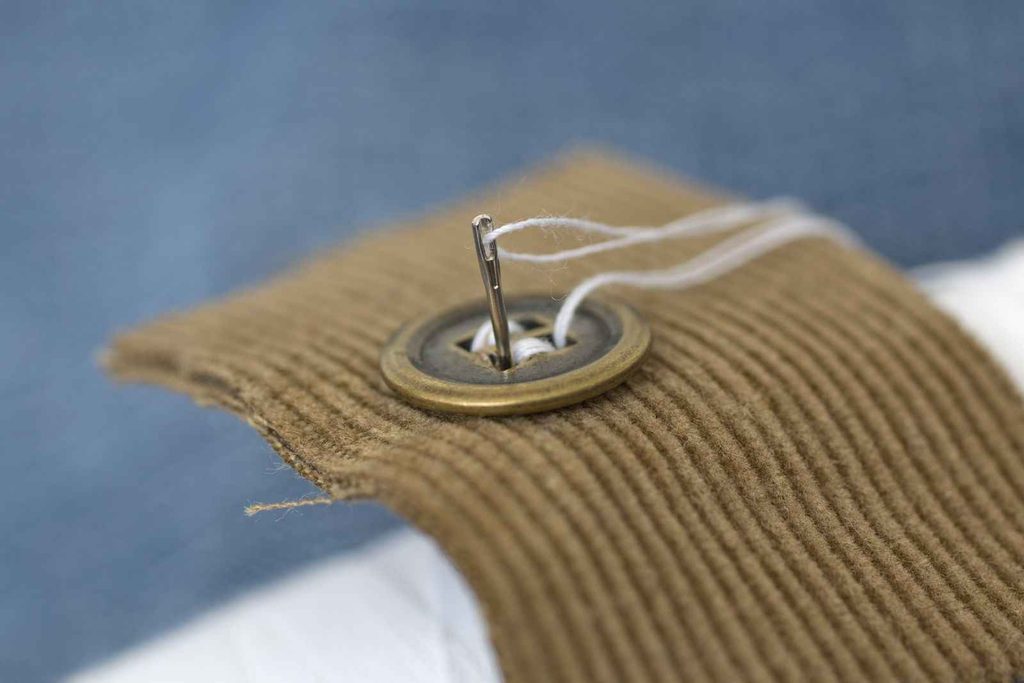
Buttons and buttonholes should be planned together. I confirm the finished overlap and button placement first, then test the buttonhole on scrap made from the same fabric layers, interfacing, and stabilizer used in the project.
For a hand-sewn button, I use enough thread passes for the fabric and leave the correct amount of shank space when the garment thickness requires it. For a machine buttonhole, I follow the exact machine instructions and cut the opening only after the stitching is complete and inspected.
If hand-sewn buttons are new to you, see my step-by-step button sewing guide.
15. How to Press Seams for a Professional Finish
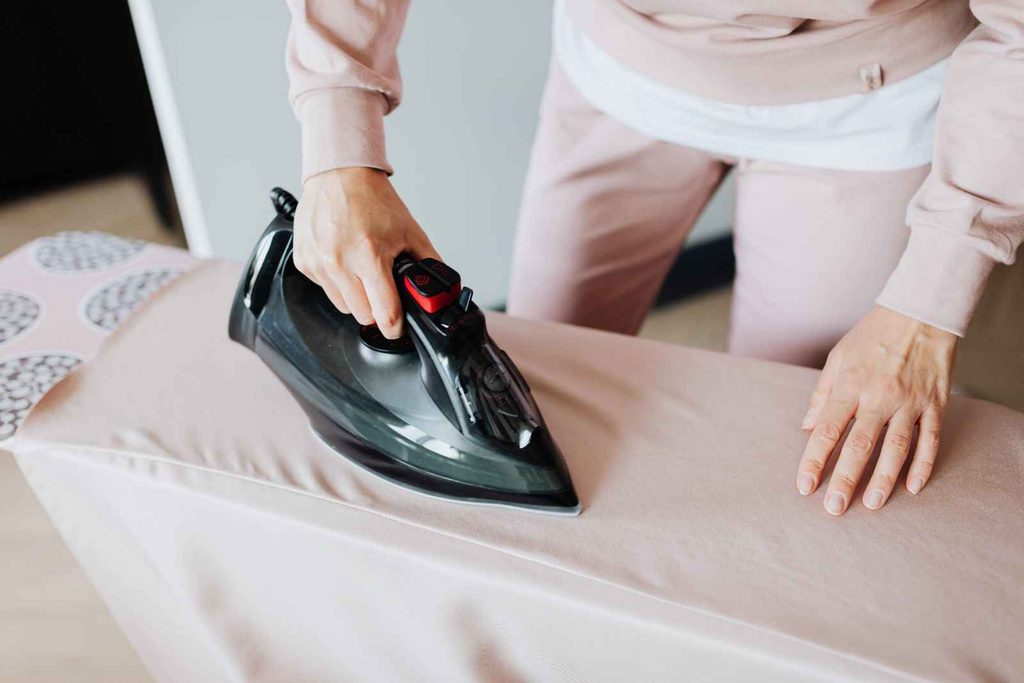
Pressing uses heat, moisture when appropriate, pressure, and lifting rather than aggressive back-and-forth movement. I press seams during construction before another seam crosses them, because the fabric is easier to shape while each area is still accessible.
I test the iron temperature on a scrap, use a pressing cloth for fabrics that can mark or shine, and follow the pattern direction for pressing seam allowances, darts, pleats, and hems. Pressing is one of the fastest ways to make beginner construction look cleaner without sewing another stitch.
What Should You Sew After Practicing These 15 Techniques?
Your first project should reinforce several techniques without introducing too many new variables. I prefer stable woven cotton or a similar beginner-friendly fabric because it stays in shape while you cut, pin, stitch, and press.
- Simple tote bag. Good for straight seams, seam allowances, raw-edge finishing, hems, and topstitching.
- Envelope pillow cover. Practices measuring, straight stitching, corners, hems, and pressing without a zipper.
- Drawstring bag. Adds a casing and simple channel construction to straight-seam practice.
- Basic apron. Combines hems, straps, topstitching, pockets, corners, and pressing in a forgiving project.
- Simple zip pouch. Adds basting, zipper-foot control, corners, and edge finishing once straight seams feel comfortable.
A beginner apron is a good next step, and my how to sew an apron guide walks through the project from cutting to finishing.
Common Beginner Sewing Mistakes to Avoid
Most beginner problems are not signs that you are bad at sewing. They come from rushing setup, changing too many variables at once, or trying to control the fabric more than the machine needs. These are the mistakes I correct first when a seam starts going wrong.
- Threading with the presser foot down. On many machines this can prevent the upper thread from seating correctly in the tension system.
- Changing tension before rethreading. Rethread, check the bobbin and needle, and clean visible lint before assuming the tension dial is the cause.
- Pulling or pushing the fabric. Let the feed dogs move the fabric and guide gently instead.
- Using a dull, bent, or wrong needle. Needle condition and type can cause skipped stitches, shredding, puckering, or fabric damage.
- Sewing too fast at corners and bulky seams. Reduce speed and give the needle and feed system time to handle the change in direction or thickness.
- Sewing over pins. Remove pins before they reach the needle to reduce breakage and deflection risk.
- Skipping test samples. A scrap tells you whether the thread, needle, stitch and tension work before the real project is at risk.
- Ignoring pressing. Seams that are technically correct can still look bulky or uneven when they are never pressed into shape.
- Using one seam allowance for everything. Follow the pattern or project instructions rather than assuming one default measurement.
- Buying features instead of learning core control. A better machine can help, but it cannot replace threading, guiding, needle choice, pressing, and careful setup.
When something goes wrong, I change one thing at a time and sew another short sample. That makes troubleshooting faster because I can see which adjustment actually solved the problem.
Final Thoughts: Master the Basics Before You Chase Speed
The fastest way to become comfortable at a sewing machine is not to sew as quickly as possible. It is to repeat small, accurate skills until threading, guiding, seam allowances, corners, hems, fasteners, and pressing start to feel predictable.
I would choose one simple project, practice the techniques it needs on scraps, then make the project without expecting perfection. Every finished piece gives you a reason to repeat the same core skills, and that repetition is what turns beginner sewing into confident sewing. For safety, always follow the manual for your exact machine, switch it off when changing needles or working close to the needle area, and keep fingers clear of moving parts.
Frequently Asked Questions
What is the easiest sewing technique for a beginner?
Start with a straight stitch on stable woven scrap fabric. It teaches speed control, guiding, seam accuracy, and how the feed dogs move fabric before you add curves or fasteners.
What sewing techniques should I learn first?
Learn correct threading and bobbin setup, straight stitch, zigzag stitch, backstitching, seam allowance, basting, and safe pinning first. Those skills support almost every later project.
What should I sew first as a beginner?
Choose a small project with mostly straight seams and stable fabric, such as a tote bag, envelope pillow cover, drawstring bag, or simple apron.
How do I know which sewing machine needle to use?
Match the needle type and size to the fabric, thread, and machine. Check the needle package and your machine manual, then test the combination on scrap fabric.
Why does my sewing machine thread keep tangling underneath?
A common cause is incorrect upper threading, especially a missed guide or thread not seated in the tension path. Raise the presser foot, rethread completely, check the bobbin and needle, then test again before changing tension.
How can I sew a straight line more accurately?
Use the needle-plate seam guide, watch the fabric edge rather than only the needle, reduce speed, and let the feed dogs move the fabric without pulling it.
Do I need to backstitch every seam?
No. Backstitch seams that need the ends secured, but follow the construction method for darts, gathering rows, quilting, enclosed seams, or other steps where a different securing method is preferred.
Should I sew over pins?
No. Remove pins before they reach the presser foot and needle. A needle can strike a pin, break or deflect, and potentially damage the machine or fabric.
What is the difference between basting and regular stitching?
Basting is temporary stitching used for alignment, fitting, or preparation and usually uses a longer stitch that is easy to remove. Permanent construction uses the stitch length and securing method required by the project.
How do I stop fabric from fraying?
Use a finish suited to the fabric, such as zigzag stitching, pinking on appropriate fabrics, binding, a folded finish, or a serger. Test the finish on scrap first.
Why does my hem look wavy?
The fabric may have been stretched during sewing, the stitch or needle may be unsuitable, or the hem may not have been pressed and stabilized enough before stitching. Test changes on scrap before resewing the finished hem.
How often should I press while sewing?
Press important seams and folds as you complete them, especially before another seam crosses the area. Pressing during construction helps later steps align more accurately.
Is sewing hard to learn?
Sewing is a set of small skills, and most beginners can sew a straight, even seam within a few practice sessions. Fitted garments take longer, but simple projects are very doable.
How long does it take to learn to sew?
It depends on how often you practice. Many beginners can make a simple project, like a tote bag or pillow cover, within a few weeks of regular practice. Confidence with garments and fit comes more slowly.
Can I teach myself to sew?
Yes. A basic machine, a few tools, scrap fabric and step-by-step guides are enough to start, and many people learn this way.
What are the basic sewing stitches?
By hand: the running stitch, backstitch, slip stitch and whipstitch. On a machine: the straight stitch and zigzag, plus reverse to secure seam ends.
What is the simplest sewing technique?
By hand, the running stitch. On a machine, a straight stitch on stable woven fabric.