How to Sew a Blanket: Easy Step-by-Step Guide for Beginners
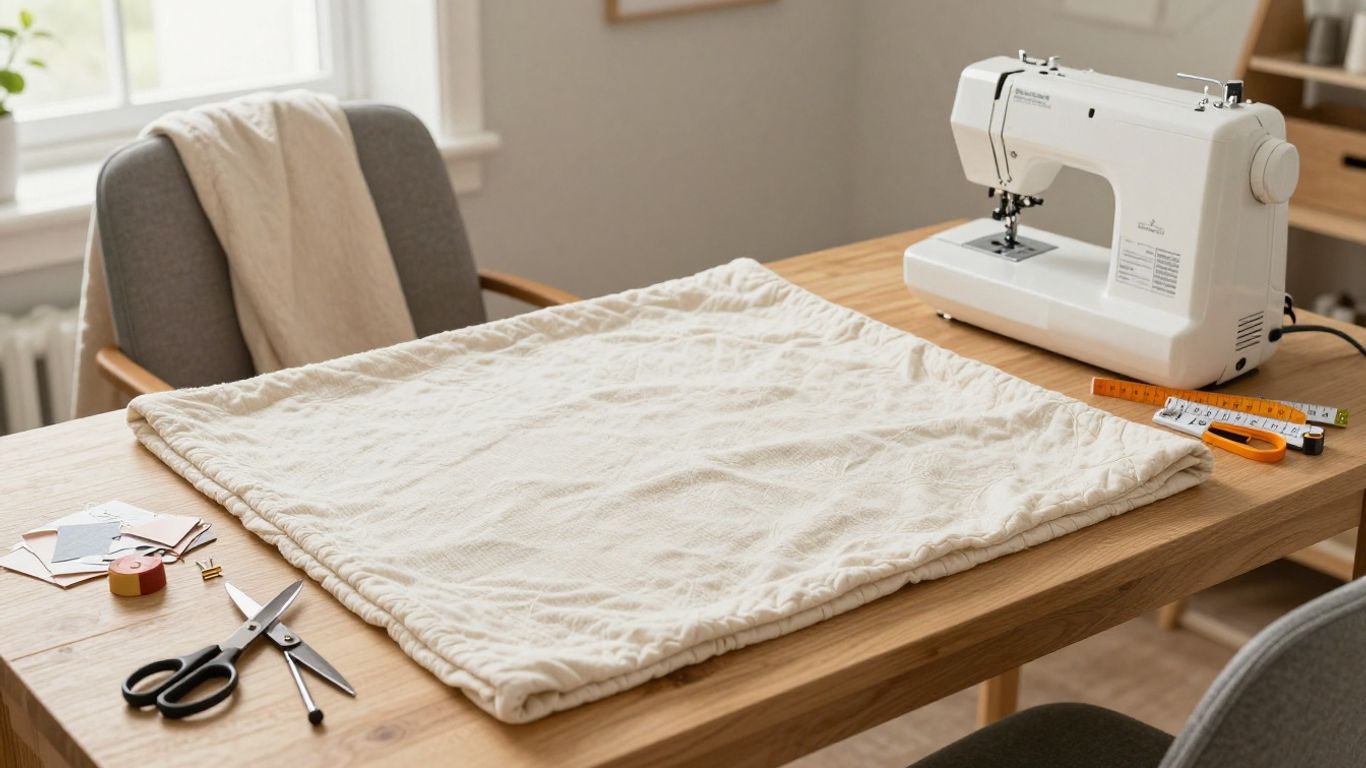
Sewing a blanket is one of my favorite beginner projects because the construction is simple, the result is useful, and I can practice accurate cutting and long straight seams without dealing with complicated fitting. For this tutorial, I use a two-layer turned blanket method: I cut two matching fabric pieces, sew them right sides together, leave an opening, turn the blanket right side out, and topstitch the perimeter.
I can make the same basic project in fleece, cotton, flannel, minky, or compatible mixed fabrics, but I adjust the needle, stitch length, pressing, and care method to match the material.
Quick Answer: How Do You Sew a Simple Blanket?
To sew a simple blanket, you have to cut two same-size fabric rectangles, place them right sides together, pin or clip the perimeter, and sew around the edge with a consistent seam allowance while leaving a turning opening. I trim the corner bulk, turn the blanket right side out, press or finger-shape the edges as the fabric allows, close the opening, and topstitch around the perimeter. For a beginner two-layer blanket, I usually start with a 1/2-inch seam allowance and test my stitch on scraps before sewing the full edge.
Key Takeaways
- Choose fabric according to warmth, weight, texture, and washing needs.
- Prewash and square the fabric before cutting.
- Pin or clip the layers so they cannot shift while sewing.
- Sew slowly, checking the edges and corners as I go.
- Wash the finished blanket gently and follow the fabric care instructions.
Why Sew Your Own Blankets?
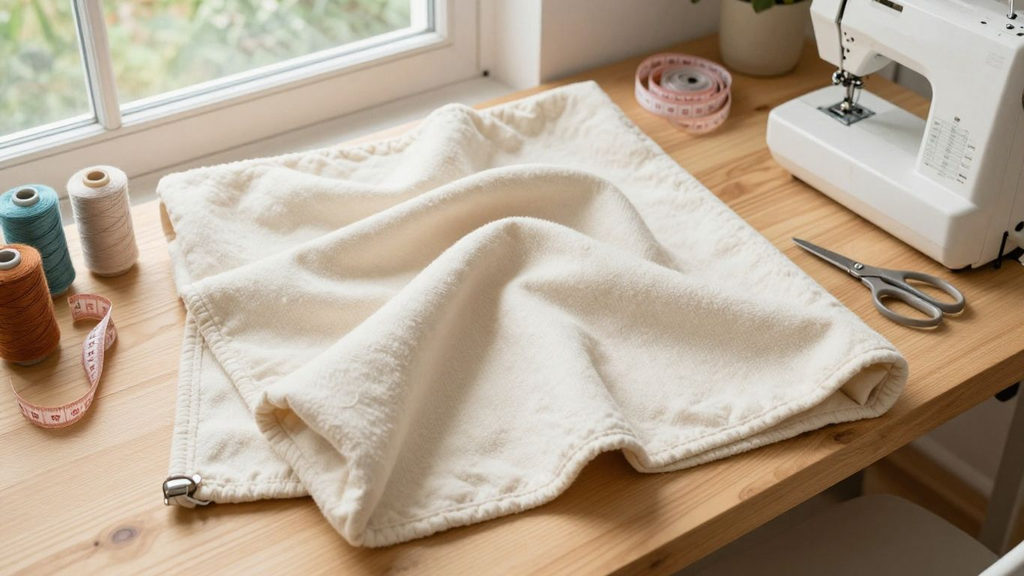
When I sew a blanket myself, I control the size, fabric combination, warmth, weight, color, and finish instead of adapting to whatever is available in a store. That is especially useful for lap throws, baby gifts, stroller blankets, reading blankets, pet blankets, and custom sofa throws.
I also like this project for beginners because the construction teaches several core skills in one place: measuring, squaring fabric, cutting long lines, handling large pieces at the machine, pivoting corners, turning, topstitching, and correcting small tension or feeding problems. None of those skills is complicated on its own, but together they build confidence for future bags, garments, cushions, and quilts.
If this is one of your first sewing projects, my beginner sewing guide explains the machine basics and practice skills I use before starting larger projects.
Choose the Blanket Size Before Buying Fabric
I decide the finished dimensions before I shop because fabric width controls how many seams I need. A 50 x 60-inch throw is easy to cut from many 58-to-60-inch-wide fleece or minky fabrics, while a wider bed blanket may need pieced panels if the fabric is narrower.
Blanket sizes are not universal standards, so I treat the measurements below as practical planning sizes rather than rules. For a turned blanket with a 1/2-inch seam allowance, I add 1 inch to both the finished width and finished length when cutting each fabric layer.
- Baby/stroller blanket. I keep this compact so it is easy to carry, wash, and use under supervision.
- Lap blanket. This size is large enough to cover the legs without creating a lot of bulk at the machine.
- Throw blanket. A 50 x 60-inch range is a practical sofa size and works well with many wide fleece and minky fabrics.
- Bed blanket. I measure the actual mattress and desired drop before buying fabric because bed sizes and personal coverage preferences vary.
| Blanket Type | Common Finished Size | Best Use / Planning Note |
|---|---|---|
| Baby/stroller | About 30 x 36 to 36 x 45 in | Portable blanket, gifting, supervised baby use |
| Lap | About 36 x 48 to 40 x 50 in | Reading chair, wheelchair, travel |
| Throw | About 50 x 60 in | Sofa, guest room, everyday use |
| Twin bed | About 66 x 90 in | Bed coverage; may require piecing depending on fabric width |
| Queen bed | About 90 x 90 in | Bed blanket; usually requires pieced widths |
| King bed | About 108 x 90 in | Large bed blanket; plan seams and weight carefully |
For yardage, I calculate from the actual fabric width and whether the blanket needs one full-width piece or pieced panels. If I am unsure in the fabric store, I use the MariaSew fabric calculator instead of guessing.
Use my fabric yardage and seam allowance calculator.
Best Fabrics for a Beginner Blanket
The best blanket fabric is the one that matches the warmth, wash routine, and sewing difficulty I want. I do not combine fabrics only because they look good together; I also compare stretch, thickness, shrinkage, nap, and heat sensitivity.
When I mix two very different fabrics, I always sew a small layered sample first. A stable cotton top and a stretchy minky back can work beautifully, but it usually needs more clips, a longer stitch, and better support than two layers of quilting cotton.
For quilters who want to experiment with more structured blanket projects, choosing an appropriate machine can also make a difference. My guide to the best quilting sewing machines covers machines suited to quilting-related work.
Fleece – Easiest for a Warm Beginner Blanket
Fleece is warm, soft, forgiving, and usually does not fray like woven cotton, so I can use it for simple two-layer or single-layer blankets. Because many fleece fabrics have some stretch, I avoid pulling the edge while sewing and often lengthen the stitch slightly if a short stitch makes the seam look wavy.
Quilting Cotton – Best for a Crisp, Stable Blanket
Quilting cotton is easy to cut accurately, presses well, and stays stable under the presser foot. Its raw edges fray, so I enclose them inside a turned blanket or use another proper edge finish. I usually prewash it if the finished blanket will be washed regularly, especially when I am mixing it with another shrink-prone fabric.
Flannel – Best for Soft Everyday Warmth
Flannel is soft, warm, and beginner-friendly, but it can shrink and fray more noticeably than some smooth cottons. I generally prewash and dry flannel before cutting, then press it gently and square the fabric after laundering so the finished blanket is less likely to change size unevenly.
Minky / Cuddle Plush – Best for a Soft Luxe Backing
Minky is plush and comfortable, but the pile can shift and the cut edges shed fibers. It does not fray in the same way as woven cotton, yet I usually enclose the raw edge inside the seam or binding. I use generous clips or pins, support the fabric weight, and follow the manufacturer’s care instructions rather than pressing or drying it like cotton.
Double Gauze – Best for a Lightweight Breathable Blanket
Double gauze makes a soft, breathable blanket and becomes more textured after washing. I prewash it before cutting when I want the final crinkled texture to appear early, then use a sharp fine needle and handle the open weave gently so the fabric does not distort.
Linen or Linen Blend – Best for a Light Natural Throw
Linen and linen blends make breathable, textured throws that soften with use, but woven edges fray and the fabric can wrinkle or shrink. I prewash if the blanket will be washable and use a clean enclosed seam or binding rather than leaving raw edges exposed.
Should You Prewash Blanket Fabric?
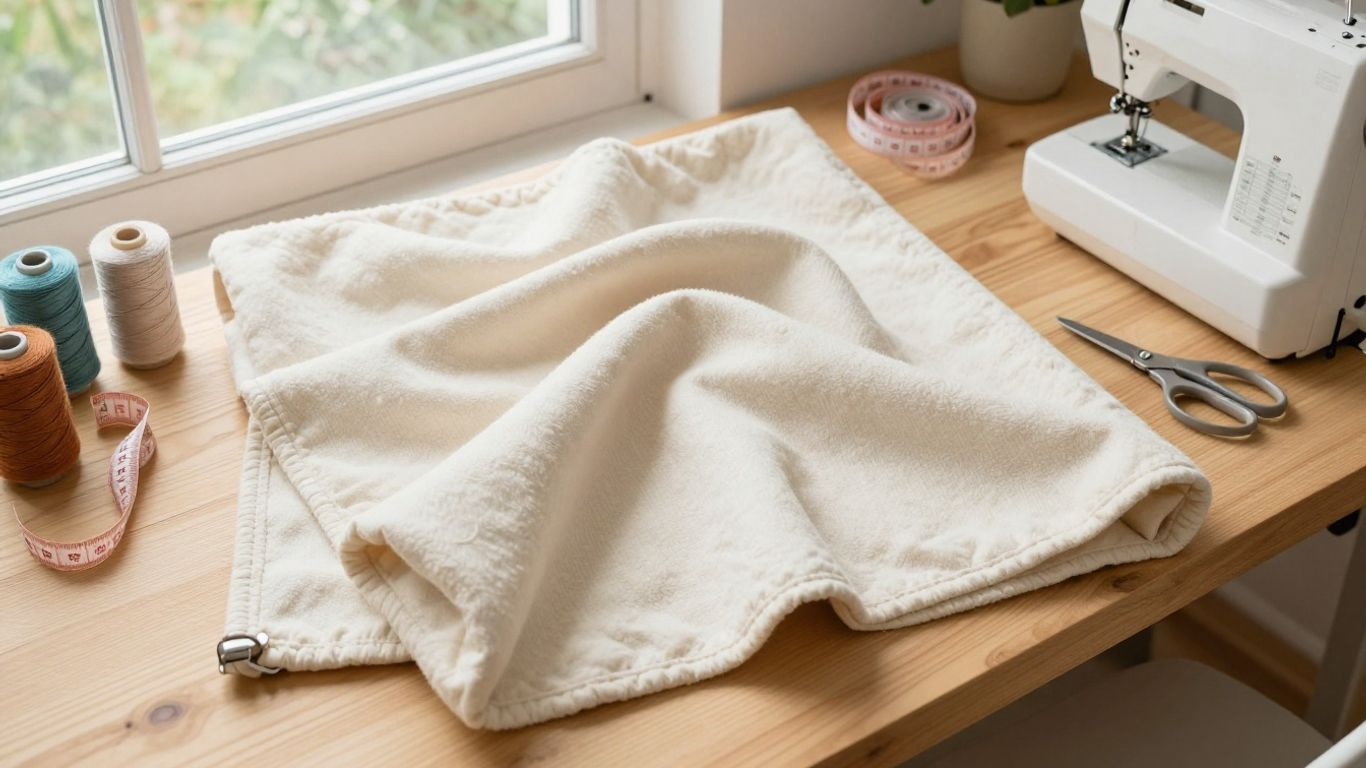
I do not use a blanket rule that says every fabric must be prewashed. I decide based on fiber content, manufacturer instructions, shrinkage risk, and whether I am combining fabrics with different care needs.
- Cotton, flannel, linen, and double gauze. I usually prewash if the finished blanket will be washable because these fabrics can shrink or change texture after laundering.
- Fleece. I follow the care label. Prewashing can remove manufacturing residue, but the bigger issue is avoiding unnecessary heat or agitation that changes the surface.
- Minky / Cuddle plush. I follow the specific manufacturer care instructions. Many polyester minky fabrics are washed cold and dried on low or no heat, and some manufacturers advise against fabric softener or dryer sheets.
- Mixed-material blankets. I use the care method that is safe for the most delicate layer and avoid combining fabrics whose required care routines conflict badly.
This is one of the factual corrections I make most often in blanket tutorials: prewashing is good planning for many woven fabrics, but it is not a universal command. The care label wins.
Thread, Needle, Batting, and Presser-Foot Setup
A blanket usually does not need specialty thread. I use a good-quality all-purpose polyester thread for most mixed-fabric projects because it is strong and versatile, then match the needle to the fabric rather than choosing one needle for every blanket.
Thread Choice
I use all-purpose polyester for most fleece, minky, flannel, and mixed-fabric blankets. Cotton thread also works well for all-cotton projects, especially when I want the thread behavior to match the outer fabrics. I avoid very heavy decorative thread unless the needle, machine, and seam design are intended for it.
Needle Choice
For stable woven cotton or flannel, I usually start with a fresh universal 80/12 or 90/14 needle and adjust after a scrap test. For knit-like fleece or plush fabrics, a stretch or ballpoint-style needle may feed better depending on the fabric; Shannon Fabrics, for example, recommends a 90/14 stretch needle for many Cuddle minky projects.
Batting
Batting is optional for a two-layer blanket. If I add it, I choose a washable batting compatible with the outer fabrics and follow its quilting-distance instructions so the batting cannot migrate or bunch. For a first blanket, a thin or moderate loft is much easier to turn and topstitch than a very bulky layer.
Walking Foot or Even-Feed Foot
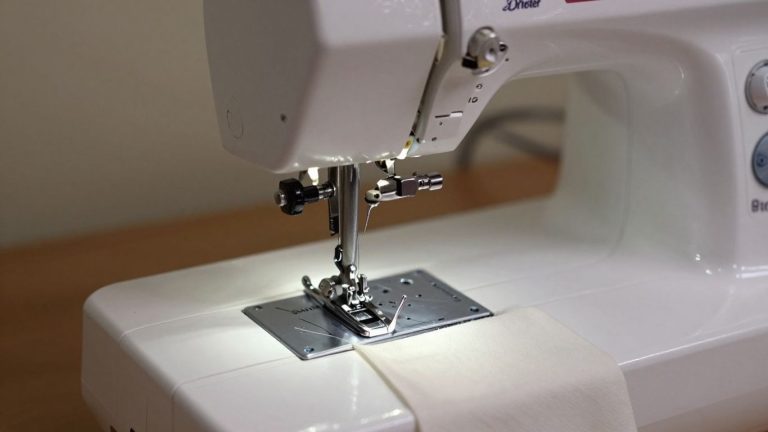
A standard presser foot is enough for many two-layer blankets, but I reach for a walking or even-feed foot when the layers creep, stretch, or shift. It is especially useful with minky backs, fleece, quilt sandwiches, and long topstitched edges.
Essential Supplies to Use
I keep the tool list simple because a basic blanket does not need a specialist sewing room. Clean cutting and controlled fabric handling matter more than owning every accessory.
- Two fabric layers. Cut to the same dimensions after accounting for seam allowance.
- All-purpose thread. Enough for the perimeter, opening closure, topstitching, and scrap tests.
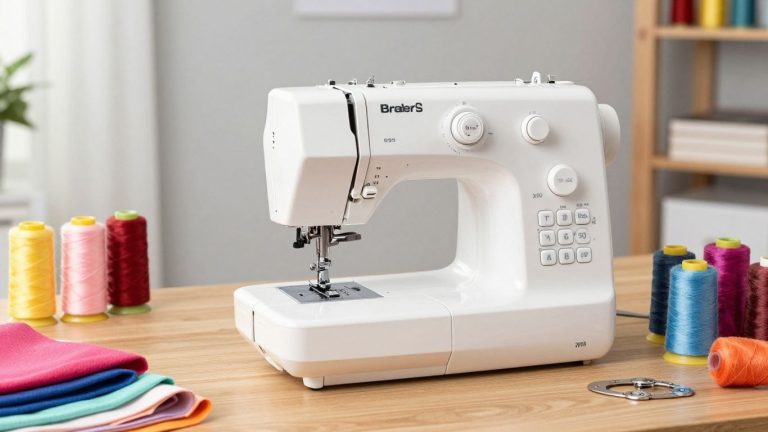
- Sewing machine. A basic straight stitch is enough for this method.
- Fresh machine needle. Matched to the fabric type and weight.
- Fabric scissors or rotary cutter. Use a sharp blade and a safe cutting surface.
- Long ruler and measuring tape. For squaring edges and checking final dimensions.
- Pins or sewing clips. Use enough to control the entire perimeter.
- Iron and pressing surface. For fabrics that can safely be pressed; plush synthetic fabrics may need finger-pressing instead.
- Blunt turning tool. Useful for shaping corners without puncturing them.
- Seam ripper and spare bobbin. Small backups that save time when something goes wrong.
I also keep a lint brush nearby when I sew fleece or minky because cut fibers can build up around the bobbin area faster than ordinary quilting cotton.
Sewing Machine Settings for a Simple Blanket
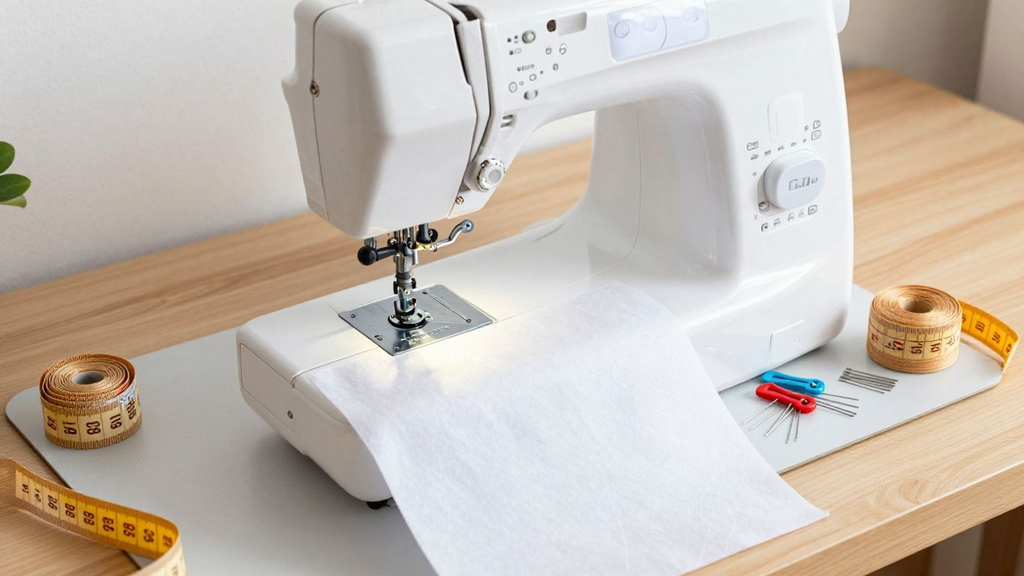
I never copy a machine setting from a tutorial without testing it on the actual fabric. Two layers of flannel behave differently from cotton plus minky, and a short stitch that looks neat on cotton can make bulky fleece feed poorly.
- Straight stitch. This is my default construction stitch for the perimeter and most topstitching.
- Stitch length. I usually start around 2.5 to 3.0 mm on stable woven fabric and move toward roughly 3.0 to 3.5 mm on bulky fleece or plush layers if the scrap test feeds better.
- Seam allowance. For this beginner turned blanket, I use 1/2 inch because it gives me enough room to trim corners and control the layers.
- Tension. I start at the machine manual’s normal setting and only adjust after rethreading, checking the needle, and testing the real layers.
- Speed. I sew at a moderate pace and slow down before corners rather than dragging the blanket around the needle.
- Needle position. A centered needle works for the main seam; I use edge guides or needle position only when I need a consistent topstitch distance.
If the bobbin thread shows on top, loops form underneath, or the fabric puckers, I troubleshoot threading and needle setup before touching the bobbin tension. My sewing machine tension guide shows the order I use.
Prepare the Fabric Before Cutting
I prepare the fabric according to its care needs, then work on the largest flat surface I have. For washable woven fabrics, that often means prewashing, drying, and pressing before I square the edges. For minky or fleece, I focus more on nap direction, stretch, and care-label restrictions.
- Check the grain and nap. Directional prints, minky pile, and brushed fabrics should run the way I want before I cut both layers.
- Square a reliable edge. I do not assume the fabric-store cut is perfectly straight.
- Remove or account for selvages. I keep stiff or puckering selvage edges out of the finished blanket unless the project specifically uses them.
- Smooth without stretching. I let the fabric lie naturally on the table instead of pulling it square.
- Mark the turning opening. I plan the opening on a straight edge rather than near a corner because it is easier to close neatly later.
If one layer is stretchier than the other, I cut them accurately, layer them on a large surface, then trim tiny mismatches after the layers are clipped rather than stretching one piece to force the edges together.
How to Sew a Blanket Step by Step
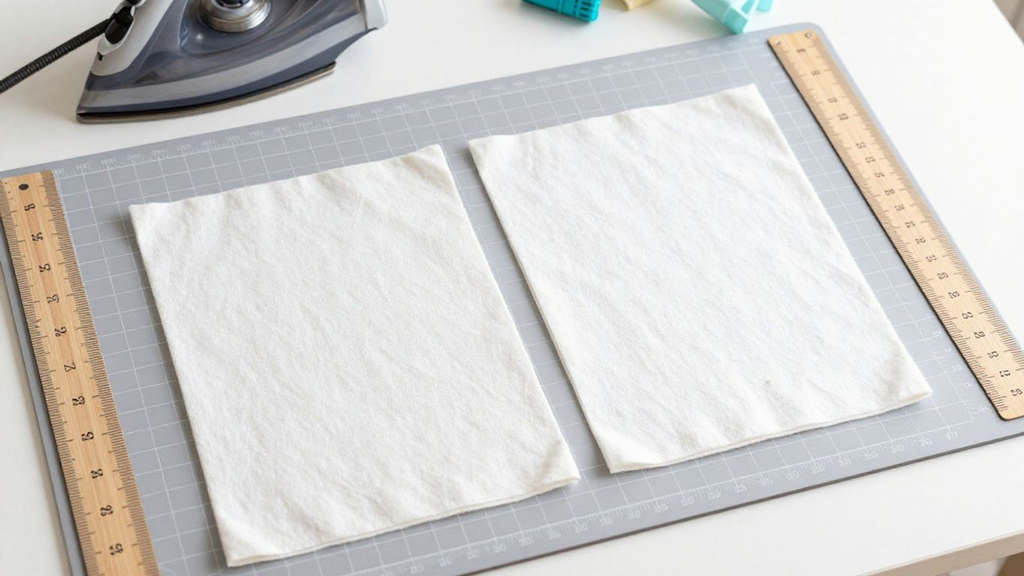
Once the fabric is prepared and my scrap test looks clean, I sew the blanket in the sequence below. This version assumes two fabric layers with no batting. I explain the batting adjustment afterward.
Step 1: Calculate and Cut Both Blanket Layers
I choose my finished size, then add the seam allowance to the cut size. With a 1/2-inch seam on all four sides, I add 1 inch to the finished width and 1 inch to the finished length. I cut the top and backing to the same dimensions and keep directional prints or nap running consistently.
Step 2: Place the Fabrics Right Sides Together
I place the right sides facing each other and smooth the layers from the center outward. If one fabric has a pile, I make sure it is not twisted or folded into the seam. I match the corners without stretching either layer.
Step 3: Pin or Clip the Perimeter
I pin or clip all four sides generously, placing extra clips near corners and anywhere the fabrics want to shift. On a long throw blanket, I do not rely on four corner pins; the middle of the edge can move several millimeters before I notice.
Step 4: Mark a Turning Opening
I leave an opening on one straight side so I can turn the blanket right side out. Around 6 to 10 inches works for many baby, lap, or throw blankets, but thicker fleece, minky, or batting needs a larger opening. I mark both ends so I do not accidentally sew it closed.
Step 5: Sew Around the Perimeter
I use a straight stitch and a consistent 1/2-inch seam allowance, backstitching at the start and end of the opening. I support the blanket on the table so its weight does not pull the seam. At each corner, I slow down, stop with the needle in the fabric, lift the presser foot, pivot, and continue.
If you are still getting comfortable with machine threading and setup, it can help to review how to thread a sewing machine before beginning a large project like this.
Step 6: Reduce Corner Bulk
I trim the corner seam allowance diagonally, leaving a small safety margin outside the stitching. On very bulky fabric, I also grade the seam allowance slightly so the layers do not stack into one lump. I never cut through the corner stitches.
Step 7: Turn the Blanket Right Side Out
I pull the blanket through the opening slowly instead of forcing a large wad through at once. I shape the corners with a blunt turning tool or my fingers, then smooth the seam line all the way around.
Step 8: Press or Shape the Edges
For press-safe cotton or flannel, I press the perimeter so the seam rolls cleanly to the edge. For fleece or minky, I use the care label as my guide and often finger-press or use minimal safe heat rather than flattening the pile.
Step 9: Close the Turning Opening
I fold the raw edges at the opening inward so they match the sewn seam line, clip them in place, and close them with topstitching or a neat hand ladder stitch. If I plan to topstitch the entire perimeter, I usually let that topstitching close the opening at the same time.
For another basic finishing skill, you can also review how to sew a hem.
Step 10: Topstitch the Perimeter
I topstitch roughly 1/8 to 1/4 inch from the edge, keeping the distance consistent. Topstitching gives the blanket a finished outline, helps the seam stay rolled outward, reinforces the opening, and reduces layer shifting during washing.
Step 11: Inspect Both Sides
I check the entire edge for skipped stitches, open gaps, puckering, loose thread, or a corner that has not fully turned. I repair anything I find before the first wash, because small openings grow once the blanket is used and laundered.
How to Add Batting for a Warmer Blanket
If I want more warmth or loft, I can add batting, but I do not simply hide a loose sheet of batting inside the blanket and hope it stays flat. Batting needs to be secured according to its own quilting-distance instructions.
For a turned blanket, I place the batting with the outer layers in the correct construction order, baste or secure the layers, sew the perimeter, turn the blanket, then quilt or tack through all layers as needed. On a first project, I keep the batting thin because bulky batting makes corners harder to turn and can overwhelm a small domestic machine.
- Read the batting package. It tells me how far apart quilting lines or ties can be without allowing the batting to shift.
- Test total thickness. I sew a sample sandwich before cutting the full blanket.
- Use a walking foot if layers creep. Even feed is helpful when the top, batting, and backing move at different rates.
- Support the blanket weight. I keep the bulk on the table instead of letting it hang from the needle area.
- Plan quilting before the final edge finish. It is easier to keep the design balanced when I decide the securing lines in advance.
If the goal is simply a soft beginner throw, I would still start without batting. Fleece plus flannel or cotton plus minky can already feel warm enough for many uses.
If quilting becomes a regular part of the project, a best quilting sewing machine can provide features that make handling larger layered projects easier.
How to Get a Professional-Looking Finish
A polished blanket usually comes from consistency rather than decoration. I pay attention to the edge from the first cut through the final topstitch instead of trying to hide uneven construction with a decorative stitch at the end.
- Keep the seam allowance consistent. I use the needle plate, seam guide, or removable guide rather than watching the needle itself for the whole perimeter.
- Shorten the stitch only where appropriate. Very short stitches can perforate or pucker some fabrics; I use a normal-to-slightly-long stitch for most blanket seams.
- Support long edges. A table or chair beside the machine keeps blanket weight from pulling the seam off line.
- Match topstitching thread thoughtfully. Matching thread hides small variations; contrasting thread turns every wobble into a design feature.
- Stop and fix a feed problem early. If one layer begins creeping ahead, I do not keep sewing and hope it will disappear at the next corner.
- Press only when the fabric allows it. Cotton and flannel benefit from pressing; minky and some synthetics can be damaged or flattened by excess heat.
The last thing I do is lay the finished blanket flat and look at it from a few feet away. That makes uneven corners, wavy edges, and missed gaps easier to spot than staring at the seam from six inches away.
For larger projects, having a suitable workspace can also make fabric handling easier. A dedicated sewing machine table can provide more surface support around the machine.
Blanket Sewing Problems and How to Fix Them
Blankets are forgiving, but their size can magnify small machine or fabric problems. I troubleshoot the cause before changing several settings at once.
The Layers Keep Shifting
I add more clips or pins, support the fabric weight, reduce speed, and use a walking foot if necessary. I do not stretch one layer to make it fit the other.
The Seam Looks Wavy
I check whether I am pulling the fabric, whether the presser-foot pressure is too high for stretchy fabric, and whether the stitch is too short. A slightly longer stitch can help bulky fleece or plush layers feed more naturally.
The Fabric Puckers
I rethread the machine, check the needle, test a longer stitch, and inspect the tension. Lightweight fabric may also need gentler handling or stabilization.
Getting Skipped Stitches
I replace the needle first and make sure the needle type suits the fabric. I rethread the machine before changing tension because skipped stitches are often a needle or threading problem.
The Corners Are Bulky
I trim diagonally outside the stitches, grade bulky seam allowances if needed, and use a blunt tool to shape the corner after turning.
The Opening Is Obvious
I fold the raw edges inward to match the stitched seam line, clip them flat, then topstitch the entire edge so the closure becomes part of the perimeter finish.
Batting Bunches Inside
I stop using the blanket until the batting is secured. I add quilting lines or ties within the batting manufacturer’s maximum spacing so the interior cannot migrate.
When the stitch itself looks wrong, I return to the same order every time: rethread, check bobbin placement, replace the needle, clean lint, test the actual layers, then adjust upper tension only if the sample still needs it.
Common Blanket Sewing Mistakes to Avoid
The most common blanket mistakes happen before the long seam is finished. I prevent them by slowing down during preparation instead of trying to rescue the shape after the blanket is turned.
- Prewashing every fabric the same way. Cotton and flannel often benefit from prewashing, while minky and fleece should follow their own care instructions. One universal wash routine can damage or distort a fabric.
- Cutting to the finished size. A turned blanket loses the seam allowance at every edge, so I add allowance before cutting.
- Ignoring nap or print direction. A directional print or minky pile can look upside down after the blanket is turned if I do not plan both layers together.
- Using too few pins or clips. Long edges shift more than short practice seams, especially with plush or stretchy fabric.
- Pulling the blanket while sewing. The feed dogs should move the fabric; pulling can stretch the seam and cause waves.
- Making the turning opening too small. Bulky fleece, minky, or batting needs more room to turn without stressing the seam.
- Cutting too close to the corner stitches. Trimming reduces bulk, but nicking the seam creates a weak corner that can open after washing.
- Ironing plush synthetic fabric like cotton. High heat can flatten, melt, or distort some polyester pile fabrics. I follow the care label and use finger-pressing when needed.
- Skipping the scrap test. A 30-second sample can reveal tension, skipped stitches, feeding trouble, or the wrong needle before I sew the entire perimeter.
- Leaving batting unsecured. If I add batting, I quilt or tack it according to the batting instructions instead of leaving it loose inside the blanket.
A blanket can survive a slightly imperfect topstitch line. It is much less forgiving of stretched layers, a weak corner seam, damaged fabric from heat, or batting that has never been secured.
How to Wash and Care for a Handmade Blanket
I write the care plan before I sew because the most delicate fabric controls the finished blanket. If the front can tolerate warm drying but the minky back requires low or no heat, I use the gentler option for the whole blanket.
- Cotton and flannel blankets. I follow the fabric care label and expect some natural wrinkling or shrinkage, especially if the fabric was not prewashed.
- Fleece blankets. I generally use cool or warm washing and lower heat as directed by the fabric label, avoiding excessive heat that can change synthetic fibers.
- Minky / Cuddle blankets. I use the manufacturer’s directions. Shannon Fabrics commonly specifies cold washing and low or no-heat drying for its Cuddle polyester fabrics, with no fabric softener on many products.
- Mixed-fabric blankets. I choose the gentlest method shared by every layer and avoid bleach, high heat, or additives that one fabric specifically prohibits.
- Storage. I store the blanket clean and dry, folded loosely rather than compressed while damp.
I also repair an opening or loose corner before washing again. Machine agitation can turn a small gap into a much larger seam failure.
For other fabric-care projects, MariaSew also covers how to wash a wool blanket and how to get mold out of clothes.
Final Verdict: Sewing a Blanket Is a Great Beginner Project
I recommend a simple two-layer blanket as an early sewing project because it teaches useful habits without adding complicated pattern pieces. If I choose compatible fabrics, cut accurately, test the machine on scraps, secure the layers well, and sew a consistent perimeter, the project is very manageable on an ordinary home sewing machine.
The part I would never rush is fabric preparation. Cotton, flannel, fleece, and minky do not all behave or wash the same way, and the best blanket is one that still looks and feels good after repeated use. Once those material choices are right, the actual sewing is mostly steady straight stitching, careful corners, and a clean topstitched finish.
Frequently Asked Questions
What is the easiest blanket fabric for a beginner?
Fleece is often a comfortable starting point because it is soft, warm, and generally does not fray at the cut edges. Cotton or flannel can also be beginner-friendly if I am prepared to finish their edges.
Do I need batting to sew a blanket?
No. A basic blanket can use two fabric layers without batting. I add batting when I want extra warmth or loft, keeping in mind that thicker layers can be harder to sew evenly.
Should I wash fabric before sewing a blanket?
Yes, I usually prewash and dry it in a way that matches the finished blanket’s expected care. This helps account for shrinkage before cutting and sewing.
How much seam allowance should I use?
The pattern or project plan should specify the allowance. For a simple blanket, I choose a consistent allowance that leaves enough fabric for a secure seam, then test it on scraps before sewing the full perimeter.
How do I keep blanket layers from shifting?
I smooth the layers on a large surface and use clips or pins generously around the edges. For blankets with batting, temporary basting or quilting lines can help keep the interior stable.
Why are my blanket corners bulky?
Excess fabric gathers at corners when the seam allowance is not trimmed, or the corner is not turned carefully. I clip the corner fabric without cutting the stitches, then push the point out gently after turning.
Can I sew a blanket without a sewing machine?
Yes, I can sew one by hand with a backstitch or another secure stitch, though the work will take longer. I keep the stitches small and even and reinforce the beginning and end of each seam.