
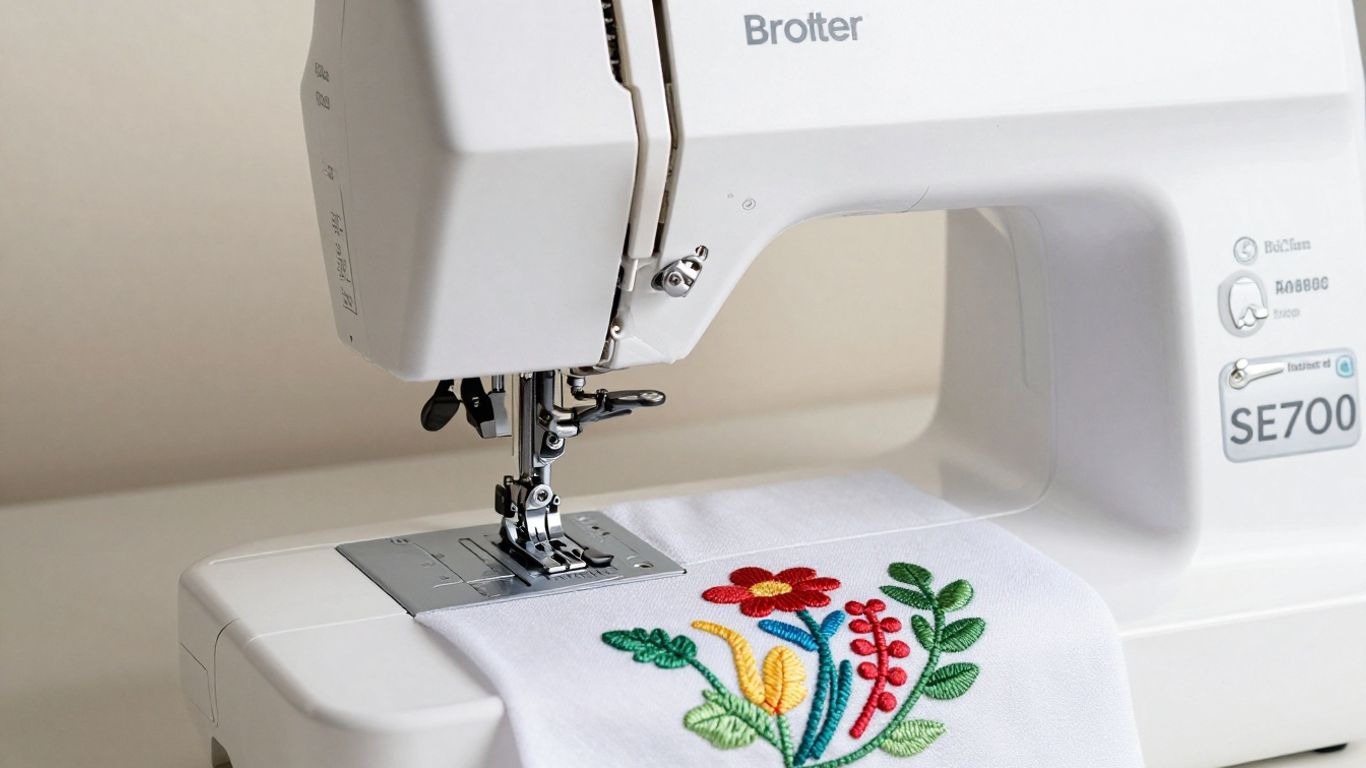
Brother SE700 Review: Sewing & Embroidery Machine Features Explained
If you’re just getting started with sewing, I always suggest learning the basics first, like understanding sewing machine parts and mastering how to thread a sewing machine. Once that foundation is clear, stepping into a combo model like the Brother SE700 feels far less overwhelming.
I’ve been looking into the Brother SE700 lately, and it’s definitely one of those machines that blends sewing and embroidery in a practical way. If you’re still figuring out how to learn sewing, this kind of all-in-one option can actually make experimentation easier without buying two separate machines.
Brother SE700: the easiest way to start sewing and embroidery in one machine
If you want to add monograms, names, and small designs to clothes, towels, and gifts, and still have a capable sewing machine, the SE700 is a great first combo machine. The touchscreen makes embroidery approachable. Its one real limit is the 4″ × 4″ hoop, so skip it if you want large designs.
Great for
- Beginners trying machine embroidery
- Monograms, names, patches, and small gifts
- Everyday sewing with 103 stitches
- Sending your own designs over Wi-Fi
Skip it if
- You want embroidery bigger than 4″ × 4″
- You mostly sew heavy denim or canvas
- You only want embroidery (a PE-series machine may suit you)
- You need a large throat space for quilting
Score is a MariaSew editorial rating, not an Amazon customer rating. As an Amazon Associate, MariaSew earns from qualifying purchases at no extra cost to you.
Key Takeaways
- The Brother SE700 is a combo sewing and embroidery machine designed for home crafters, offering a good balance for beginners and those with some experience.
- It features 80 built-in sewing stitches and 135 embroidery designs, with a 4×4-inch embroidery field suitable for smaller projects like monograms and patches.
- User-friendliness is a focus, with a 3.2-inch color touchscreen display, automatic needle threading, and built-in tutorials to guide users.
- Connectivity options include a USB port for importing designs and Wi-Fi for wireless transfer via Brother’s Artspira app, expanding design possibilities beyond the built-in options.
- While stable and robust, the 4×4 embroidery field can be a limitation for larger designs, and users looking for high-volume production might eventually need to consider more advanced machines.
Introduction to the Brother SE700
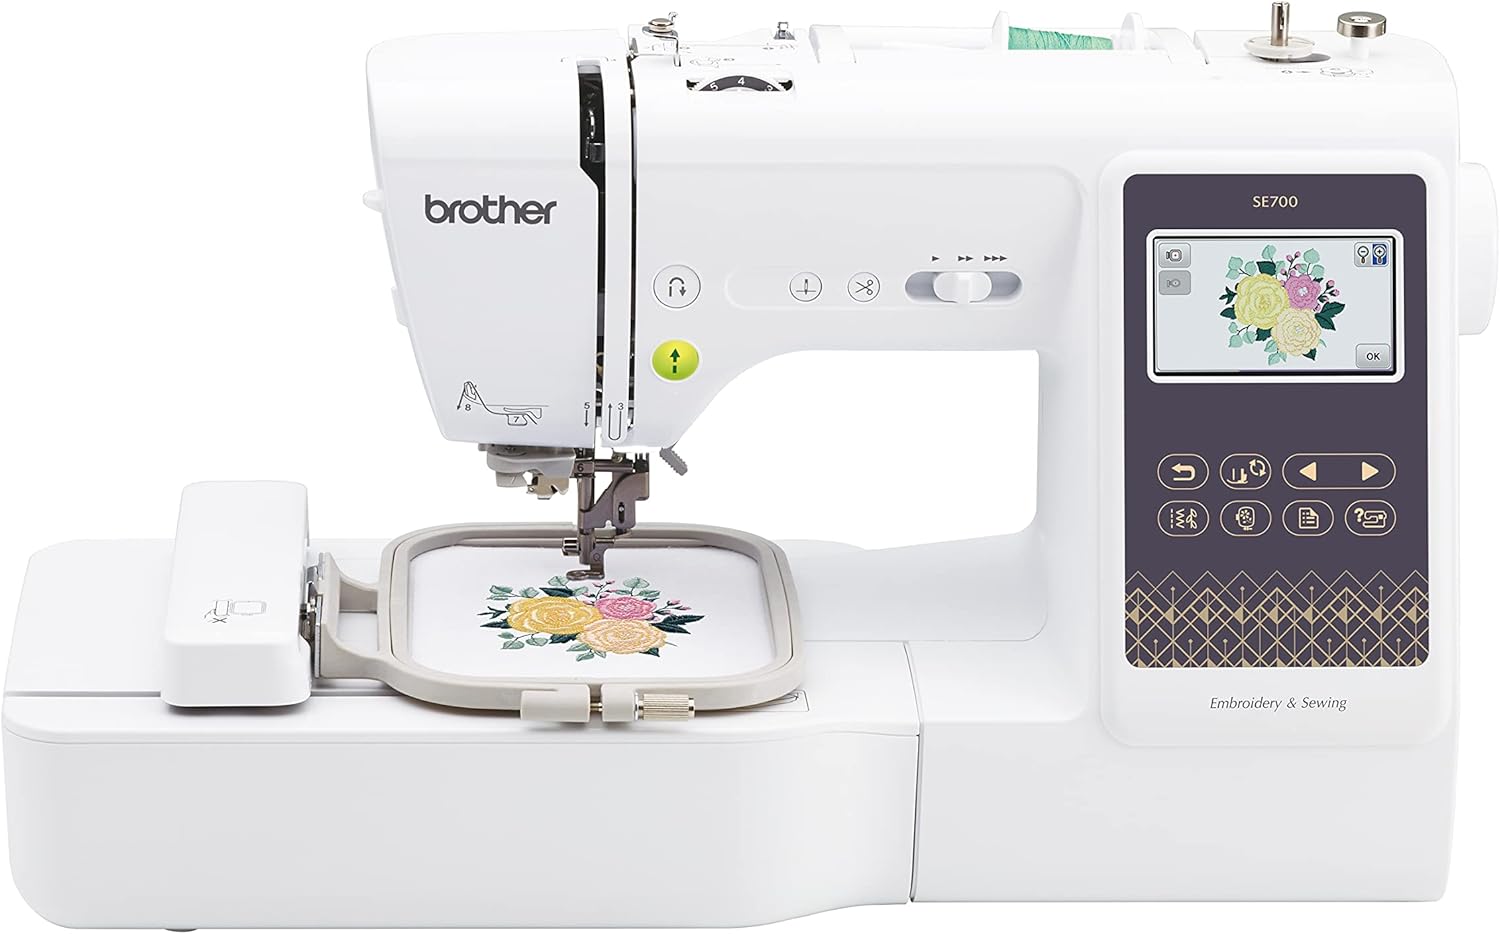
Two machines in one. The SE700 sews with 103 stitches and 10 one-step buttonholes, then switches to embroidery with 135 built-in designs, 10 fonts, and a 4″ × 4″ field. A color touchscreen lets you preview and edit designs, and wireless LAN lets you send your own designs from a computer. The small hoop suits monograms, patches, and kids’ clothes rather than large designs.
Score is a MariaSew editorial rating, not an Amazon customer rating. As an Amazon Associate, MariaSew earns from qualifying purchases at no extra cost to you.
All that to say, I’ve recently had a couple of weeks with the Brother SE700 sewing and embroidery machine. It’s pitched as a machine that truly walks the line between basic sewing and dipping your toe into embroidery, which sounds great in theory. It’s meant to be a do-it-all machine for the home crafter.
At first glance, the SE700 seems quite sturdy. It’s a nice weight to it, which I think is important for stability when you’re doing embroidery, you don’t want the machine shaking all over. It included a good selection of built-in sewing stitches, more than 100 to be precise, and some lovely embroidery designs to help you get stitching straight away. I also like that it has that automatic needle threader, a small thing, but it makes a big difference when threading and re-threading.
For me, one of the most impressive details is Wi-Fi connectivity. This allows you to send designs wirelessly, a neat trick. This means you can design something on your computer or tablet and immediately send it to the machine without having to tinker with USB sticks. It’s part of what makes this machine a step toward more sophisticated projects.
Here’s a quick look at what it offers:
- 135 built-in embroidery designs
- 103 sewing stitches
- 4″ x 4″ embroidery area
- Wireless connectivity for design transfer
- Automatic needle threader
If embroidery is your main interest and you’re comparing machines, you might also want to understand the differences in serger vs sewing machine before deciding what fits your workflow best.
Key Features of the Brother SE700
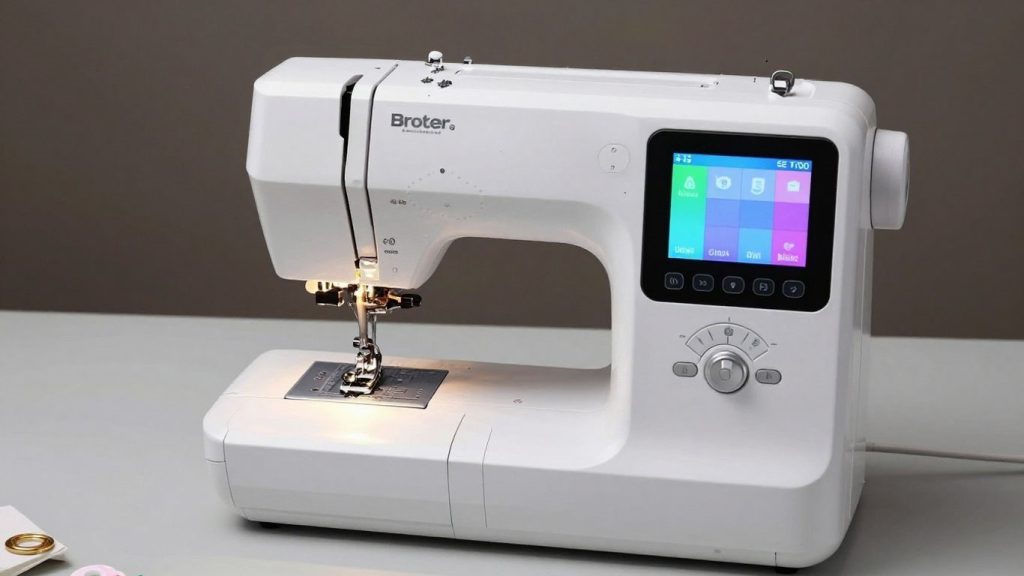
What I first noticed when I studied the Brother SE700 was how much they pack into one machine. It’s a combo unit, so it does both sewing and embroidery, which is great if you don’t have much room. The following is a breakdown of the keys on this machine.
Key Specs
Official Brother specsAmazon price checked October 5, 2026 and can change.
Sewing Capabilities
When it comes to sewing work, the SE700 is quite good. It features 80 built-in sewing stitches for everything from basic utility to decorative. It was a lifesaver for me — forget about squinting and fumbling with the thread!
Plus, its quick-set bobbin system means you can start a project without much fuss. When it’s running, it feels stable, which is all-important for consistent stitch quality. But this machine has some awesome Brother sewing machine features.
Embroidery Features
The SE700 truly shines here for me. It has 138 built-in embroidery designs and 11 embroidery fonts. The embroidery area measures 4×4 inches, a decent size for smaller work like monograms, patches, or embellishing clothes.
The USB port, which allows me to import my own designs, is a huge plus. It’s also Wi-Fi enabled, which means I can send designs wirelessly via the Artspira app. The Brother SE700 has pretty extensive embroidery capabilities for a home machine.
This is where it separates itself from standard machines. If you’re deciding between embroidery-only models and combo units, reading comparisons like surjeteuse vs machine à coudre or remalladora vs máquina de coser can give you more context about machine categories.
User Interface and Display
The SE700 is pretty easy to navigate thanks to its 3.2-inch color touchscreen. It’s bright and responsive, and I like the fact that on-screen tutorials and animations help take you through the various functions.
You can even do some basic edits right on the screen, like sizing or rotating designs, ahead of your stitching. This is less daunting, especially when attempting new Brother sewing machine features.
The touchscreen simplifies design selection and editing. Compared to older mechanical models, this feels modern and intuitive. If you’ve used heavy-duty Singer models like in the Singer HD500 review, you’ll notice the SE700 leans more toward digital customization rather than raw sewing strength.
Connectivity and Software
The SE700 plays nicely with Brother’s ecosystem beyond the USB port and Wi-Fi. An Artspira app is a cute addition to transfer designs wirelessly, which is helpful when I am crafting on a tablet or laptop. That means I never need to use a physical USB stick all the time just to get designs from my computer and into the machine. One of the best features about Brother sewing machine capabilities that I love is this level of connectivity.
Its weight of about 25 lbs helps it feel stable. This is a step up from some simple machines, but it does well for embroidery. Less vibration means your stitches line up better, especially on larger designs where small errors pile up fast.
Here’s a quick look at some of the built-in options:
- Sewing Stitches: 80 built-in
- Embroidery Designs: 138 built-in
- Embroidery Fonts: 11 built-in
- Embroidery Area: 4″ x 4″
- Display: 3.2″ Color Touchscreen
- Connectivity: USB Port, Wi-Fi
Ease of Use for Beginners and Experts
When I opened up the Brother SE700, I was concerned that it would be a little bit more complicated for me, but honestly, pretty simple. For beginners, the machine definitely holds your hand. There is this lovely 3.2-inch color touchscreen that displays instructions, like a little guide to help you out. The automatic needle threader was a lifesaver; no more squinting to see how I could fit the thread through the tiny eye of the needle. And as a convenient bonus, the quick-set bobbin system means you won’t be fumbling around whenever it’s time to wind or replace the bobbin.
For beginners practicing structured projects like aprons or tote bags, this machine reduces friction in setup. If your goal is building confidence before tackling decorative wall pieces like those found in macrame wall hanging patterns, embroidery opens creative expansion beyond traditional stitching.
For anyone who has been sewing or embroidering for a little while now, the SE700 doesn’t feel limiting in any way. Plus, you can easily import your own designs by using the USB port or wirelessly with the SE700 model. This has made it easy to use custom graphics or more complex patterns.
The on-screen touch-up tools are also pretty handy for those minor edits that don’t require a dedicated software solution to address. I’ve noticed that the workflow works quite nicely once you figure it out. It starts with hooping, being sure you pick the right stabilizer to support your fabric, but beyond that, the machine makes getting through all of that stitching possible.
Here’s a quick rundown of what makes it user-friendly:
- Automatic Needle Threader: Seriously, this is a game-changer.
- Color Touchscreen Display: Makes selecting designs and settings much simpler.
- Automatic Thread Cutter: Saves time and gives a clean finish.
- Built-in Tutorials: Great for learning new techniques or refreshing your memory.
Even with all these helpful features, I always recommend doing a test stitch on a scrap piece of fabric before tackling your main project. It’s a small step that can prevent a lot of headaches. The SE700 is a solid choice for anyone looking to explore embroidery without a steep learning curve, and it’s a capable machine for more experienced users, too.
What’s Included in the Box?
When I took the Brother SE700 out of the box, I was actually quite happy with what I saw. It seems like Brother put a ton of effort into making sure you had that strong starting point from the get-go with this one. You also get the machine itself, of course, which has a solid feeling – it weighs around 25 lbs, and honestly, that heft is one of the better things for embroidery stability. Fewer vibrations lead to less stitch registration, which is usually a feature I pay attention to.
It comes with the essentials, including a hoop, presser feet, and accessories. To stay organized, pairing it with one of the options from the best sewing box guide makes storage easier.
Embroidery also requires stabilizers and extra thread. Those are ongoing supplies that many beginners underestimate at first.
Sewing and Embroidery Essentials
I’d found a good variety of items inside to get sewing and embroidery projects started. As with most sewing machines, this one comes with a few presser feet for various sewing tasks, which is standard and always appreciated. Included with the machine is a 4×4-inch hoop for embroidery, which is fine for beginners, but I get that many people will want to upgrade to larger or magnetic hoops later.
You also receive a bobbin case, along with some starter bobbins. Please note that while a starter set of thread may be included, you will need to purchase additional thread and stabilizer to get started.
Here’s a quick rundown of what I found:
- The Brother SE700 machine
- 4×4 inch embroidery hoop
- Assorted sewing presser feet
- Power cord and foot controller
- Needle set
- Bobbin case and a few bobbins
- Seam ripper, cleaning brush, and screwdrivers
- User manual and quick start guide
Beyond the Basics: What You Might Need
While the actual box contains all the basic components, I discovered quickly that there were a few additional things that make an embroidery experience much more seamless. For example, a healthy inventory of stabilizers is critical. Which type you need can depend on your fabric, but it’s a good idea to have tear-away and maybe some sticky options handy.
Plus, a temporary spray adhesive is also a lifesaver when used on smaller or more problematic fabrics. I discovered that a few packets of spare bobbins and a nice set of embroidery needles (with different sizes being useful) help keep the workflow without interruption.
If you’ve ever sewn your own clothes, you realize it’s easy to get excited about all the built-in stitches and designs, but just keep in mind that embroidery has a few more consumables than basic sewing. If you plan for these extras before diving into your first project, you’ll save yourself a lot of frustration and time spent waiting. You can think of it like needing oil and filters for a vehicle – they’re not the car itself, but you won’t be able to operate it without those components.
Who’s the Brother SE700 Suitable for?
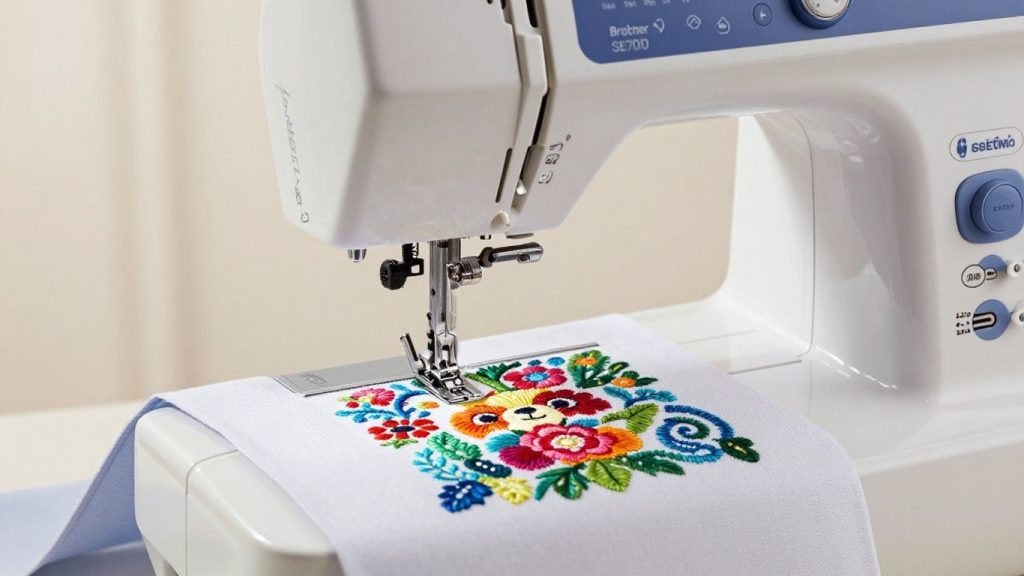
So, who is this Brother SE700 machine actually for? So I’ve been studying it, and I found that it seems to work for a few different kinds of people.
First of all, this is a great machine if you are new to embroidery. It has that awesome touchscreen that guides you through, and the automatic needle threader is a game-changer, trust me, no more squinting and struggling! It helps to demystify the entire process.
It’s ideal for hobbyists who want both sewing and embroidery in one machine. If your projects are home-focused, like decorating small spaces similar to ideas in small apartment ideas, embroidery customization can add a personal touch to pillows, curtains, and fabric decor.
Comparing More Brother Sewing Machines?
If you are still deciding which Brother model is right for your projects, our full guide can help you compare more options. Check out our complete roundup of the best Brother sewing machines before making your final choice.
However, if you’re building a high-volume embroidery business, the 4×4 field may feel restrictive over time.
Here’s a quick rundown:
- Novices: On-screen instructions that are easy to follow and features like automatic threading.
- Hobbyists: Merges sewing with embroidery, good for making custom touches to projects.
- Experimenters: A great way to test whether you like working with embroidery, without the expense.
- Small Space Dwellers: Its all-in-one nature leads to less clutter.
But there are many that would make an embroidery business or need to produce a lot of items quickly enough, you may find the 4×4 embroidery area a bit restrictive. Great for personal projects and smaller designs, but I’d imagine you’d want something with more real estate or niche capabilities later if they were to scale up into professional, high-throughput use.
Comparison with Other Sewing Machines
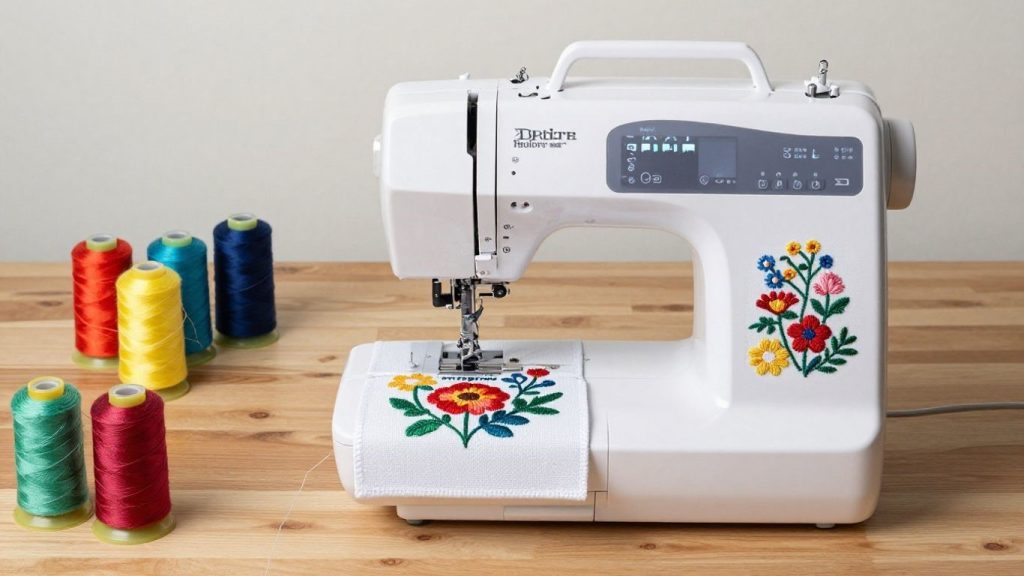
I like to see how each new sewing machine and embroidery machine compares with others in the market. This helps me see if I’m getting the best bang for my buck, especially when I am looking at something like the Brother SE700, which is one of the top sewing and embroidery machines out there to have in your house. I have reviewed different computerized embroidery machine for multiple times and noticed a few differences in models.
If you’re exploring alternatives within Brother’s lineup, comparing this with the Brother SE2000 review gives insight into expanded embroidery features.
Brother SE700 vs Brother SE600
The SE600 is similar to a younger sister version of the SE700. It’s a really nice machine, and I’ve seen it (and other versions of this brand) recommended as a good sewing machine for crafters. They have a reasonable selection of built-in stitches and embroidery designs, and they share a similar user interface that’s well-suited to beginners.
Yet, it is the SE700 that really comes out ahead with its bigger embroidery area and enhanced computerized connectivity. It also comes with a few more built-in embroidery designs and fonts. If you’re serious about embroidery and want a little more room to get creative, the SE700 really is the obvious choice. If your budget is on the tighter side, or if you aren’t planning multiple larger projects, though, the SE600 is still a solid option.
Brother SE700 vs Singer Legacy SE300
This comparison is interesting because both machines are computerized embroidery machines for home sewers. The Singer Legacy SE300 is frequently mentioned in computerized embroidery machine reviews due to its large touch screen and extensive library of stitches and designs. As a home embroidery machine specifically designed for newcomers to the craft, I found the operation of the SE700 to be somewhat simpler.
Although the SE300 has more raw numbers (in stitches), I found that the designs and editing features included with the SE700 were much more useful for everyday projects. The SE700 does have a little bit larger embroidery field, which, to me, is just so awesome. Both are solid home sewing and embroidery machines, but the SE700 seemed just a bit more intuitive to me.
Brother SE700 vs Brother PE800
Now, this is a comparison between two Brother machines, so it shows different strengths. The PE800 is an embroidery-only machine, but it also does basic sewing. Unlike the SE600, the SE700 is a combination machine that can handle sewing and embroidery with an easy-to-read LCD touchscreen display. The PE800 also has a larger embroidery area and a huge library of built-in designs, which is wonderful if you’re very focused on embroidery.
But for those who want one machine to do it all, including embroidery, choose the more versatile SE700. I found the sewing capabilities of SE700 to be much stronger than those of PE800. If you’re a person looking for the best sewing and embroidery machine that does both well, the SE700 is generally the better choice. The PE800 is for the serious embroiderer who may have a separate sewing machine.
Here’s a quick look at how they generally compare:
Brother SE700 vs SE600 vs PE800 vs Singer Legacy SE300
Side-by-side specs from Brother and Singer, checked October 5, 2026.
← Swipe to see all four machines →
| Feature | Brother SE700Our pick | Brother SE600Older 4×4 combo | Brother PE800Embroidery only | Singer Legacy SE300Big-hoop combo |
|---|---|---|---|---|
| Machine type | Sewing + embroidery | Sewing + embroidery Discontinued by Brother | Embroidery only No sewing stitches | Sewing + embroidery |
| Sewing stitches | 103 | 103 | — | 250 |
| Buttonholes | 10 one-step | 10 | — | 13 one-step |
| Built-in designs | 135 | 80 | 138 | 200 |
| Max embroidery area | 4″ × 4″ | 4″ × 4″ | 5″ × 7″ | 10¼″ × 6″ (plus 4″ × 4″ hoop) |
| Screen | 3.7″ color touchscreen | 3.2″ color touchscreen | 3.2″ color touchscreen | LCD touchscreen |
| Design transfer | Wireless LAN | USB | USB | USB stick (included) |
| Max sewing speed | 710 SPM | 710 SPM | — | 800 SPM |
| Weight | 15.1 lb | — | 17.6 lb | 20.5 lb |
| Price | $579Amazon, Oct 5, 2026 | $399.99Brother list price | $779.99Brother list price | $699.99Singer store sale price |
| Buy | 🛒 Buy Now on Amazon | 🛒 Buy Now on Amazon | 🛒 Buy Now on Amazon | 🛒 Buy Now on Amazon |
Specs from Brother and Singer official pages. Amazon prices can differ from list prices and change often, so check the current price before you buy. “—” means not applicable or not listed. As an Amazon Associate, MariaSew earns from qualifying purchases at no extra cost to you.
Choose the Right Machine in 60 Seconds
Want to sew and embroider, and you’re just starting out?
Brother SE700
It has 103 sewing stitches and 135 designs, and you can send designs over Wi-Fi to its touchscreen. The 4″ × 4″ hoop is ideal for monograms, names, and small gifts.
Want bigger designs and only care about embroidery?
Brother PE800
Its 5″ × 7″ field fits jacket backs, pillow fronts, and larger names. It has 138 designs and 11 fonts. It doesn’t sew, so you’ll need a separate sewing machine.
Want the largest hoop and the most stitches in one machine?
Singer Legacy SE300
It has a 10¼″ × 6″ hoop, 250 stitches, 13 buttonholes, and 200 designs. It’s the most capable combo here, but it’s also the heaviest at 20.5 lb and takes longer to learn.
On a tighter budget and happy with fewer designs?
Brother SE600
Discontinued by BrotherIt has the same 103 stitches and 4″ × 4″ hoop as the SE700, but only 80 designs, no Wi-Fi, and a smaller screen. Only buy it if you find it clearly cheaper than the SE700.
Prices are from Brother, Singer, and Amazon on October 5, 2026 and change often. As an Amazon Associate, MariaSew earns from qualifying purchases at no extra cost to you.
How to Thread the Brother SE700 (Step by Step)
Threading the SE700 takes about a minute once you’ve done it a few times. The numbered guide printed on the machine shows the path, and the touchscreen has built-in help if you get stuck. Follow these steps, and keep the manual open the first time:
- Raise the presser foot. This opens the tension discs. If you thread with the foot down, the thread can’t seat between the discs, and you’ll get loops and “bird’s nests” under the fabric.
- Raise the needle to its highest position. Press the Needle Position button (up/down) until the needle is fully up.
- Place the spool on the spool pin and secure it with a spool cap that’s slightly bigger than the spool.
- Follow the numbered thread path: through the top thread guide, down the right channel, around the bottom of the U-turn, and up the left channel.
- Pass the thread through the take-up lever from right to left. This is the step people miss most often. If the take-up lever isn’t threaded, the machine won’t form stitches.
- Bring the thread down behind the needle-bar thread guide just above the needle.
- Use the needle threader. Pull the thread through the threader’s guide, lower the threader lever, and let it push a loop through the needle eye. Pull the loop through toward the back.
- Pull about 4–6 inches of thread under the presser foot toward the back of the machine.
Your First Embroidery Project on the SE700: 8 Easy Steps
Embroidery has a few more steps than regular sewing. Follow this order for your first design, and practice on a scrap of cotton before stitching on a shirt or towel.
- Switch off the machine and attach the embroidery unit. Remove the flat-bed attachment and slide the embroidery unit onto the machine until it clicks. Always attach or remove it with the power off.
- Put on the embroidery foot (included) and insert a new embroidery needle.
- Insert an embroidery bobbin with lightweight bobbin thread.
- Hoop your fabric with stabilizer. Layer stabilizer under the fabric, place both in the 4″ × 4″ hoop, and tighten so the fabric is smooth and drum-tight, but not stretched out of shape.
- Turn on the machine and let the carriage move to its start position. Keep the area around the embroidery arm clear.
- Choose a design from the 135 built-in designs, or type a name with one of the 10 fonts. Use the touchscreen to resize, rotate, or move it within the hoop area.
- Attach the hoop and thread the first color. The screen tells you which color to use for each step.
- Lower the presser foot and press Start/Stop. The machine stops at each color change, so re-thread with the next color and press Start again. You can use the automatic thread cutter button to trim threads neatly.
Which Stabilizer and Needle Should You Use? (SE700 Cheat Sheet)
Choosing the right stabilizer is the single biggest factor in clean, pucker-free embroidery. Use this as a starting point:
| Fabric | Stabilizer | Needle |
|---|---|---|
| T-shirts, knits | Cut-away (stops stretching over time) | Ball point embroidery 75/11 |
| Quilting cotton, shirts | Tear-away (medium) | Embroidery 75/11 |
| Towels, fleece | Tear-away below + water-soluble topper on top | Embroidery 75/11 or 90/14 |
| Denim, canvas totes | Tear-away or cut-away | Embroidery 90/14 or jeans needle |
| Freestanding lace | Heavy water-soluble | Embroidery 75/11 |
| Caps or items that can’t be hooped | Adhesive (sticky) stabilizer, hooped alone | Embroidery 75/11 |
How to Get Your Own Designs onto the SE700
Beyond the 135 built-in designs, you can stitch designs you buy or create yourself. Brother lists two wireless options for the SE700:
| Method | How it works | Best for |
|---|---|---|
| Artspira app (phone/tablet) | Create or pick designs in Brother’s Artspira app and send them to the machine over your Wi-Fi network | Quick names, simple designs, and app-based projects |
| Design Database Transfer (computer) | Brother’s free Windows software sends design files from your computer to the machine wirelessly | Designs you’ve bought or downloaded as files |
Connect the machine first: use the wireless setup wizard on the SE700’s screen to join your home Wi-Fi network before you try to send anything.
10 Common Brother SE700 Mistakes (and How to Avoid Them)
Most frustration with the SE700 comes from a handful of beginner mistakes. Avoid these and the machine is very forgiving:
- 1. Threading with the presser foot downThe thread misses the tension discs and loops under the fabric. Fix: always raise the foot before threading.
- 2. Skipping the take-up leverThe machine won’t form stitches, or the thread jams immediately. Fix: re-thread and watch for the lever at the top of the thread path.
- 3. Using sewing thread in the bobbin for embroideryBobbin thread shows on top and designs feel stiff. Fix: use lightweight embroidery bobbin thread.
- 4. Embroidering without stabilizerFabric puckers and designs distort. Fix: always hoop stabilizer under the fabric (see the cheat sheet above).
- 5. Hooping too looselyThe design shifts and outlines don’t line up. Fix: hoop fabric drum-tight without stretching it.
- 6. Attaching the embroidery unit with the power onThis can cause errors. Fix: switch off before attaching or removing the unit.
- 7. Blocking the embroidery armAnything in the way stops the carriage and can shift your design. Fix: keep at least a few inches of clear space behind and to the side.
- 8. Choosing designs bigger than 4″ × 4″They won’t load or will need splitting. Fix: check the design size before you buy.
- 9. Using an old or wrong needleThis causes skipped stitches and shredded thread. Fix: use embroidery needles and change them every few projects.
- 10. Skipping cleaningLint builds up fast during embroidery. Fix: brush out the bobbin area regularly (see the maintenance tips below).
How to Clean and Maintain the Brother SE700
- Unplug the machine before any cleaning.
- Brush out lint from the bobbin area and feed dogs regularly. Embroidery produces much more lint than sewing, so check it after every few designs.
- Change the needle often: after a few embroidery projects, or whenever stitches start to skip.
- Don’t oil it unless the manual tells you to. Follow the maintenance section of the SE700 manual.
- Store the embroidery unit safely and cover the machine with the included dust cover.
- Check for firmware updates on Brother’s support site from time to time.
Wrapping Up My Thoughts on the Brother SE700
So, after a little time with the Brother SE700, I can honestly say it’s a pretty nice machine. It does genuinely try to do both sewing and embroidery well, which is useful if you have limited space. I found the touchscreen relatively easy to navigate, and having an automatic needle threader is a godsend. I can’t believe that’s not standard across all sewing machines.
It’s not perfect, and sure, there’s some learning curve if you’re new to embroidery. But for a creative type like me, who wants something with the flexibility to do a bit of everything without breaking the bank, the SE700 is a solid option. It’s certainly inspired me to tackle more embroidery projects.
Frequently Asked Questions
What makes the Brother SE700 a good choice for someone new to sewing and embroidery?
I think the SE700 is a great starting point because it has a helpful color screen that shows you how to do things, and it even threads the needle for you! It comes with lots of designs already loaded, so you can start creating right away without needing to buy extra patterns.
How big of an embroidery design can I make with the SE700?
The machine has a 4×4-inch area for embroidery. This means I can create smaller designs, like monograms or cute little pictures, but not really large pictures or designs that go across the whole front of a shirt.
Can I add my own embroidery designs to the SE700?
Yes, you absolutely can! I can connect the machine to my computer using a USB stick to add new designs. It also has Wi-Fi, so I can send designs wirelessly from my phone or tablet using Brother’s app, which is super convenient.
Is the Brother SE700 easy to move around?
It’s a pretty solid machine, weighing about 25 pounds. While that weight makes it stable when I’m sewing or embroidering, it’s not the lightest thing to carry around. I need to be careful when I move it and always lift it with both hands.
What’s the difference between the SE700 and the SE600?
The SE700 is a bit more advanced. While both have a 4×4 embroidery area, the SE700 has more built-in embroidery designs (135 compared to 80) and adds Wi-Fi connectivity for easier design transfers. It also has a few more sewing stitches.
Can I use the SE700 for making clothes, not just for decorating them?
Definitely! This machine is great for both sewing and embroidery. I can use it to sew garments from scratch, like making a simple dress or shirt, and then use the embroidery feature to add cool designs or personalized text to make it unique.


2 Comments