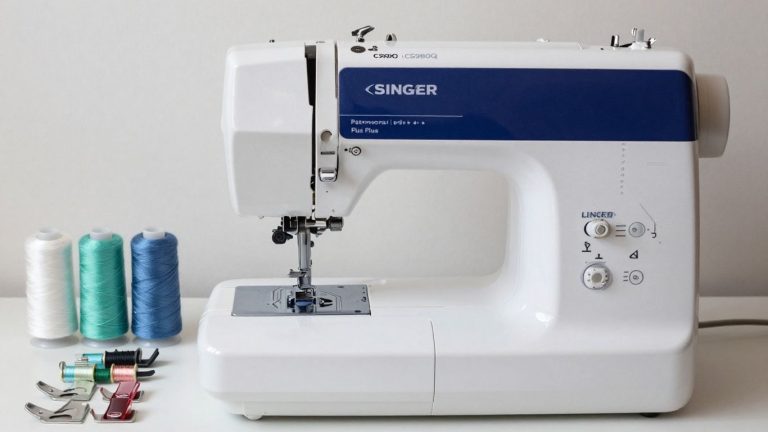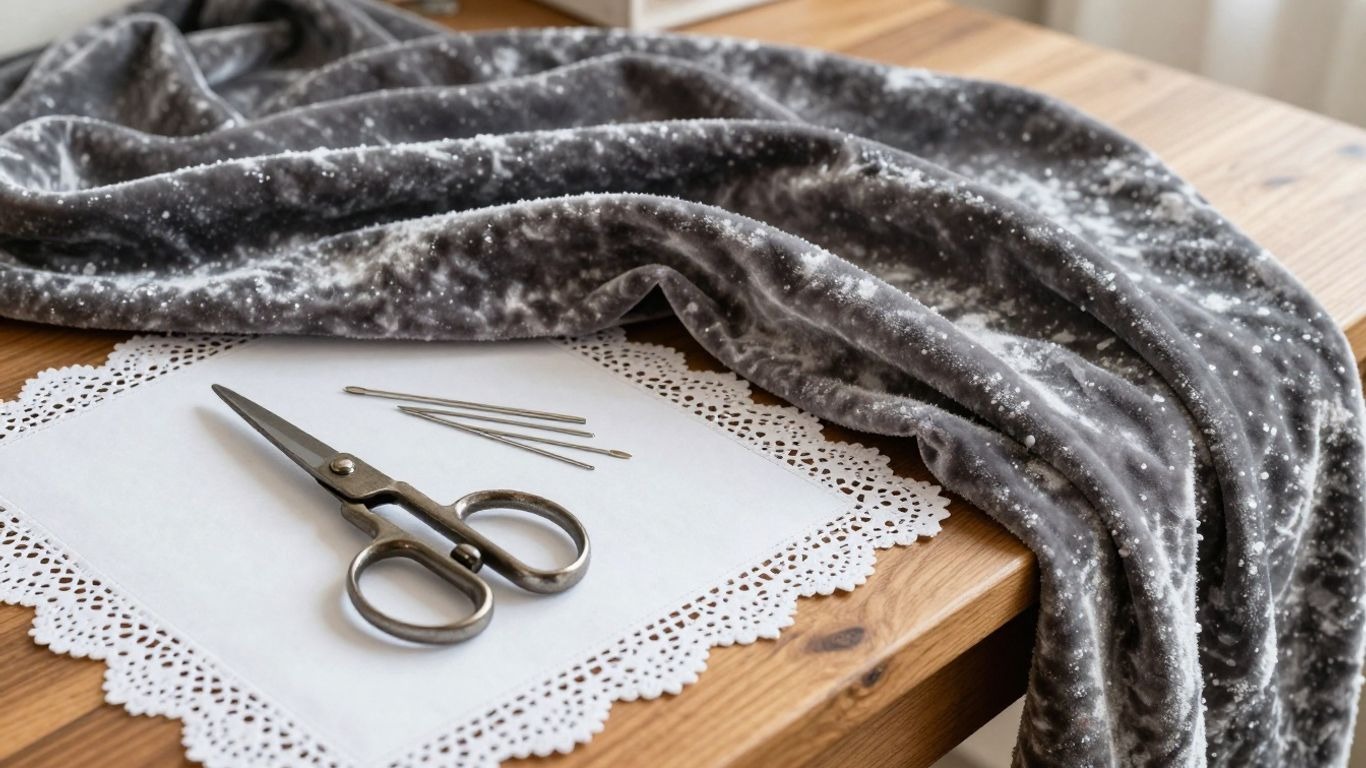
How to Sew Velvet: A Beginner’s Step-by-Step Guide
Learning how to sew velvet becomes much easier when you understand its raised pile, directional nap, and tendency to shift while stitching. The right preparation can prevent mismatched color shading, crushed texture, puckered seams, and uneven hems before they happen.
This beginner-friendly guide explains how to choose the correct needle and thread, cut velvet in one layer, control fabric creep, finish seams, and press without flattening the pile. Follow the steps below to create polished velvet garments, accessories, and home decor projects with a standard home sewing machine.
Key Takeaways
- Check the nap before cutting and place every pattern piece in the same direction to prevent visible shade changes.
- Cut velvet in a single layer whenever possible, then flip paper pattern pieces to create mirrored pairs.
- Use a fresh Microtex or sharp needle for woven velvet and a stretch needle for stretch velvet; a ballpoint needle is not the default for every velvet type.
- Hand-basting, a walking foot, or reduced presser-foot pressure can limit fabric creep while sewing two pile surfaces together.
- Test stitch length and tension on scraps, starting around 2.5 to 3.0 mm rather than assuming one setting works for every velvet.
- Press from the wrong side over a needle board or thick towel and use steam without direct pressure to protect the pile.
Quick Answer: What Is the Best Way to Sew Velvet?
The best way to sew velvet is to treat it as a directional pile fabric rather than an ordinary woven cloth. Keep every pattern piece aligned with the same nap, cut one layer at a time, hand-baste important seams, and sew slowly with a fresh needle. A walking foot can help, but careful basting and consistent feed direction are often even more important for controlling slippery layers.
For woven velvet, begin with an all-purpose polyester thread, a sharp or Microtex needle, and a medium-length straight stitch. For stretch velvet, use a stretch needle and a stitch that can move with the fabric. Never press the right side directly with a hot iron; support the pile and use hovering steam instead.
If you’re new to machine setup, our guide on How to Thread a Sewing Machine can help you prepare your machine correctly before working with delicate fabrics like velvet.
Understanding Velvet Fabric
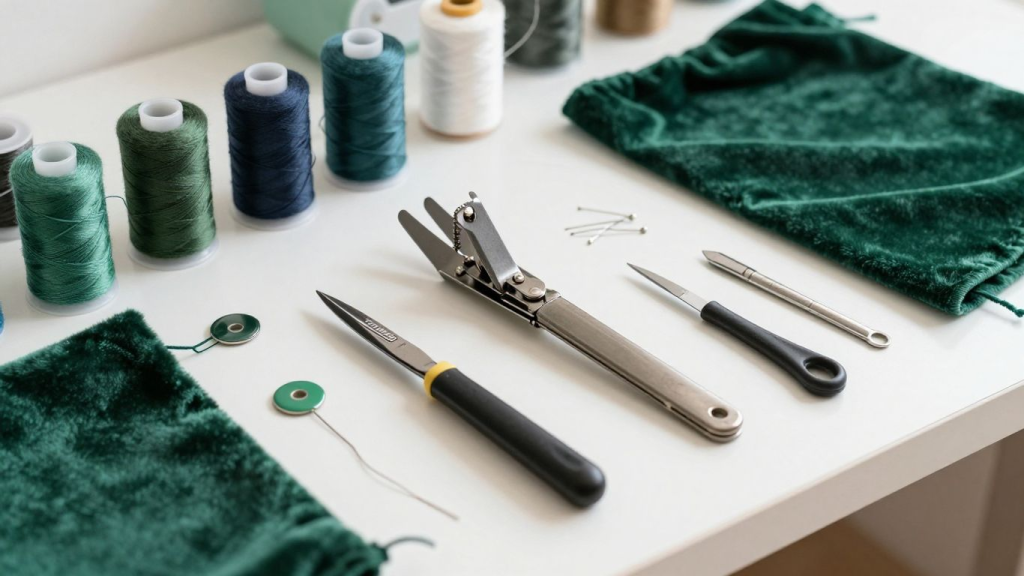
Velvet is defined by its short, dense pile: upright fibers that rise above a base fabric and reflect light differently as their direction changes. That directional surface is why one piece can look darker or lighter than another even when both were cut from the same yardage. The visual shift is not a dye problem; it is the nap responding to light.
Velvet may be woven or knitted and can be made from silk, rayon or viscose, cotton, polyester, nylon, or blended fibers. Those differences affect drape, stretch, washability, needle choice, and pressing tolerance. Before cutting, check the fiber content and care label rather than relying on the word “velvet” alone.
What Is Velvet Nap?
Nap is the direction in which the pile naturally lies. Run your hand along the surface in both directions. One direction will feel smoother, while the opposite direction will feel rougher and often appear deeper or richer in color. Either orientation can be used, but every garment piece should follow the same choice.
Many dressmakers place the nap running upward because it produces a darker, more saturated appearance, while downward nap can look lighter and feel smoother when touched. There is no universal rule for appearance, but there is one non-negotiable rule: never mix nap directions unless the design intentionally uses color variation.
How to Identify the Right Side, Wrong Side, and Direction of Nap
Step 1: Check the Velvet Under Consistent Light
Spread the fabric on a flat surface under steady natural light or a bright room light so the pile can be viewed evenly. Changing light sources while checking the nap can make the same section appear lighter or darker and lead to an incorrect comparison.
Step 2: Feel the Direction of the Nap
Run your hand gently over the velvet from one end to the other and notice which direction feels smooth and which feels slightly resistant. The smooth direction shows how the pile naturally lies, while the opposite direction usually creates a richer and darker appearance.
Step 3: Compare the Color from Both Directions
Turn the fabric around and look at the surface again from the same viewing position. Choose whether you prefer the lighter, smoother appearance or the deeper, more saturated appearance, then use that direction consistently throughout the project.
Step 4: Mark the Chosen Top Edge
Place a small arrow, removable tape marker, or chalk note on the wrong side to identify the top of the fabric. Test the marking tool first because some chalks, waxes, and adhesives can stain or show through delicate velvet.
Step 5: Align Every Pattern Piece with the Same Nap
Position every pattern piece so its top edge follows the direction marked on the fabric. Double-check mirrored pieces, sleeves, collars, and facings before cutting because one reversed piece can appear like a different color in the finished garment.
Marking the nap direction on the wrong side prevents mistakes after the fabric has been moved, folded, or partially cut. It also helps when multiple people are working on a project or when cutting continues on another day.
Types of Velvet: Which Is Easiest for Beginners?
Beginners usually have the best experience with a stable polyester or cotton-blend velvet that has little stretch and enough body to stay flat on the cutting table. Silk and rayon velvets are luxurious but can be extremely fluid, easily marked, and difficult to unpick. Stretch velvet introduces a different challenge because the knit base can grow or ripple as it moves under the presser foot.
Velveteen is often grouped with velvet because it has a short pile and similar appearance, but it is usually firmer, less drapey, and easier to control. Crushed velvet has a deliberately irregular pile, so small direction changes are less obvious, although its base fabric may still stretch. Always match the project pattern to the actual stretch and drape of the material.
Stable Polyester Velvet
Stable polyester velvet is usually the easiest option for beginners because it is affordable, widely available, and less fluid than silk or rayon velvet. It works well for cushions, relaxed skirts, vests, simple dresses, and practice projects where controlled cutting and seam alignment matter more than luxury drape.
Cotton Velvet and Velveteen
Cotton velvet and velveteen have more body and a firmer surface, which makes them easier to control than very fluid velvet varieties. Their structured drape suits jackets, trousers, bags, upholstery accents, and home decor, although bulky seams should still be graded and pressed carefully.
Rayon or Viscose Velvet
Rayon and viscose velvet create the soft, liquid drape often seen in eveningwear, skirts, and elegant dresses. They are more slippery, easier to mark, and more likely to shift while cutting, so beginners should practice hand-basting and single-layer cutting on a stable velvet first.
Silk Velvet
Silk velvet is exceptionally soft, lightweight, and luxurious, but it is also expensive and sensitive to pressure, moisture, and repeated handling. It is best reserved for experienced sewists who are comfortable with hand-basting, careful pressing, professional cleaning, and minimal unpicking.
Stretch Velvet
Stretch velvet has a knitted base that allows it to move across the body, making it popular for fitted tops, dresses, dancewear, costumes, and activewear-inspired garments. It needs a stretch needle, a flexible stitch, controlled presser-foot pressure, and careful attention to both the stretch direction and the nap direction.
Crushed Velvet
Crushed velvet has an intentionally irregular pile that reflects light in multiple directions, so small nap differences are less obvious than on smooth velvet. Its fiber content, stretch, weight, and care requirements vary widely, so always test sewing settings and washing methods on a swatch before starting the project.
Essential Tools and Materials for Sewing Velvet
The correct tools reduce friction, shifting, and pile damage. You do not need a completely different sewing machine, but you do need a fresh needle, reliable thread, sharp cutting tools, and a way to hold layers without crushing them. Prepare these supplies before cutting so the velvet does not need to be repeatedly folded or moved.
A standard home sewing machine can sew most garment velvet. The most useful optional accessories are a walking foot, an adjustable presser-foot pressure setting, a straight-stitch foot for narrow seams when clearance permits, and a velvet or needle board for pressing. Hand-basting thread and fine needles are also valuable because basting gives more control than pins alone.
If you’re still building your sewing setup, check out our recommendations for the Best Sewing Kits for Beginners You Can Buy Online to make sure you have the essential tools on hand.
Best Sewing Machine Needle for Velvet
For non-stretch woven velvet, begin with a new Microtex or sharp needle in size 70/10 or 80/12, depending on fabric weight. A fine sharp point penetrates the base cleanly without pushing the pile and backing downward. Heavier cotton velvet may need an 80/12 or 90/14 after a scrap test.
For stretch velvet, use a stretch needle rather than automatically choosing a universal or ballpoint needle. Stretch needles are designed to help form stitches on elastic knit bases and can reduce skipped stitches. A jersey or ballpoint needle may work on some knit velvets, but it is not the best universal recommendation for all velvet.
Thread, Pins, Basting, and Presser Feet
- Thread: use a smooth, good-quality all-purpose polyester thread for most projects.
- Hand-basting: use silk thread or fine basting thread because it removes easily and leaves less impression.
- Pins: use fine silk pins inside the seam allowance, or use clips only where they will not crush a visible edge.
- Walking foot: helps feed top and bottom layers together, especially on stable woven velvet.
- Roller foot: can reduce drag on some synthetic velvet, but test it because pressure can still mark the pile.
- Stabilizer: use tissue paper, wash-away stabilizer, or narrow stay tape only where the fabric needs temporary support.
- Interfacing: choose sew-in silk organza, lightweight woven interfacing, or a tested low-temperature fusible applied from the wrong side.
Fusible interfacing is not automatically forbidden, but it carries a higher risk of heat marks, adhesive show-through, and crushed pile. Test a small piece using the exact iron temperature, pressing cloth, pressure, and support surface. For delicate silk or rayon velvet, sew-in interfacing is usually safer.
Cutting Tool and Needle Comparison
Sharp dressmaker shears and rotary cutters can both work well. A rotary cutter keeps the fabric flat, but it is not always “better” than shears; the best tool is the one that produces clean edges without shifting the pile. A fresh blade, large cutting surface, and single-layer layout matter more than tool brand.
Understanding your machine components also makes sewing easier, especially when changing needles or presser feet. If you’re unfamiliar with different machine components, take a look at our guide to Sewing Machine Parts before starting your velvet project.
Preparing Velvet Before Cutting
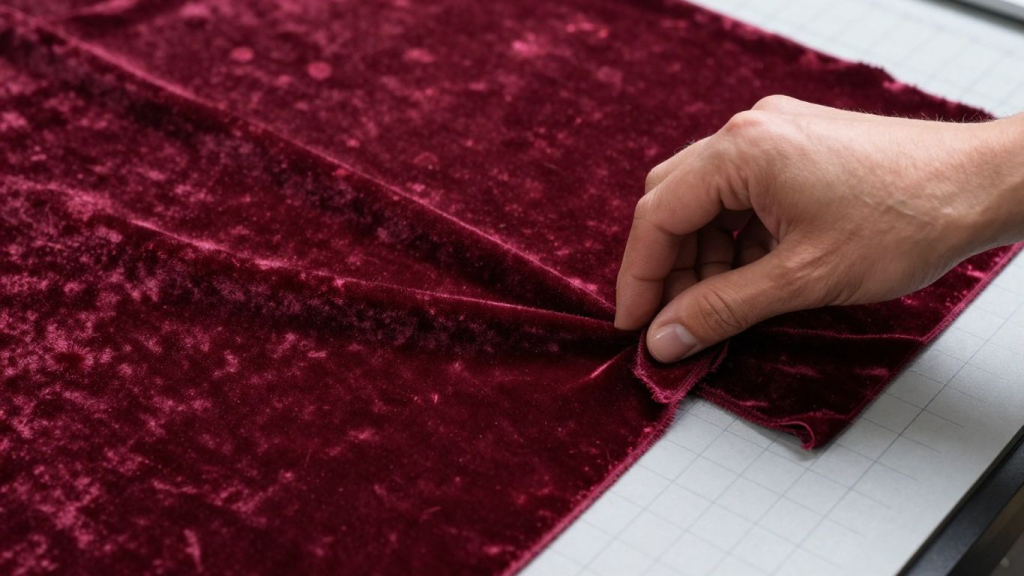
Velvet should be prepared according to its fiber content and care instructions. Do not assume every synthetic velvet can be machine washed or that every natural-fiber velvet must be dry-cleaned. Test a generous swatch first, then treat the full yardage exactly as the finished garment will be cleaned.
If the label specifies dry cleaning, do not prewash the yardage. If washing is permitted, use a gentle method, avoid high heat, and allow the fabric to dry without creating hard folds. Steam from a distance can help relax storage creases, but direct pressure may permanently flatten the pile.
Should You Prewash Velvet?
- Read the fiber content and care label before doing anything.
- Wash and dry a swatch to check shrinkage, dye transfer, texture change, and pile distortion.
- Dry-clean-only silk, rayon, or specialty velvet should not be placed in a home washer.
- Washable polyester or stretch velvet may tolerate a delicate cycle, but use the manufacturer’s instructions.
- Do not use a hot dryer unless the care label explicitly allows it.
- Store prepared velvet rolled or loosely folded with the pile protected.
Plan the Pattern Layout and Extra Yardage
A with-nap layout usually uses more fabric than a standard folded layout because every piece must face the same direction and many pieces need to be cut singly. Check the pattern envelope for a “with nap” yardage requirement. If the pattern does not provide one, create a full single-layer layout before buying or cutting.
Avoid designs with excessive tiny pieces, dense gathers, sharp pressing requirements, or complicated alterations for your first velvet project. Simple silhouettes with princess seams, darts, relaxed shaping, or lined edges are easier to control and reduce the amount of unpicking.
How to Cut Velvet Without Shifting
Single-layer cutting is the most reliable approach because two pile surfaces placed together tend to walk in opposite directions. Place the velvet wrong side up on a large surface, align the chosen nap direction, and use full paper pattern pieces rather than folded half pieces. For mirrored pieces, flip the paper pattern after cutting the first side.
Keep the entire fabric supported on the table. Hanging yardage creates drag and can distort long panels. Use pattern weights and a fine chalk marker or removable pen on the wrong side. Make small tailor’s tacks or shallow notches only where necessary, because deep clips can spread in loosely woven backing.
Step-by-Step Velvet Cutting Method
Step 1: Identify and Mark the Nap Direction
Run your hand over the fabric and compare how the pile looks from both directions before deciding which side will face upward in the finished garment. Mark the chosen top edge clearly on the wrong side so every pattern piece can follow the same orientation.
Step 2: Lay the Velvet in a Single Layer
Place the velvet wrong side up on a large cutting surface with the entire yardage supported. Single-layer cutting prevents the two pile surfaces from gripping, shifting, and producing pattern pieces that are slightly different in size.
Step 3: Use a With-Nap Pattern Layout
Position every pattern piece so the garment top points toward the same marked end of the velvet. A with-nap layout uses more fabric, but it prevents sleeves, panels, collars, and facings from reflecting light in conflicting directions.
Step 4: Trace Full Pattern Pieces and Construction Marks
Use complete paper pattern pieces rather than folded half pieces, then trace the cutting line on the wrong side. Transfer only essential darts, balance points, pocket positions, and grainlines with a tested removable marker or thread tracing.
Step 5: Secure the Pattern Without Damaging the Pile
Use pattern weights to keep paper pieces flat without lifting or stretching the velvet. When pins are necessary, choose fine silk pins and place them inside the seam allowance so any holes or pressure marks remain hidden.
Step 6: Cut Slowly with Sharp Tools
Use a fresh rotary blade or very sharp dressmaker shears and keep the velvet flat as you work around each piece. Avoid lifting, pulling, or squeezing the fabric because movement can distort the cutting line and disturb the pile.
Step 7: Create Mirrored Pieces and Label Them
After cutting the first side of a mirrored pair, flip the paper pattern and cut the matching piece from the same nap direction. Label the wrong side of every piece immediately so left, right, front, back, and top edges are easy to identify later.
Step 8: Clean the Cut Pieces Before Sewing
Gently shake the pieces or use a low-tack lint roller to remove loose pile from freshly cut edges. Cleaning the pieces now reduces lint around the bobbin area and makes seam allowances easier to see while basting and stitching.
How to Mark Velvet Safely
Use tailor’s tacks, removable chalk, or marks on the wrong side. Test every marking tool because chalk can be difficult to remove from dark velvet and wax-based products may leave permanent marks. Avoid tracing wheels that apply heavy pressure or create visible tracks through the pile.
Marking should be minimal and strategic. Transfer darts, button placement, pocket positions, and matching points, but do not draw long construction lines across the right side. When possible, use thread tracing so important lines remain visible without touching the pile surface.
How to Sew Velvet on a Sewing Machine
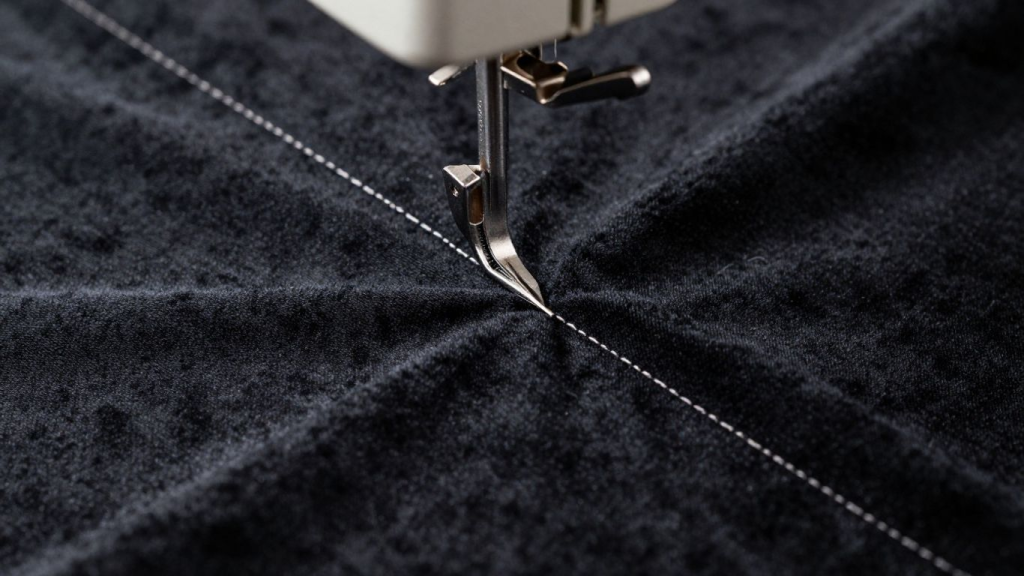
Velvet layers often creep because the two pile surfaces grip and slide at the same time. The top layer may move ahead of the lower layer, leaving mismatched seam ends even when the pieces were cut accurately. Hand-basting before machine stitching is the most dependable solution, especially on side seams, sleeves, collars, and zippers.
Sew slowly and support the fabric so its weight does not pull from the table. Begin with a straight stitch around 2.5 to 3.0 mm for woven velvet, then test a slightly longer length if puckering occurs. Start with normal upper tension and adjust only after checking the needle, threading, presser-foot pressure, and stitch length.
Beginners who are still choosing their first machine may also find our guide to the Best Sewing Machines for Beginners helpful before tackling fabrics like velvet.
Recommended Starting Sewing Machine Settings
- Woven velvet stitch: straight stitch, approximately 2.5-3.0 mm.
- Stretch velvet stitch: narrow zigzag, lightning stitch, or tested stretch stitch.
- Upper tension: begin at the machine’s normal setting; reduce slightly only if the seam tunnels or puckers.
- Presser-foot pressure: reduce if your machine allows it and the top layer is being stretched or marked.
- Speed: slow to medium so the needle does not deflect and layers stay aligned.
- Seam allowance: use the pattern allowance, but consider a slightly wider allowance on loosely woven velvet to support finishing.
Step-by-Step Sewing Process
Step 1: Match the Pieces and Nap Direction
Place the velvet pieces right sides together and check that the marked top edges face the same direction. Align notches, seam ends, and balance points carefully because pile movement can make correctly cut pieces appear mismatched.
Step 2: Hand-Baste the Seam
Secure the layers with long diagonal or uneven basting stitches placed inside the seam allowance. Hand-basting holds the pile surfaces together more reliably than pins alone and helps prevent the top layer from creeping ahead of the lower layer.
Step 3: Install the Correct Needle and Thread
Choose a fresh Microtex or sharp needle for most woven velvet and a stretch needle for stretch velvet. Thread the machine with smooth all-purpose polyester thread, then confirm that the presser foot and needle plate provide enough clearance for the selected stitch.
If threading your machine is giving you trouble, follow our complete tutorial on How to Thread a Sewing Machine before you begin sewing.
Step 4: Test the Complete Seam Setup
Sew two scraps with the same nap direction, number of layers, interfacing, and seam finish planned for the garment. Check for creeping, puckering, skipped stitches, visible needle marks, and permanent pressure impressions before sewing the real pieces.
Step 5: Sew Slowly Without Pulling
Support the velvet on the table and guide it gently while the feed dogs move the layers under the presser foot. Pulling from behind or pushing from the front can stretch the seam, deflect the needle, and create uneven seam ends.
Step 6: Inspect the Seam Before Removing Basting
Open the seam carefully and confirm that the ends, notches, darts, and pattern lines still match. Remove the basting only after the permanent seam has been checked, because it is easier to correct a problem while the layers remain secured.
Step 7: Finish the Raw Edges Early
Apply the chosen overlock, narrow zigzag, binding, or lining treatment before repeated handling loosens the backing or sheds more pile. Keep the finish lightweight so it does not create a ridge that becomes visible on the right side.
If you’re unsure whether to finish seams with a serger or a standard sewing machine, our comparison of Serger vs. Sewing Machine explains when each option works best.
Step 8: Shape the Seam with Steam and Pile Support
Place the velvet right side down on a needle board, velvet board, or thick terry towel so the pile is not crushed. Hover the iron over the wrong side, apply gentle steam, and shape the seam with your fingers instead of pressing hard or sliding the iron.
How to Press Velvet Without Crushing the Pile
Direct iron pressure can create shiny flat patches that may be permanent. The safest method is to place the velvet right side down on a needle board, velvet board, or thick terry towel so the pile has space rather than being compressed. Hover the iron above the wrong side and use steam, then shape the seam gently with your fingers.
Do not slide the iron across velvet. Lift and reposition it. Test temperature and steam response because rayon, silk, acetate, polyester, and stretch velvet react differently. If a crease must be controlled, use minimal pressure on the wrong side with a pressing cloth and pile support beneath.
Can Crushed Velvet Be Pressed?
Crushed velvet already has an irregular pile, but that does not make it immune to heat damage. Steam from a distance and avoid flattening the intentional texture. If the backing is synthetic, excessive heat can glaze or distort the fibers even when the pile pattern hides minor pressure marks.
How to Restore Flattened Velvet Pile
Step 1: Apply Gentle Steam from a Safe Distance
Hold the flattened area near gentle steam without allowing the iron or steamer head to touch the right side. The moisture should relax the pile gradually rather than saturating the backing or exposing the fibers to concentrated heat.
Step 2: Lift the Pile with a Soft Brush
Allow the pile to absorb a small amount of steam, then use a clean velvet brush or very soft clothes brush to lift the fibers. Work lightly because aggressive brushing can change the nap direction, create bald spots, or damage delicate rayon and silk velvet.
Step 3: Brush in the Nap Direction and Let It Dry
Restore the surface in small sections while brushing in the original nap direction. Leave the velvet undisturbed until it is completely dry so the pile can set without being flattened again.
Step 4: Avoid Aggressive Friction and Direct Heat
Do not scrape the pile, rub the fabric forcefully, or hold a hot iron close to one spot. Excess friction and concentrated heat can permanently polish, distort, melt, or remove pile fibers.
Step 5: Use Professional Care for Valuable Velvet
Silk, rayon, embellished, vintage, or tailored velvet may react unpredictably to moisture and home steaming. Consult a professional cleaner or textile conservator before attempting restoration when the item is valuable, or the care label limits home treatment.
Common Velvet Sewing Problems and How to Fix Them
Most velvet problems come from four sources: incorrect nap direction, layer movement, unsuitable needle choice, or excessive heat and pressure. Diagnose the visible symptom before changing several machine settings at once. For example, skipped stitches are more likely to involve needle type or threading than bobbin tension.
Start with the least invasive correction: replace the needle, rethread with the presser foot raised, test a longer stitch, reduce presser-foot pressure, or add basting. Only adjust upper tension after those steps. Avoid changing bobbin tension unless the machine manual and a qualified technician indicate it is necessary.
- Mismatched color panels: check nap direction and recut the incorrect piece if necessary.
- Uneven seam ends: hand-baste more securely and use a walking foot or reduced pressure.
- Puckered seam: lengthen the stitch slightly, reduce upper tension carefully, and support the fabric.
- Skipped stitches: install a fresh appropriate needle and rethread the machine.
- Pile caught in seam: use a pin or soft brush to lift trapped fibers gently after stitching.
- Visible iron marks: stop pressing directly and use steam over a needle board.
- Stretch velvet seam waves: reduce pressure, use a flexible stitch, and avoid pulling the fabric.
Common Mistakes to Avoid
- Cutting two layers together without accounting for pile movement.
- Mixing nap directions because pieces appear identical on the wrong side.
- Using a ballpoint needle on every velvet, including stable woven velvet.
- Prewashing dry-clean-only velvet or using high dryer heat.
- Skipping the scrap test before sewing buttonholes, zippers, or hems.
- Relying on pins alone for long or curved seams that are likely to creep.
- Pressing directly on the right side or sliding the iron across the pile.
- Unpicking repeatedly; needle holes and disturbed pile may remain visible.
- Choosing a highly fitted, complex pattern for a first velvet project.
Best Beginner Projects for Velvet
Begin with a project that has few seams, minimal fitting, and limited pressing. Cushion covers, simple tote bags, scarves, relaxed skirts, sleeveless tops, and boxy vests allow you to practice nap alignment and seam control without complicated tailoring. A lined project can also hide seam finishes and reduce friction against clothing.
Avoid tightly fitted trousers, tailored jackets, complex collars, welt pockets, and bias-cut evening gowns as a first project. Those designs require precise shaping, more pressing, and frequent manipulation that increases the chance of pile marks. Build confidence on stable velvet before moving to fluid rayon or silk varieties.
If you’d like an easy first project, try making a Simple Tote Bag at Home or learn How to Sew a Fabric Bag before moving on to more challenging velvet garments.
Care and Storage After Sewing
Follow the care method established during the swatch test. Hang garments on wide padded hangers, leave space between pieces, and avoid crushing them in a crowded closet. Fold heavy velvet only when necessary and place acid-free tissue between layers to protect the pile.
Use a soft brush or garment steamer for light refreshing. Do not spot-clean aggressively because rubbing can change the pile direction and create a visible ring. Professional cleaning is usually safest for silk, rayon, tailored, embellished, or structured velvet garments.
Final Verdict
Velvet is not difficult because it requires a special machine; it is difficult because pile direction, surface pressure, and layer movement must be controlled from cutting through pressing. Once those three issues are managed, the sewing process becomes predictable. A careful single-layer layout, hand-basting, fresh needle, slow stitching, and steam-only pressing solve most beginner problems.
Start with stable velvet and a simple pattern, document the settings that work on your scraps, and resist the urge to rush or repeatedly unpick. If you’re completely new to sewing, our guide on How to Learn Sewing provides a solid foundation before working with specialty fabrics like velvet.
Frequently Asked Questions
Can I sew velvet with a regular sewing machine?
Yes. Most woven and stretch velvets can be sewn on a standard home sewing machine with the correct needle, thread, stitch, and fabric-control method. A walking foot is useful but not mandatory.
What needle should I use for velvet?
Use a fresh Microtex or sharp needle for woven velvet and a stretch needle for stretch velvet. Start around 70/10 or 80/12 for lighter fabrics and move to 90/14 only for denser velvet after testing.
Should I use a ballpoint needle for velvet?
Only when the velvet has a knit base that responds well to a ballpoint or jersey needle. Ballpoint is not the default for woven velvet, where a sharp or Microtex needle is generally more appropriate.
What stitch length is best for velvet?
A straight stitch around 2.5 to 3.0 mm is a useful starting point for woven velvet. Slightly longer stitches may reduce puckering on thicker pile. Stretch velvet needs a flexible stitch tested on scraps.
How do I stop velvet from slipping while sewing?
Cut one layer at a time, hand-baste seams, reduce presser-foot pressure if possible, and use a walking foot. Support the fabric and let the feed dogs move it without pulling.
Should velvet be washed before sewing?
Only if the care label allows it. Test a swatch first. Many silk, rayon, specialty, or structured velvets are dry-clean only, while some polyester and stretch velvets are washable.
Can I iron velvet?
Do not press the right side directly. Place the pile against a needle board, velvet board, or thick towel and use hovering steam from the wrong side with minimal pressure.
Can I use fusible interfacing on velvet?
Sometimes, but it must be tested. Heat, pressure, and adhesive can flatten or mark the pile. Sew-in silk organza or lightweight woven interfacing is safer for delicate velvet.
Does velvet need seam finishing?
Many velvet backings fray and the cut pile sheds, so finishing is recommended. Use an overlock, narrow zigzag, binding, or another low-bulk finish appropriate to the fabric weight.
What is the easiest velvet project for a beginner?
A cushion cover, simple bag, relaxed skirt, boxy vest, or sleeveless top in stable polyester or cotton-blend velvet is easier than a fitted or heavily tailored garment.