Why Is My Bobbin Thread Showing on Top? Causes and Easy Fixes
The first time I saw bobbin thread pulling up through the top of my fabric, I did exactly what most beginners do, I grabbed a screwdriver and started turning the bobbin tension screw. Twelve years later, I know that’s almost always the wrong first move.
If your bobbin thread is showing on top, your machine is telling you the stitch balance is off, and in most cases, the upper thread is pulling too strongly, the bobbin thread isn’t seated correctly, or the needle and thread combination doesn’t match your fabric. The good news is that this problem is usually easy to fix without ever touching the bobbin tension screw.
Key Takeaways
- Bobbin thread showing on top usually means the upper tension is too tight, the bobbin tension is too loose, or the bobbin thread is not seated correctly.
- Before touching the bobbin tension screw, rethread the upper thread path with the presser foot raised and confirm the bobbin is inserted in the correct direction.
- A dull, bent, or wrong-size needle can make a tension problem look worse by causing skipped stitches, snags, or uneven thread pull.
- Lint in the bobbin case, thread caught near the tension discs, or an unevenly wound bobbin can interrupt smooth thread flow.
- Always test tension changes on scrap fabric using the same needle, thread, stitch, and fabric layers as your final project.
Bobbin Thread Bunching vs. Bobbin Thread Showing on Top
These two problems look similar but aren’t quite the same. If the bobbin thread is showing on top as neat dots or a clean line, that’s almost always a tension imbalance, the fixes in this guide will resolve it. If the thread is bunching, tangled, nested, or knotted underneath the fabric, especially right at the start of a seam, the cause is more often that the thread tails weren’t held when you began sewing, or the upper thread never seated properly in the tension discs.
To fix bunching specifically: hold both the needle thread and bobbin thread tails gently for the first three or four stitches, don’t let them get pulled down into the machine loose. Then rethread the upper path with the presser foot raised, since a missed tension disc is the most common cause of a nest forming right at the start of a seam.
What a Balanced Lockstitch Should Look Like
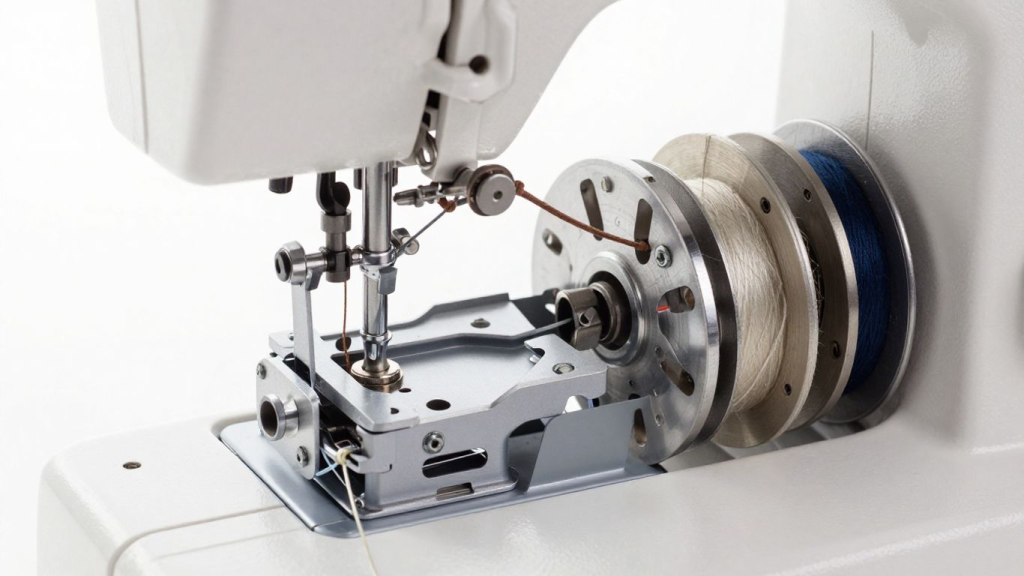
The lockstitch is the basic stitch made with a sewing machine that stitches the upper thread and bobbin thread together within the fabric. If the tension is even, the threads will meet in between the layers of fabric, not on top or bottom. The top of the seam should be smooth, and the bottom of the seam should be smooth as well, even if there are loops, knots, or pulled-up bobbin colors.
What Each Stitch Problem Looks Like
✓ Balanced
Both threads lock in the middle of the fabric layers, neither color shows on the opposite side.
✗ Bobbin on Top
Small dots or a full line of bobbin color visible from the top of the fabric.
✗ Looping Underneath
Needle thread visible in loops on the underside of the fabric.
The simplest method of checking stitch balance is to use two different colors of thread. Feed one colour into the needle and another colour into the bobbin and sew two layers of scrap fabric. If the bobbin color is visible on top, then the upper thread is pulling too tight or the lower thread is too loose. If the top thread is very loose, the top tension is not tight enough, or the top thread is not in the tension discs.
Understanding the different sewing machine parts involved in stitch formation can also make troubleshooting much easier.
Start With These Simple Checks Before Changing Tension
Many novice knitters start the tension dial right away, but threading, a loose bobbin, lint, or a broken needle can cause bobbin-thread problems. A clean reset means that you won’t create a new problem trying to solve the old one. These basic tests also help you determine if it’s a tension problem or a setup error.
Do the following steps in order; sew a test line on scrap fabric. Use the same thickness of fabric, the same thickness of thread, and the same needle size as you intend to use for the actual project. If the test stitch looks better after one step, stop and don’t make any more adjustments.
- Raise the presser foot and rethread the upper thread from spool to needle.
- Remove the bobbin, confirm it is the correct bobbin type, and reinstall it in the direction shown in your manual.
- Pull the bobbin thread into the bobbin case tension path until it feels lightly controlled, not loose or floating.
- Replace the needle with a fresh needle that matches your fabric and thread.
- Brush lint from the bobbin area, feed dogs, and thread path before testing again.
If you’re still learning the basics of operating a sewing machine, how to learn sewing provides a solid foundation before tackling tension adjustments.
After the basic reset, sew a six-inch sample seam at a moderate speed. Do not pull the fabric from behind the presser foot because pulling can distort tension and make the stitch look worse. Guide the fabric gently and let the feed dogs move it forward.
| What You See | Most Likely Cause | First Fix |
|---|---|---|
| Bobbin thread visible on top | Upper tension too tight or bobbin thread too loose | Lower upper tension one small step and confirm bobbin is seated. |
| Top thread looping underneath | Upper tension too loose or upper thread missed the tension discs | Rethread with presser foot raised, then increase upper tension gradually. |
| Skipped stitches | Wrong, dull, or bent needle; thread/fabric mismatch | Replace needle and check needle type/size. |
| Thread nests at the start of seam | Thread tails not held or machine threaded incorrectly | Hold thread tails for first stitches and rethread. |
| Puckered seam | Tension too tight, stitch length too short, or fabric being pulled | Reduce tension slightly, lengthen stitch, and avoid pulling fabric. |
Common Causes of Bobbin Thread Showing on Top
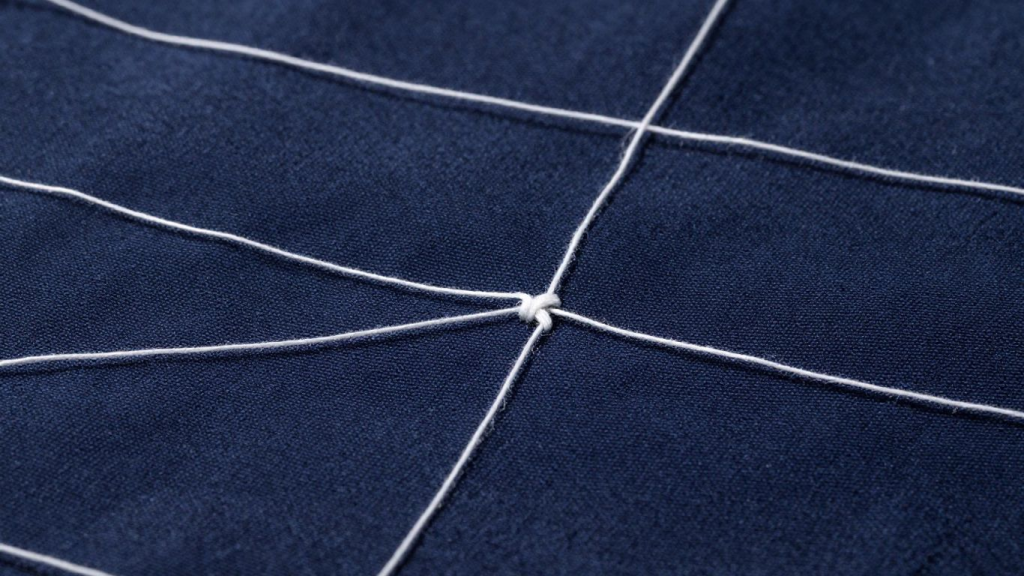
Upper Thread Tension Is Too Tight
This is the most frequent cause of bobbin thread on the top of your fabric. If the upper tension is too tight, the needle thread will pull so tight that it will drag the bobbin thread up. Dots, loops, or a complete line of bobbin color may appear on the top surface of the seam.
To correct this, decrease the upper tension dial by small increments (typically half a number at a time), then test again. Don’t jump from a very high number to a very low number, as this can leave loops under your feet. Balanced tension is achieved through small, controlled changes and test stitching.
Bobbin Thread Is Not Seated in the Tension Path
A bobbin can appear to be properly installed, but the thread might be going around the tension slot or spring. When this occurs, the lower thread is too loose, and the upper one pulls it to the top. This is particularly likely if you change bobbins rapidly or if your machine doesn’t accept the exact style of bobbin.
Take out the bobbin and put it back in following the instructions in your machine’s manual. Thread through the appropriate slot until you feel a steady, gentle resistance. When using a drop-in bobbin, be sure that the thread goes through the printed path on the needle plate or bobbin cover.
If you’re unfamiliar with your machine’s threading system, revisit how to thread a sewing machine to verify the correct thread path.
Does This Vary by Machine Brand?
The core cause is the same across brands, but how you access and adjust it differs. Brother and Janome computerized machines often use a drop-in bobbin system, the tension spring is built into the bobbin case housing itself, and adjustment (if the manual allows it) usually means a very small screw on the bobbin case.
Many Singer models, especially mechanical machines like the Singer Heavy Duty 4423, use a removable front-loading bobbin case, which is easier to inspect for lint and damage but is handled slightly differently during cleaning. If you’re not sure which system your machine uses, check your specific model’s manual, or see our individual Brother, Singer, and Janome guides for model-specific details.
Bobbin Tension Is Too Loose
The bobbin tension problem is not as common as the upper thread problem, but it can occur when the bobbin case screw has been adjusted, the bobbin case is damaged, or thread lint is caught under the bobbin tension spring. If the tension on the bobbin is too loose, the bobbin thread will not hold up the needle thread and will show up on top.
Use bobbin tension as a last resort. Clean the bobbin case, determine the type of bobbin, rethread the machine, and test with a new needle before turning the screw. If you do change the bobbin screw, make small changes and note the original setting to be able to redo it if necessary.
Unevenly Wound or Wrong-Size Bobbin
If the bobbin is not level, it will cause tight and loose spots while it is rotating. When the thread is too tightly wound on one side, wound too loose, or wound on a bobbin that is slightly incorrect for your machine, the feed of the thread is not consistent. This may appear as random tension changes even if the top settings are correct.
Only use bobbins recommended for your machine model. Turn the bobbin back to the beginning at a constant rate, stopping just before it is full, and remove any bobbin that is cracked, rough, or warped. A clean, even bobbin provides a smooth path for your lower thread and will help you to identify tension more easily.
Understanding your machine’s components through sewing machine parts can help you identify compatible bobbins and avoid feeding issues.
Wrong Needle, Thread, or Fabric Combination
Needles determine the cleanliness of the thread passing through the fabric. A dull, bent, too small, or inappropriate needle can snag thread and cause uneven pull. This isn’t necessarily a tension problem, but the final stitches may appear as if the bobbin thread is being pulled out of alignment.
Before changing machine settings, match the needle to the fabric and thread. For many woven fabrics, use a universal needle; for knits use a ballpoint or stretch needle; for heavy woven fabrics use a denim needle; and for very fine or tightly woven fabrics use a Microtex needle. Change the needle after a big project or when a snag is heard, skipped stitches are seen, or the needle snags.
A dull or incorrect needle can easily mimic a tension issue. Beginners shopping for their first machine can also benefit from Best Sewing Machines for Beginners to choose a model with beginner-friendly tension controls.
Lint, Dust, or Thread Caught in the Bobbin Area
Lint can build up around the bobbin case and cause thread to move unevenly or cause a sudden stitch imbalance. Some fabrics like fleece, flannel, batting, and low-quality thread leave more debris than smooth cotton or polyester thread. A small thread tail that gets caught up in the bobbin race can cause additional drag.
Shut off the machine, if possible, remove the needle plate, and brush the lint away with a soft brush. Don’t blow into the machine, as moisture can drive lint further into the machine. Once cleaned, place the bobbin back in, rethread it, and test it out before adjusting the tension.
Regular cleaning is much easier when you’re familiar with your machine’s sewing machine parts and know how to access the bobbin area safely.
Step-by-Step Fix: How to Stop Bobbin Thread Showing on Top
The safest troubleshooting method moves from simple setup checks to controlled tension changes. This keeps your machine close to its normal settings and avoids unnecessary bobbin-case adjustments, in my experience, most sewists reach for that screw too early, before ruling out the simpler causes. Work slowly and test after each major change, so you know exactly what actually fixed the problem, rather than changing five things at once and guessing which one worked.
Step 1: Remove the Project and Clear Any Tangled Thread
Before you touch any settings, take the fabric out of the machine. If thread has bunched or knotted underneath, carefully cut it away rather than pulling it, tugging tangled thread can stretch or damage your fabric, and it can also pull loose fibers back into the bobbin area, making the next few steps harder than they need to be.
Step 2: Rethread the Machine Completely
Raise the presser foot first, this matters more than it seems. When the presser foot is down, the tension discs stay closed, and thread that’s fed through with the foot down often sits outside the discs entirely rather than seated properly between them.
Remove the upper thread, then rethread the machine from the very beginning, spool to needle, following the exact path in your manual. Don’t skip guides or shortcuts, even one missed thread guide can throw off the entire tension balance.
Step 3: Check the Bobbin Direction and Seating
Take the bobbin out and look at which way it unwinds, most machines have a small diagram printed near the bobbin case showing the correct direction.
Reinsert it, then confirm the thread is actually pulled through the tension slot, not just resting near it. You should feel light, even resistance when you tug the thread gently, if it pulls out with no resistance at all, it’s likely bypassed the tension spring entirely.
Step 4: Replace the Needle
Install a fresh needle sized and typed for your fabric and thread weight. A dull, bent, or mismatched needle can drag thread unevenly as it passes through the fabric, which can look exactly like a tension problem even when your tension settings are perfectly fine. This is one of the fastest, cheapest fixes to rule out, and it’s often overlooked.
Step 5: Clean the Bobbin Area
Use a soft brush to clear lint from the bobbin case, feed dogs, and around the needle plate. Lint builds up faster than most beginners expect, especially after sewing fleece, flannel, batting, or lower-quality thread, and even a small amount caught near the tension spring can interrupt smooth thread flow. Avoid blowing into the machine to clear debris, moisture from your breath can push lint further into places that are harder to clean.
Step 6: Reset the Upper Tension
Set the tension dial back to the normal middle range recommended in your machine’s manual, not wherever it happened to be sitting before you started troubleshooting. This gives you a clean, known starting point rather than compounding a previous adjustment you may not fully remember making.
Step 7: Sew a Test Seam with Contrasting Thread
Load two different thread colors, one in the needle, one in the bobbin, and sew a sample seam on two layers of scrap fabric that matches your actual project.
The contrasting colors make it immediately obvious which thread is pulling toward which side, guessing from matching thread colors makes this far harder to diagnose accurately.
Step 8: Still Showing on Top? Lower the Tension Slightly
If the bobbin color is still visible after all the steps above, lower the upper tension by a small increment, roughly half a number at a time on most dials. Sew another test seam and check again before making any further change. Small, incremental adjustments are far easier to reverse than a big jump that overcorrects the problem.
Step 9: No Improvement? Stop and Get Help
If the stitch still isn’t balanced after working through every step above, the issue may be a damaged bobbin case, worn tension assembly, or a timing problem that basic troubleshooting can’t fix.
At this point, inspecting the bobbin case closely or consulting a sewing machine technician is the safer next move, forcing the tension screw further can cause real damage rather than solve the problem.
This sequence will resolve most problems with bobbin-thread visibility since it deals with the most probable causes first. The secret is to be patient: changing one thing at a time will yield a reliable result; changing the needle, bobbin, thread, and tension all at once will make it difficult to determine what worked.
If threading mistakes continue to occur, carefully review how to thread a sewing machine before making further adjustments.
If your machine was sewing properly and then began to pull bobbin thread to the top, the problem is most likely due to threading, lint, a damaged needle, or a bobbin problem. If the issue has arisen since the machine was serviced or since someone has altered the bobbin case screw, then the bobbin tension could require professional recalibration.
| # | Fix Step | Why It Helps | When to Move On |
|---|---|---|---|
| 1 | Rethread upper path | Ensures thread sits between tension discs | Move on if bobbin thread still appears on top. |
| 2 | Check bobbin seating | Corrects loose or bypassed bobbin tension path | Move on if thread feeds smoothly, but stitch is still off. |
| 3 | Replace needle | Removes a common cause of skipped or distorted stitches | Move on if stitch remains unbalanced. |
| 4 | Clean bobbin area | Removes lint that can catch thread | Move on if the machine is clean and still pulls upward. |
| 5 | Adjust upper tension | Fine-tunes where the lockstitch forms | Move on only in small increments. |
| 6 | Inspect bobbin tension | Addresses true lower-thread looseness | Use last, preferably with manual or technician guidance. |
Needle, Thread, and Fabric Matching Guide
A good needle and thread combination will make it easier to control the tension when working with the fabric since the thread will glide through the fabric well. If the needle is too large for the thread, the thread may drag and pull unevenly. If the needle is too big for the fabric, it can leave visible holes and cause the seam to appear rough even with balanced tension.
When adjusting tension, select a needle that is appropriate for the type of fabric and the thickness of your thread. Test with the same number of layers as you will have in the final seam. If the test is smooth and there are no skipped stitches, loops, or puckering, then your stitch problem is probably not the needle but may be related to tension or threading.
If you’re working on beginner sewing projects, practicing with How to Sew an Apron or How to Sew a Fabric Bag is an excellent way to understand how different fabrics affect tension.
- Use a fresh universal needle for basic woven cotton and general sewing.
- Use a ballpoint or stretch needle for knits so the needle slides between fibers instead of cutting them.
- Use a denim or jeans needle for heavy fabrics where a standard needle may bend or deflect.
- Use a Microtex needle for fine, tightly woven, or precise topstitching work.
- Use high-quality thread that feeds smoothly and does not shred easily.
The table below gives a beginner-friendly reference. Always follow your sewing machine manual and needle manufacturer guidance if they recommend a specific setup for your fabric.
| Fabric Type | Recommended Needle | Thread Tip | Tension Note |
|---|---|---|---|
| Lightweight cotton or voile | Universal 70/10 or Microtex 70/10 | Fine polyester or cotton thread | Use moderate tension and test for puckering. |
| Quilting cotton | Universal 80/12 | All-purpose polyester or cotton thread | Middle tension usually works well. |
| Knit or stretch fabric | Ballpoint/stretch 75/11 or 80/12 | Polyester thread with a stretch-friendly stitch | Do not use a rigid straight stitch on high-stretch seams. |
| Denim or canvas | Denim 90/14 or 100/16 | Strong polyester or topstitching thread as needed | Longer stitch length may reduce puckering. |
| Fleece or flannel | Universal or ballpoint 80/12 to 90/14 | Good-quality polyester thread | Clean lint frequently because fuzz can affect tension. |
When Should You Adjust Bobbin Tension?
Bobbin tension adjustment is a last step, done only after rethreading, a needle change, bobbin reseating, and cleaning. In my experience, most sewists who touch that screw too early end up with a worse problem than they started with, the bobbin case screw is genuinely sensitive, and machines are calibrated at the factory for a reason. Don’t make unnecessary bobbin changes; it can cause more issues than it resolves.
If the bobbin thread is not met with resistance, the bobbin case screw is not moved, or all of the upper-thread fixes have not worked, then consider bobbin tension. User bobbin-tension adjustments may not be recommended in your manual if you are using a drop-in bobbin machine. If so, then professional service is safer.
The Bobbin Drop Test
Before touching the tension screw, try this simple test. Remove the bobbin case with thread loaded, hold it by the thread tail only, and let it hang in the air. A properly tensioned bobbin will unwind an inch or two, then stop on its own with a small bounce.
If it free-falls all the way to the floor without stopping, the bobbin tension is too loose. If it barely moves or doesn’t unwind at all, the tension is too tight. This test gives you a real answer before you decide whether the bobbin case screw actually needs adjusting.
Always eliminate threading errors first by checking how to thread a sewing machine before touching the bobbin case screw.
- Do not adjust bobbin tension first when bobbin thread appears on top.
- Mark the original screw position before making any change.
- Turn the screw only a tiny amount at a time.
- Test after each adjustment using scrap fabric.
- Stop and seek service if the bobbin case is scratched, cracked, or no longer holds thread smoothly.
The table below summarizes when bobbin tension adjustment may be reasonable and when it is better to avoid it.
| Situation | Adjust Bobbin Tension? | Better First Action |
|---|---|---|
| Bobbin thread just started showing on top | Usually No | Rethread, clean, replace needle, and test upper tension. |
| Bobbin case screw was recently moved | Possibly | Return near original position or consult manual. |
| Thread feeds with no resistance from bobbin case | Possibly | Confirm correct bobbin and threading path first. |
| Machine has a sealed/drop-in system with no manual guidance | No | Use service support instead of forcing adjustment. |
| Needle is bent, or fabric is snagging | No | Replace needle and retest before touching bobbin tension. |
Preventive Maintenance for Balanced Stitches
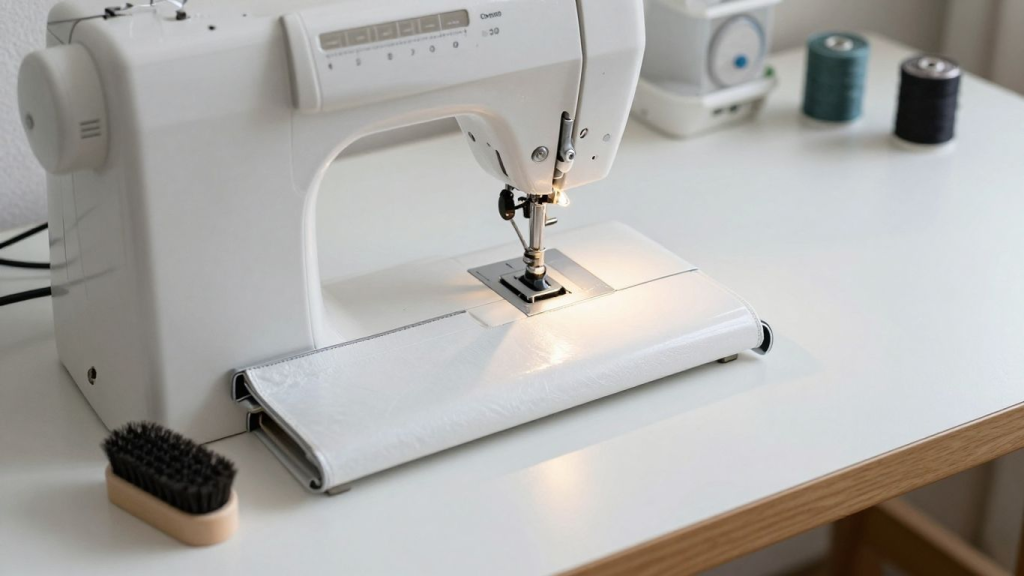
A clean machine, properly threaded and used with the correct needle, will make balanced stitches easier to maintain. Preventive care means minimising the risk of any sudden loops, thread nests, skipped stitches, and bobbin thread showing on top. It also allows your machine to feed fabric more easily than if it had to battle with lint, dull needles, or rough thread.
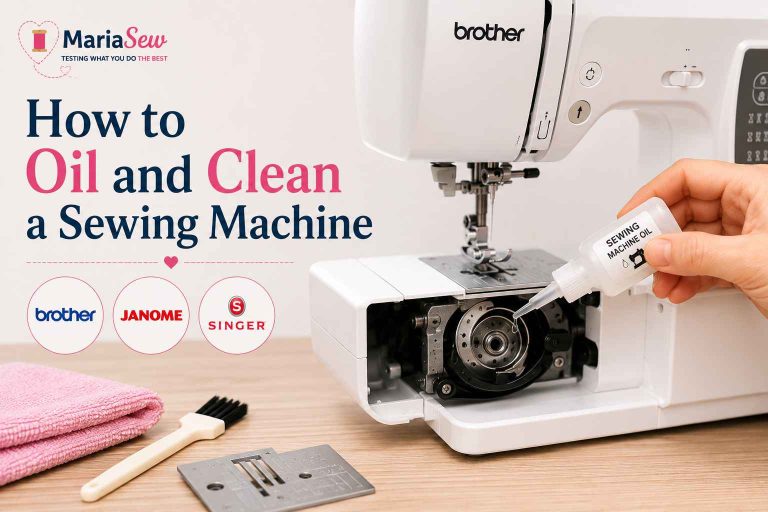
Oil only if your sewing machine manual instructs you to oil the machine yourself. Some models need periodic lubrication, and many newer machines are built to be professionally lubricated during service. Always check the manual – don’t assume that all machines require the same treatment!
Cleaning lint from the machine becomes much easier once you understand the major sewing machine parts and their functions.
- Brush the bobbin area after lint-heavy projects such as fleece, flannel, quilting, or batting work.
- Replace needles regularly, especially after heavy projects or whenever stitches start skipping.
- Use the correct bobbin type for your machine instead of mixing similar-looking bobbins.
- Keep thread stored away from dust and sunlight so it stays smooth and strong.
- Schedule professional service if your machine remains noisy, jammed, or unbalanced after basic cleaning.
Use this schedule as a practical guide, then adjust it based on how often you sew and what fabrics you use most.
| Maintenance Task | How Often | Why It Matters |
|---|---|---|
| Brush lint from bobbin area | After each major project or lint-heavy session | Prevents thread drag and bobbin-case interruptions |
| Change the needle | Every large project or 6-8 hours of sewing | Prevents snags, skipped stitches, and fabric damage |
| Check bobbin winding | Every bobbin change | Avoids uneven lower-thread feed |
| Rethread machine | Whenever stitch quality changes suddenly | Resets upper tension path |
| Professional service | Yearly for frequent use or as manual recommends | Corrects timing, internal wear, and tension calibration |
Troubleshooting by Stitch Appearance
Your fabric will tell you where the imbalance is occurring. Before deciding on what to repair, examine the top and bottom of the seam. Symptoms on the top of the fabric do not necessarily mean that the top thread is causing the problem, and symptoms on the bottom of the fabric do not necessarily mean that the bobbin is causing the problem.
| Stitch Problem | Likely Area to Check | Beginner-Friendly Fix |
|---|---|---|
| Bobbin thread on top | Upper tension and bobbin seating | Lower upper tension slightly and confirm bobbin thread path. |
| Upper thread on bottom | Upper threading and tension discs | Rethread with presser foot raised, then test. |
| Random tight/loose stitches | Bobbin winding and lint | Rewind bobbin and clean bobbin area. |
| Skipped stitches | Needle and fabric match | Install fresh correct needle. |
| Seam puckering | Tension, stitch length, and handling | Reduce tension slightly, lengthen stitch, avoid pulling fabric. |
| Thread breaking | Needle, thread quality, and tension | Replace needle/thread and reduce tension if too tight. |
The best way is to make a test piece sewn with different coloured thread. This indicates the direction in which the thread is pulled. Have a little book or a phone note to refer to with your successful settings for various fabrics.
- If bobbin thread appears on top, suspect tight upper tension or loose bobbin feed.
- If needle thread loops underneath, suspect missed tension discs or loose upper tension.
- If stitches skip, suspect needle type, needle damage, or thread/fabric mismatch.
- If the seam puckers, suspect too much tension, short stitch length, or fabric being stretched.
- If thread nests at the start, hold thread tails and confirm threading before sewing again.
Use the final table below as a quick reference while you test.
Common Mistakes to Avoid
When more than a few adjustments are made too rapidly, most bobbin-thread issues get much more difficult to resolve. Think of your machine as a system: thread path, needle, bobbin, tension, fabric, and speed all play a role. A minor problem in one area can appear as a much bigger mechanical problem.
- Do not pull fabric from behind the presser foot while sewing.
- Do not use old, dull, or bent needles on important seams.
- Do not mix bobbin types just because they look similar.
- Do not overfill bobbins or use cracked bobbins.
- Do not skip test seams when changing fabric, thread, or needle size.
- Do not oil the machine unless your manual says user oiling is required.
Don’t adjust the bobbin tension screw unless the simple causes have been eliminated. Don’t point to the bobbin each time thread imbalance occurs. The issue is often the top thread path, particularly when the presser foot was down when threading, or the thread did not pass the tension discs.
If you’re still becoming familiar with your machine, reviewing how to thread a sewing machine can eliminate many beginner mistakes.
When to Call a Sewing Machine Technician
If your machine still pulls bobbin thread to the top after cleaning, rethreading, replacing the needle, checking bobbin direction, and testing tension, your machine may need service. Persistent stitch imbalance can be caused by timing problems, burrs on the needle plate, damaged bobbin cases or worn tension assemblies, and can’t be resolved by normal troubleshooting.
If the sewing machine clunks loudly, keeps breaking the needle, jams even after it’s unthreaded, or scratches the thread as it moves through the bobbin area, you should also stop sewing and ask for assistance. If the issue is recurring, it is safer to have the machine professionally adjusted, as forcing the machine can damage the fabric and parts.
Understanding the basic sewing machine parts can also help you explain the problem more accurately to a technician.
Final Verdict: The Easiest Way to Fix Bobbin Thread Showing on Top
The simplest solution is to reset the fundamentals first: rethread the upper path with the presser foot up, verify the bobbin direction, replace the needle, clean the bobbin area, and test on scrap fabric. If the bobbin thread is still visible on top, adjust the upper tension down a bit and retest until the stitch knot is between the layers of fabric.
Don’t use the bobbin case screw as the first step if the simpler solutions have not worked. In most cases, the sewing machine is not broken, but rather a problem of tension-path, bobbin-seating, needle, or cleaning that can be addressed in a few careful steps.
Frequently Asked Questions
Why is my bobbin thread showing on top of the fabric?
Bobbin thread usually shows on top when the upper thread is pulling too strongly, or the bobbin thread is feeding too loosely. Rethread the machine, check the bobbin path, and reduce upper tension slightly if the problem remains.
Should I tighten or loosen tension when bobbin thread shows on top?
Most of the time, you should loosen the upper tension slightly because the needle thread is pulling the bobbin thread upward. Make small changes and test after each adjustment.
Is the bobbin always the cause when bobbin thread appears on top?
No. The bobbin thread is the symptom you see, but the cause is often the upper tension, upper threading path, needle, or lint in the bobbin area.
How do I know if my upper tension is too tight?
If the bobbin color appears as dots or loops on the top side of the fabric, the upper tension may be too tight. A balanced stitch should lock between the layers rather than showing one thread strongly on either side.
Can a bad needle cause bobbin thread to show on top?
Yes. A dull, bent, or wrong-size needle can cause skipped stitches, thread drag, or uneven pull that makes tension look incorrect. Replacing the needle is one of the fastest first fixes.
Should I adjust the bobbin tension screw?
Only adjust the bobbin tension screw after you have checked threading, bobbin direction, needle condition, lint, and upper tension. If your manual does not recommend user adjustment, professional service is safer.
Why does my stitch look fine at first and then suddenly change?
Sudden tension changes can happen when lint catches the thread, the bobbin winds unevenly, the thread spool snags, or the upper thread jumps out of its guide. Stop, rethread, clean, and test again.
Why does thread bunch underneath when I start sewing?
Thread bunching underneath often means the upper thread is not correctly seated in the tension discs, or the thread tails were not held at the start. Rethread with the presser foot raised and hold the tails for the first few stitches.
Can cheap thread cause tension problems?
Yes. Inconsistent or fuzzy thread can drag through the tension path, shed lint, and break more easily. Smooth, good-quality thread creates more predictable stitch balance.
How often should I clean the bobbin area?
Clean the bobbin area after each major project, after sewing lint-heavy fabrics, or whenever stitch quality changes suddenly. A quick brushing can prevent many looping and tension problems.
 MariaFounder, MariaSew.comMaria has been sewing for 12 years and has troubleshot more tension problems than she can count, on her own machines and in helping other sewists diagnose theirs. This guide reflects the same step-by-step process she actually uses before ever reaching for a screwdriver.

3 Comments