How to Sew an Apron Easy Step-by-Step Guide for Beginners
I’ve always loved making things with my own two hands, and sewing is one of my favorite ways to do that. There’s something really satisfying about taking a piece of fabric and turning it into something useful and beautiful. Recently, I decided I wanted to make my own apron. I figured it would be a good project for a beginner like me, and I was right!
It’s surprisingly simple to sew an apron, and the results are so rewarding. Plus, you can customize it however you like – pick your favorite fabric, add pockets, and make it fit just right. This guide will walk you through how to sew an apron, step by step.
Key Takeaways
- Sewing your own apron is a great beginner project that allows for personal customization.
- Choosing a medium to heavy-weight fabric like cotton or linen is ideal for durability and protection.
- You don’t necessarily need a complex pattern; simple measurements can guide the apron shape.
- Key steps involve cutting fabric pieces, sewing straps and ties, and finishing the edges neatly.
- A handmade apron can be a thoughtful and inexpensive gift for friends and family.
Why Sew Your Own Apron?
Frankly, I always thought aprons were reserved for grandmas or extremely serious chefs. Cut to a few too many spilled coffees on my favorite shirt while all I wanted to do was bake some cookies, and I saw the error of my ways. Creating my own apron has just been a total game changer for kitchen adventures!
It’s not only for maintaining clean clothes, though that’s a huge benefit. It’s pride at having made something functional with my own two hands. Also, you can absolutely make it your own! Looking for a quirky print, or something a little more — perhaps in terms of hem length? You got it. It’s a great project for beginning sewers that allows you to fiddle with fabric and make a garment that serves a purpose.
Think about it:
- Protect clothes from spills and splashes while cooking or crafting.
- A convenient spot to stow tools, or a kitchen towel.
- An avenue for showcasing your personality.
This entire homemade apron sewing project is very easy. You don’t have to have a fancy pattern to start things off; taking your own simple measurements will get you there. It’s a fun way to hone your sewing basics while ending up with something you’ll actually use every day.
Homemade kitchen apron from scratch Homemade kitchen apron from scratch. Making your own kitchen apron from scratch is more rewarding than you might think. It’s an opportunity to be creative and come away with a usable item that meets your exact specifications. And hey, it’s a budget-friendly way to bring something useful into your home.
Honest, if you’re really looking for an easy sewing project to start with, a kitchen apron is the way to go! It’s a gratifying DIY apron tutorial because you end up with something that you will actually use. You can even employ some fabric scraps you’ve already got on hand, which is always a win. I stumbled upon some wonderful advice about selecting fabric, and for my first apron, I really feel like it helped me choose the perfect material.
Choosing the Right Fabric for Your Apron
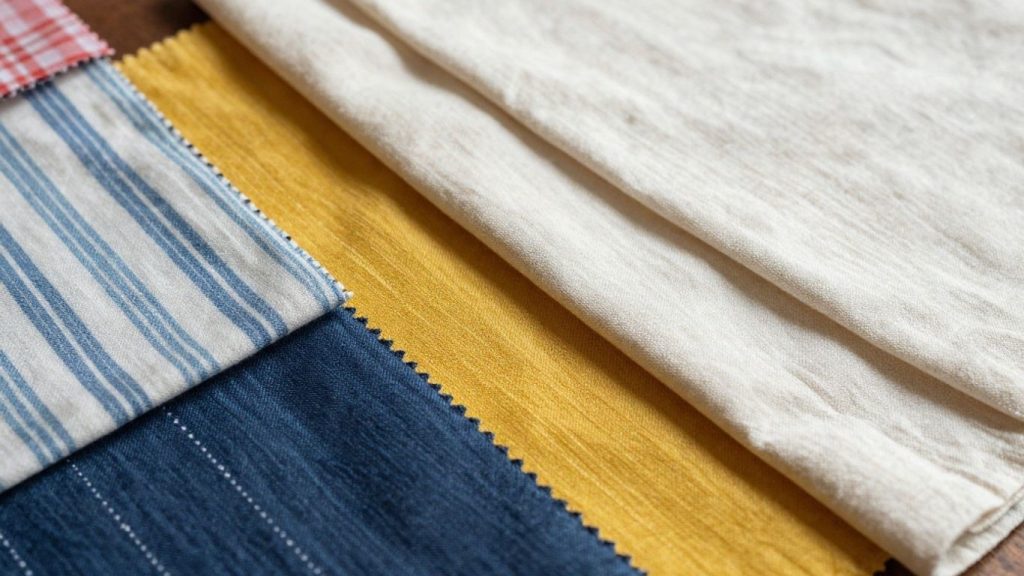
When I first decided to make an apron, I didn’t know what fabric would be best. I mean, you can make almost anything with fabric, right? But when it comes to an apron (especially one you’ll be wearing while dabbling in cooking or crafting), you want something that’s going to stand up and protect your clothes.
Cotton and Linen: Popular Choices
Cotton and linen are the no-brainers for me. They’re natural fibers, which is a huge plus. Quilting cottons are really easy to find and available in practically any print you can imagine, in my experience. I mean, I’ve even seen clothes with coffee cups on them and cats and cats and whatnot! This is why many choose to personalize aprons with them, whether it’s for themselves or as a gift. Linen is also a great option, it’s strong and has a good weight to it.
Consider Durability and Washability
It is not just about looks, but also about how the fabric may wear. You need something that isn’t going to wilt during spills or washings. Medium to heavy-weight materials are often better for aprons because they provide a little more protection. Consider denim, canvas, or perhaps a durable cotton twill. These products are durable and will protect your clothes from splatters or spills.
I’ve learned that a thin, limp fabric just doesn’t feel great for an apron. It looks terrible after just a few uses and doesn’t really do the job of protecting my clothes.
My usual is not yours, but here’s a high-speed checklist of what I want to find:
- Density: Fine to medium (medium is best). Density: Thin to medium(fine to medium is ideal. The gift should stand the test of time and feel substantial, not flimsy.
- Fiber: Natural fibers, like cotton or linen, are usually the best. They let you breathe and are easy to take care of.
- Washability: You don’t want something you have to dry-clean. Aprons are designed to be dirty!
- Sturdy Quality: It has to be able to handle frequent usage and washing without falling apart.
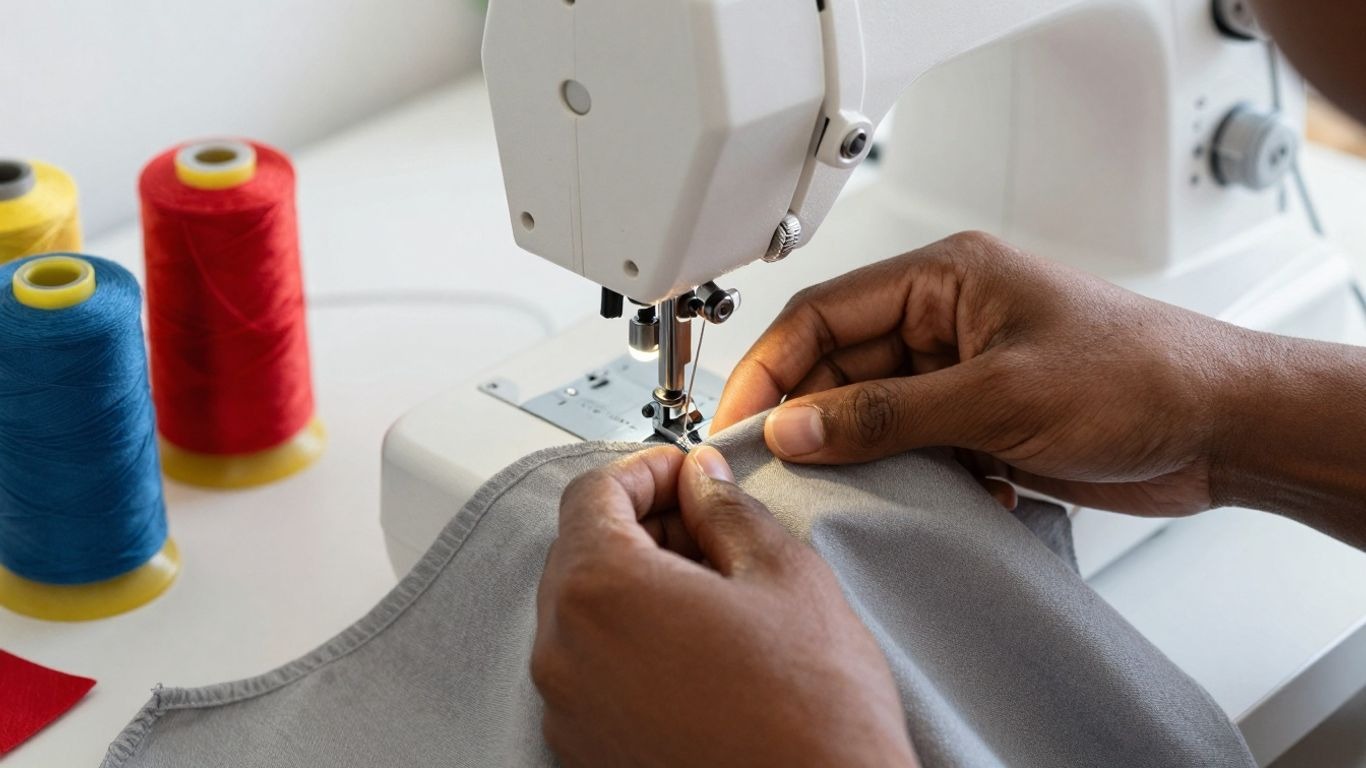
Essential Sewing Supplies You’ll Need
I got all my tools ready and set up before I even contemplated looking at a piece of fabric. It just makes the whole operation so much easier, believe me. And for this apron project, which is like one of the best beginner sewing projects you can make for home, you don’t need an entire workshop.
Here’s what I gathered:
- Fabric: You’ll need roughly a yard, depending on the size of your apron. I went with sturdy cotton.
- Thread: Match your fabric, or choose a color that contrasts if you want it to pop off the garment.
- Scissors: You need a decent pair of fabric scissors. Don’t let them come into contact with paper, or they will become dull!
- Tape Measure: To get your fit just right.
- Pins: To keep your fabric pieces in place before you sew them.
- Sewing Machine: You could do these by hand, but a machine will make the below easy sewing crafts for adults go like wildfire! I have a very basic model, and it works great for simple sewing patterns like this one.
- Iron and Ironing Board: For the most pressing of seams and hems. It makes all the difference in how tidy your finished apron appears.
When everything is ready, you can concentrate on the sewing itself, and not have to stop in the middle of stitching to hunt for a wayward pin or matching thread. It’s an easy step, and it really does make beginner sewing projects much easier.
I also used a tailor’s chalk or fabric pencil to mark my lines on the fabric. It rinses out afterward, so no fear of staining anything permanently. These are the types of things that make home sewing seem less scary and more like a fun activity. So if you want simple sewing tutorials for clothing, aprons is a great place to start.
Understanding Apron Patterns
When I first thought about how to sew an apron, the concept of a ‘pattern’ was justifiably…intimidating. I imagined complex charts and a bunch of pieces that would never click. But really, for a novice apron, it’s way simpler than you’d expect. There are a handful of main styles, with just about all of them being based on simple shapes.
Simple Bib Apron Pattern
This is likely the most common type and what I’ll concentrate on in this tutorial. Basic apron pattern An easy apron pattern lesson typically consists of reducing a large rectangle for your primary human anatomy, and shaping the most notable. You also must cut strips for the neck strap and waist ties, and often a piece for a pocket. The genius of a simple apron pattern is its versatility. Size up or size down, add more pockets or take away a few – and change the length of the tie to just about whatever you need. One of the typical cut list might be like this:
| Piece | Dimensions | Quantity |
| Main Body | 32″ x 27 1/4″ | 1 |
| Neck Strap | 4″ x 22″ | 1 |
| Ties | 2″ x 25″ (each) | 2 |
| Pockets | 8″ x 8″ (each) | 2 |
Remember, these are just examples, and you can find many variations online. I found a great resource for free apron patterns that might give you some ideas.
Pinafore Style Apron
A pinafore apron is a bit of a departure. It frequently has a more fitted bodice and shoulder straps that crisscross in the back, or may have a closer-to-dress silhouette. But there’s no harm in that for beginners, and while these can sometimes include a few more shaping steps than this easy bib style, they are still quick and easy to complete. If you want something with a little more coverage or a different look, perhaps a pinafore will be your next project after you’ve conquered the simple bib apron.
For my first apron, I chose to stay with the simplest bib style. It resulted in less cutting and easier seams, which was just what I needed to feel like I could do this. The idea was to get a practical and cute apron without being mired in instructions.
Step-by-Step: Sewing Your First Apron
Alright, let’s get down to business and actually sew this apron! It’s not as scary as it might sound, especially if you’re using a simple bib apron pattern. I’ll walk you through it.
Cutting Your Fabric
First of all, we have to cut our fabric pieces. Using any basic sewing simple apron pattern, you’ll usually need: one piece for the main apron, a neck strap, two waist ties, and two pockets. The main piece I typically begin with a rectangle, cut out some curves for the armholes and neckline.
For instance, a good size to start with would be a rectangle that is approximately 32 inches wide by 27 inches high. Then I measure and mark to the center on one of those 32-inch sides for where my neckline will be. On the longer sides, measure up about 15 inches from the bottom and place a mark. I make a soft curve up to the 2. I’m from those side marks. That curve is what forms the shape of the apron under your arms. Cut on this line through both pieces of fabric. Don’t forget to cut your straps and pockets according to the sizing in your pattern.
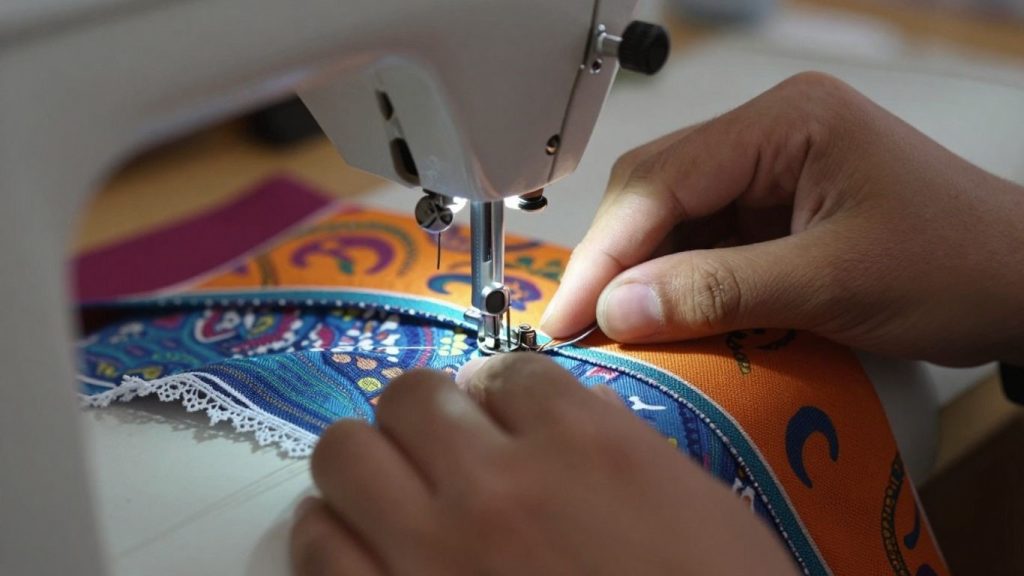
Sewing the Straps and Ties
Now let’s get those straps and ties prepared. As for the neck strap and waist ties, typically press a fabric strip in half lengthwise with right sides together, then stitch along the long edge. Then, I flip them right-side out. Like tying a tie, this can be fiddly, especially with thin ties, but use a chopstick or a loop turner to help. I sewn one of the short ends of the waist ties closed as well. And once they’re all prepped, the process of attaching them.
I pin the ends of the waist ties to either side of the main apron piece, matching up raw edges. The neck strap is pinned to the upper corners of the neckline. I prefer to sew them on really snug, adding a little square with an “X” inside for good measure (kind of like what you might see on professionally-sewn machine parts).
Finishing the Edges
This is where the apron really begins to look like an apron! All the raw edges need to be hemmed. I typically begin by folding the edges over about a quarter-inch, pressing them with an iron, and then refolding to encase the raw edge. This makes for a nice edge at the hem. I circle the apron completely, bottom and sides included.
Whenever I arrive at the spots through which the ties are anchored, though, I just sew straight through them, and they stay put nicely. The same applies to the neck strap. And oh — if you are adding pockets, now would be the time to turn over the top edge and sew it down, then pin and sew them to your main apron piece. Be sure to space them out!
(Note to self: when hemming any curved edges, such as armholes, the same applies: snip some gashes into the seam allowance for quick and easy action – sweat less!) Only be sure not to slice through your stitches!
And that’s it! Clip any loose threads, press them all, and you have a handmade apron.
You Did It!
Welp, I have to say, I’m fairly thrilled with how this apron turned out. It was not as difficult as I had thought it would be, and honestly, it feels great to have made something practical with my own two hands.
I’m done feeling anxious about splattering paint all over my best shirt while I work on my craft. And it’s got pockets, which is always a win. If you’ve been sewing along, I hope you’re equally pleased with your new apron. It’s a straightforward project, but it’s one of those things that just makes simple tasks a bit more pleasant. Happy sewing!
Frequently Asked Questions
What kind of fabric is best for making an apron?
I discover that fabrics of cotton or linen make very satisfactory aprons. They’re durable enough to guard my clothes and easy to launder. If you are looking for a super-durable apron, be sure to check out the thicker fabrics in the home decor section. But I mostly just loved how the fabric feels on me, and is able to deal with a little mess!
Do I really need a special pattern to sew an apron?
Nope, not at all! I have found that I can make a super cute apron without a pattern. It’s pretty much just cutting a giant rectangle and then working the shape of it a bit. I can even mark the lines right on the fabric before I cut. It makes it really simple.
How long does it take to sew an apron?
The truth is, I really can sew a basic apron in an hour or so — perhaps slightly more if I’m leisurely about it, or if it’s a fancy model with pockets. Some people will even tell you they can make one in ten minutes…but as long as your everything is just right!
Can I make an apron without a sewing machine?
A sewing machine would definitely make everything faster and cleaner, but I mean you could hand-sew an apron if you really wanted to. It’s going to take you much longer, and the stitch may not be quite as solid, but you can absolutely accomplish that if patience isn’t an issue.
What are the basic measurements for a simple apron?
To make a simple apron, I typically begin with a rectangle that is about 27 inches long and 20 inches wide. Next, I sculpt the top piece to wrap around my neck and shoulders. There are typically two straps, about 36 inches long each, for tying at the waist and a shorter one for the neck.
Why would I want to sew my own apron instead of buying one?
Sewing my own apron was very rewarding! I can choose the very fabric I love and colors that I love, I can add cool features, like pockets. And it’s usually way cheaper than buying one, not to mention there is a great satisfaction in making something useful with my own two hands. It also makes the most thoughtful gift!